Bootstrap the AI Accelerator Project
In this section we will execute the bootstrap installation script found in the AI Accelerator.
| Note the term "bootstrap" rather than "install", since this script simply sets up the bare minimum components such as ArgoCD and thereafter ArgoCD takes over to perform the remainder of the GitOps process to install the rest of the software stack, including RHOAI. |
Create a Fork of the AI Accelerator Project
Create a forked copy of the AI Accelerator project. This allows you to easily update the contents, and apply it to your OpenShift cluster during the subsequent lab exercises.
-
Login to GitHub using your personal or Red Hat account as preferred
-
Navigate to the project: https://github.com/redhat-ai-services/ai-accelerator
-
Click the "fork" button in the navigation bar
-
Select the Owner. This is typically the GitHub account you’re logged on as, but could also be an organization (such as a customers internal source control system) as desired.
| You can see who else has forked the repo by clicking the forks link in the "About" section. It’s interesting to see who else is using this accelerator project! |
Prepare your Local Environment
Before you can run the bootstrap script, you need to prepare your local environment. Ensure you have installed the updated versions of the required tools.
-
Validate the installed versions:
-
git --version -
yq --version -
oc version -
kustomize version
-
Installation Instructions
Installation instructions:
-
For
gitsee: Git -
For
yqsee: yq -
For
ocsee: OpenShift CLI -
For
kustomizesee: Kustomize
Clone the AI Accelerator Project
Clone the Git repository containing the AI Accelerator to your local environment, since we will be running the bootstrap scripts from a terminal on your local machine.
| If you can’t or prefer not to run the installation from your local machine (such as in a locked down corporate environment), you can also use the Bastion host instead. This is a Linux virtual machine running on AWS, the SSH login details are provided in the provisioning email you received from demo.redhat.com. Just be aware that the Basion host is deprovisioned when the cluster is deleted, so be sure to git commit any changes frequently. |
-
With the forked GitHub repository open in your browser, copy the Git repo URL from the "Code" drop down options list. Then in a terminal window, run the
git clonecommand:
git clone <paste the URL for your forked repo that you copied from GitHub web console>Optionally: we would highly recommended adding in an upstream reference to the AI Accelerator project, should you wish to contribute updates and bug fixes:
cd ai-accelerator
git remote add upstream https://github.com/redhat-ai-services/ai-accelerator.git
Bootstrap the GPU Cluster
Carefully follow the instructions found in documentation/installation.md, with the following specifics:
-
Use the GPU cluster credentials when logging into OpenShift
-
Select 5 for the
rhoai-stable-2.19-aws-gpuoverlay when prompted:
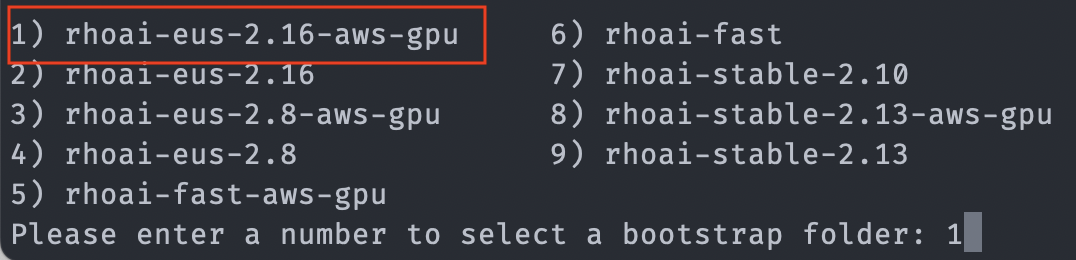
Since we are using GPUs for the GPU instance, we’ve selected the overlay ending with *-aws-gpu. This installs the Nvidia GPU Operator and the Node Feature Discovery (NFD) Operator in additional to configuring an additional OpenShift MachineSet that utilizes an AWS machine containing Nvidia hardware.
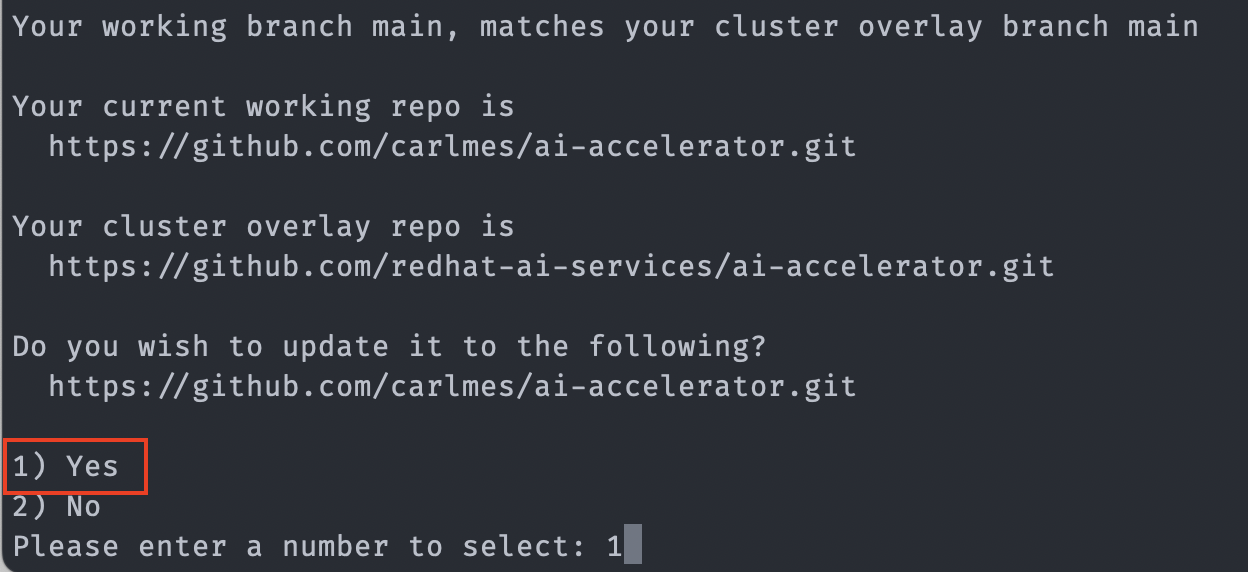
Next, the bootstrap script will prompt you to change the GitOps configuration to point to your forked repository (instead of the main repo), select 1) Yes since we want to use our forked repo on our lab cluster environment, so that we can make changes to the content and have those synchronized using GitOps:
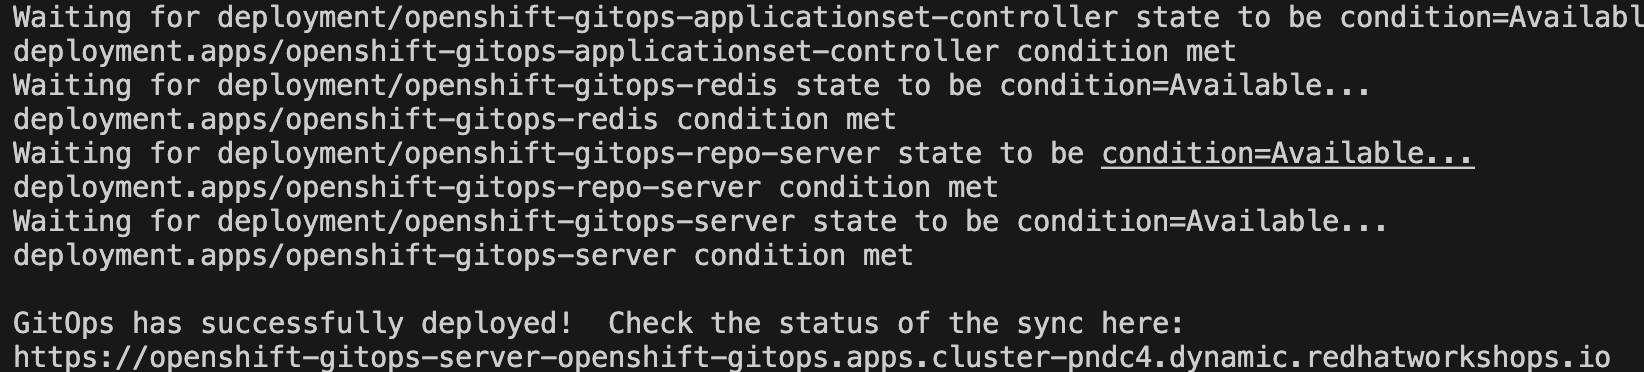
The bootstrap script will then install the OpenShift GitOps operator (ArgoCD), and instruct the GitOps server to install all the components in your Git repository.
As soon as the GitOps (ArgoCD) server is up and running, the bootstrap scrips will provide a link:
You can also access this URL through a shortcut added to OpenShift Admin Console UI:
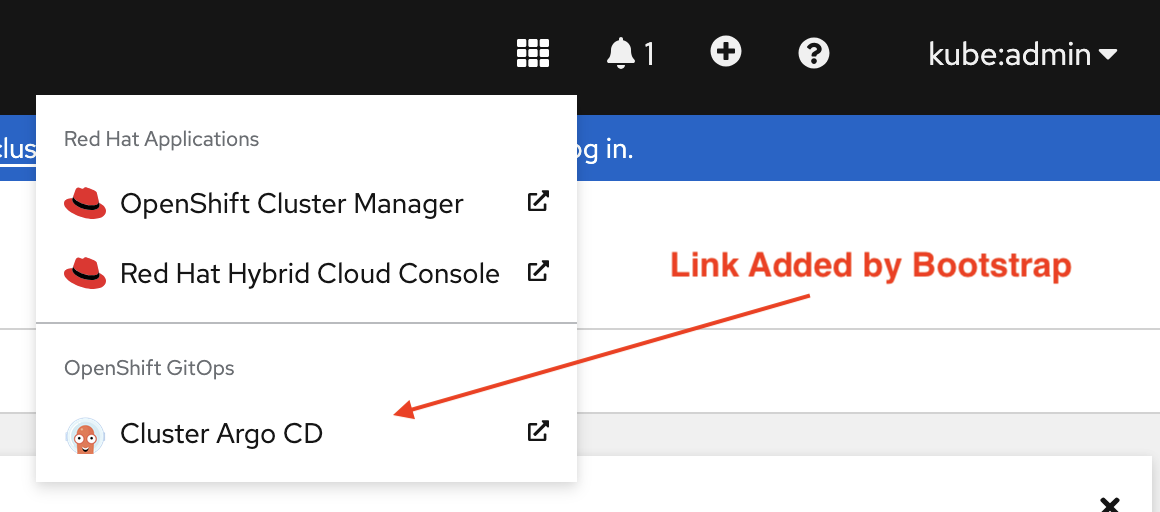
-
Log into the Argo CD link with the Openshift credentials and wait till everything syncs successfully.
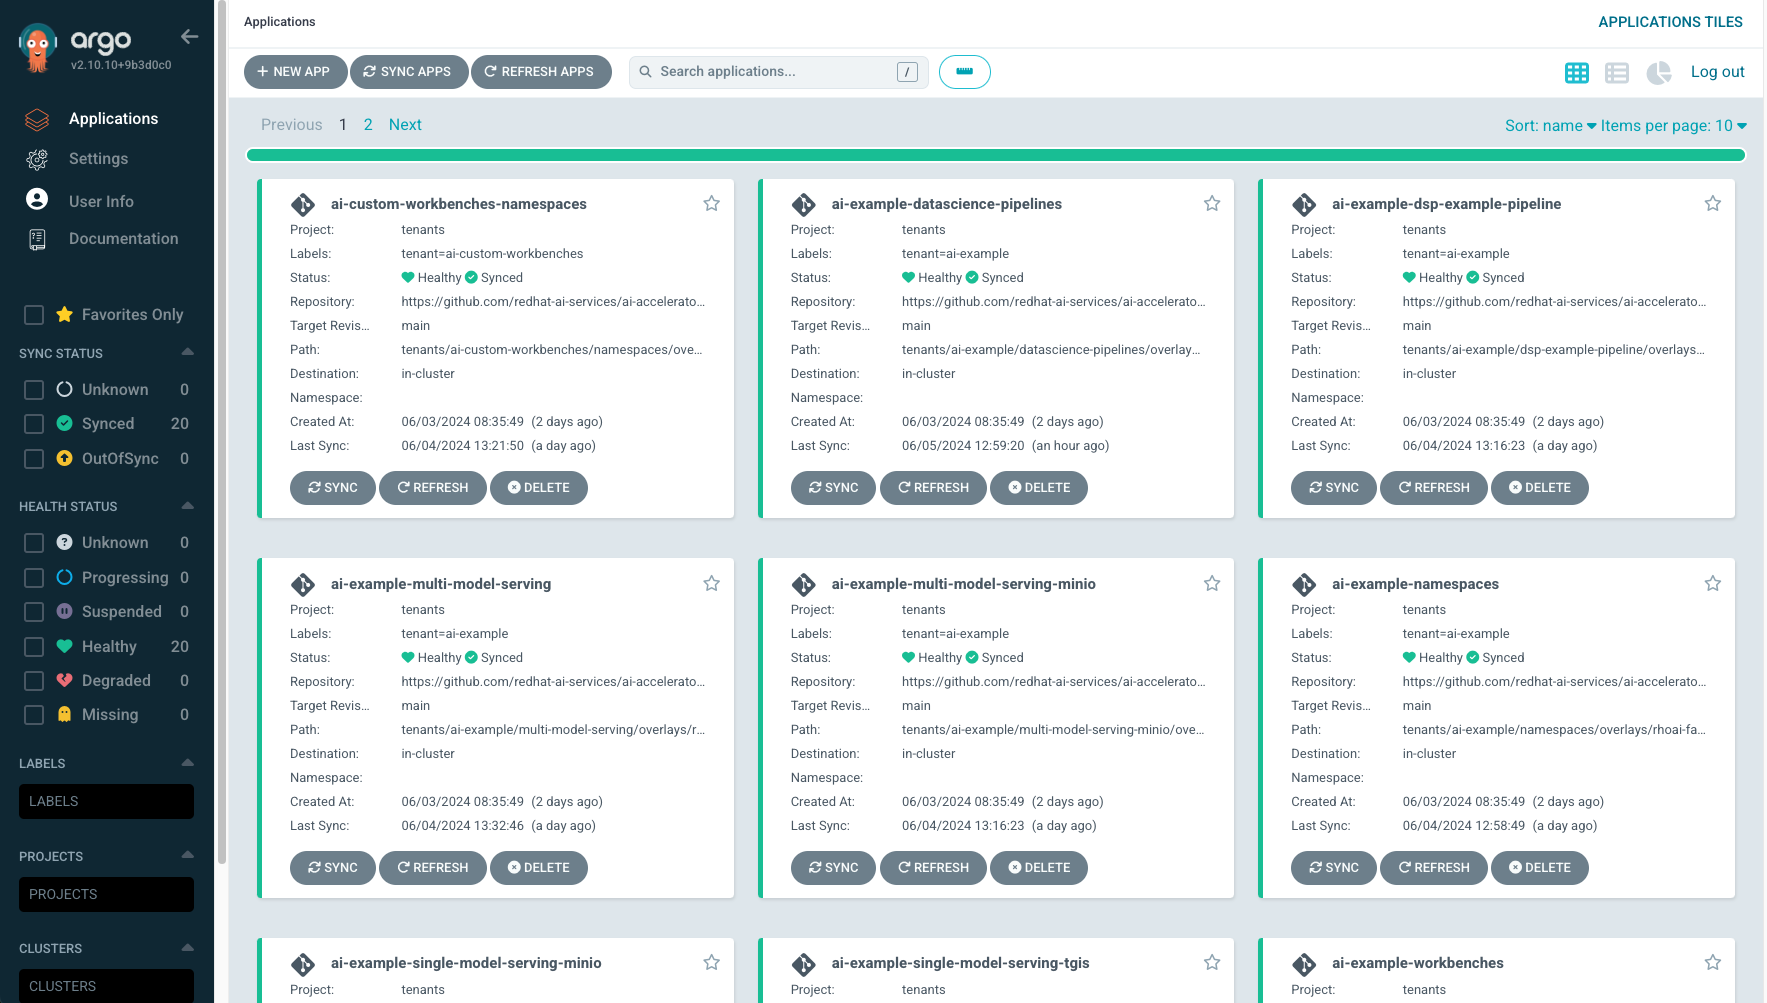
This will take around 25-30 minutes for everything to provision and start up. You can monitor the status of all the components in the ArgoCD console.
| Once provisioned, the project will create a link to ArgoCD in the Applications menu of OpenShift. However you can also copy the ArgoCD URL from the terminal once the bootstrap script has completed. |
This GPU overlay also uses MachineAutoscalers. Since there are Inferencing Service examples that use GPUs, a g5.2xlarge machineset (with GPU) will spin up. This can take a few minutes.
We will cover the ai-accelerator project overview in a later section.
Continue using the GPU cluster for the subsequent exercises.
Questions for Further Consideration
Additional questions that could be discussed for this topic:
-
What’s the difference between "bootstrapping" and "installing" the new OpenShift cluster?
-
Why is forking an open source project a good idea?
-
How can a project fork be used to contribute back to the parent project with bug fixes, updates and new features?
-
Could, or should the bootstrap shell script be converted to Ansible?
-
How does the bootstrap script provision GPU resources in the new OpenShift cluster? Hint: a quick walk through the logic in the source code should be a useful exercise, time permitting.
-
Where can I get help if the bootstrap process breaks?
-
Refer to the RHOAI lifecycle support document, can you explain what the difference between the
fast,stable,stable-2.16andeus-2.16channels? How should one pick which channel to use?
About RHOAI Channels
A: It’s complicated!
-
eus-X.Ychannels allow for upgrades from previous eus versions, for example the last RHOAI EUS version was 2.8, so you can upgrade from 2.8 to 2.16. This is ideal for customers who run RHOAI in a permanent installation, and who do not typically want unmanaged updates. -
stablechannels allow for major and minor version upgrades, for example RHOAI 2.16 to 2.17. This is ideal for environments that can be easily updated (such as lab or development clusters) -
stable-X.Ychannels allow for specific major versions to receive minor updates, for example RHOAI 2.16.0 to 2.16.1. Use this if you want to allow for patches, but prefer to stay on a specific major version. This is ideal for GitOps, allowing for automatic patching but staying on a specific version. -
fastchannels - here be dragons. You would typically only use this channel when testing out a brand new feature while working with engineering or support teams, in a very temporary lab style cluster.
Troubleshooting
Steps for checking the health of your environment:
-
In the OpenShift web console, navigate to the Home page and check the health of the cluster. Also verify if there are any crashed pods.
-
Verify that all operators are installed and running ok in the Installed Operators section
-
Check that the cluster has auto-scaled the nodes and machine sets, in the Compute section. Note that it can take up to 30 minutes to request a spot instance of a GPU enabled node, and some of the model servers will show in "failed" state until this availability problem is resolved through automatic scaling
-
Open GitOps (ArgoCD) and verify that everything is in synchronized state. Some components have dependencies on others, as we will discuss in further sections.
|
If the granite inference service fails to spin up, delete the deployment and Argo should redeploy it. oc delete deployment granite-predictor-00001-deployment -n ai-example-single-model-serving |
Setting up GitHub and SSH when using Bastion host
When attempting to clone from GitHub on the Bastion host, you’ll need to set up SSH and add a SSH Key in the GitHub settings.
Paste the text below, replacing the email used in the example with your GitHub email address:
ssh-keygen -t ed25519 -C "your_email@example.com"
Start the ssh-agent in the background, and add your SSH private key to the ssh-agent.
eval "$(ssh-agent -s)"
ssh-add ~/.ssh/myNewPrivateKEy
Finally, copy the SSH key and add it into GitHub.
More instructions can be found at: Generating a new SSH key and adding it to the ssh-agent