Introduction to Kubeflow Pipelines
In this module we will learn about how kubeflow pipelines are defined and how they can be run in Openshift AI with some examples.
Setup
To setup the environment for this, please follow the following steps:
-
In RHOAI and in the
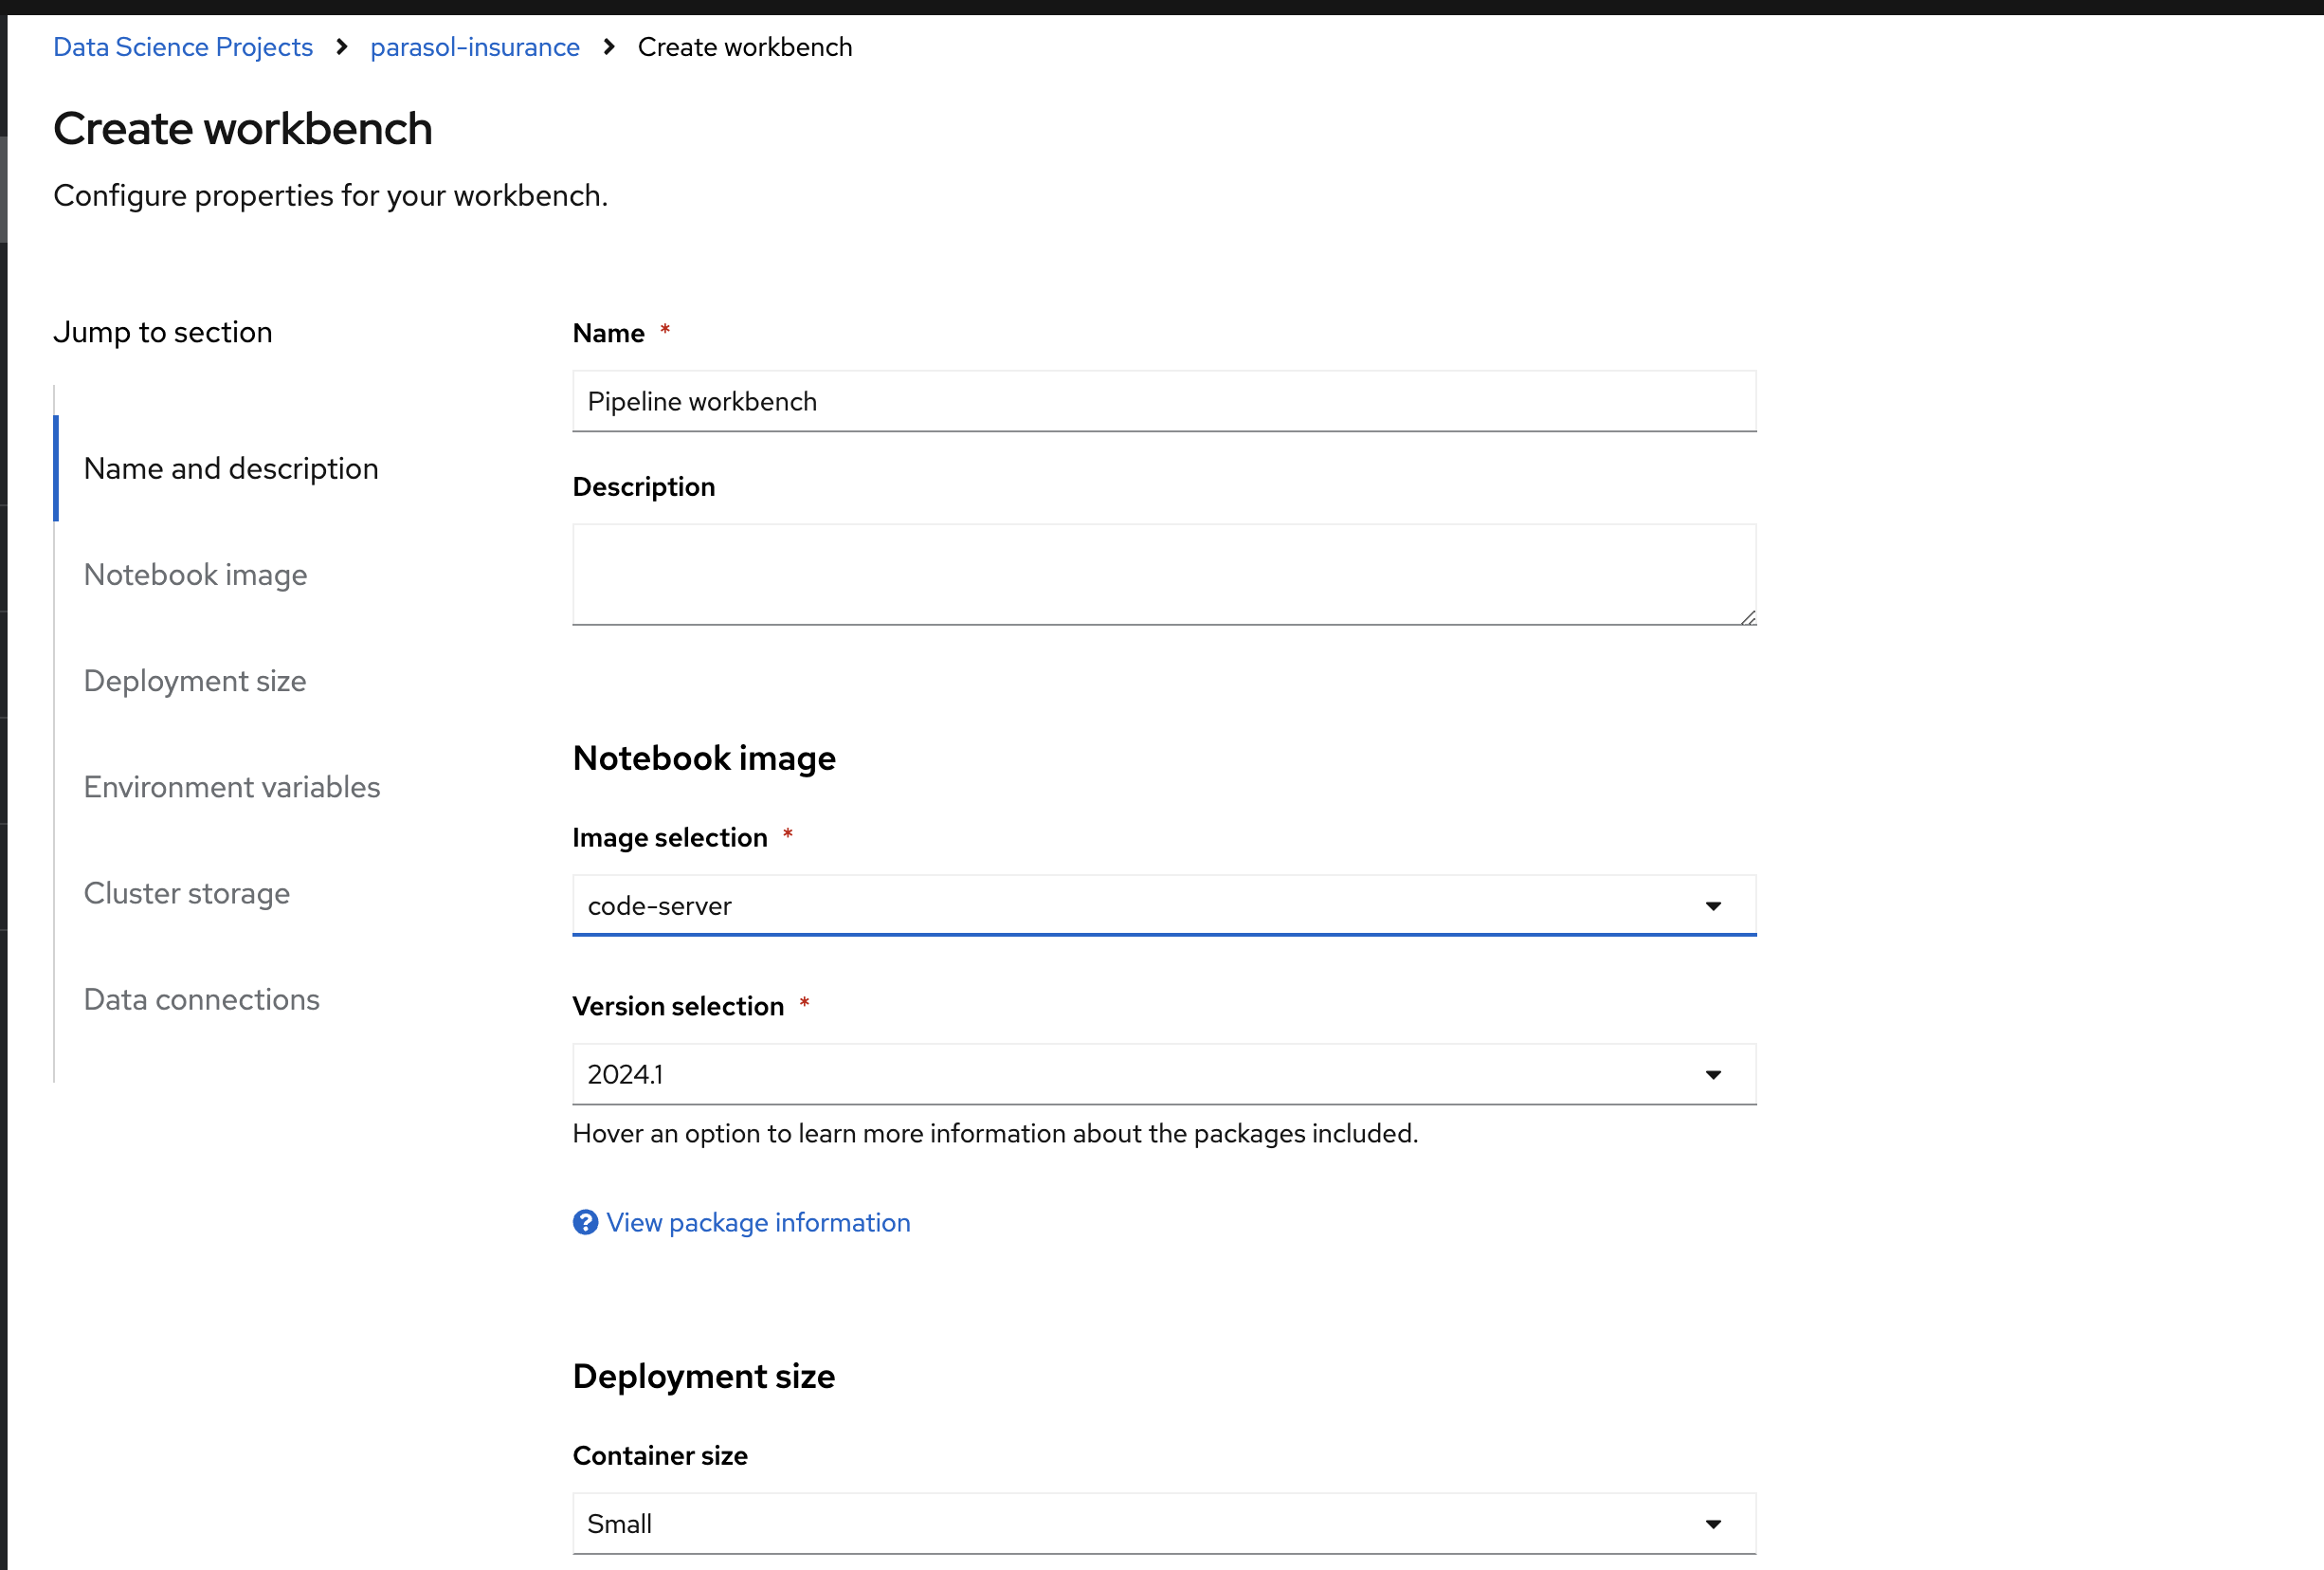
parasol-insuranceproject, create a workbench namedPipeline workbenchand use thecode-serverimage. Keep the other default options and click on Create
-
When the workbench starts running, open it and clone the following repository:
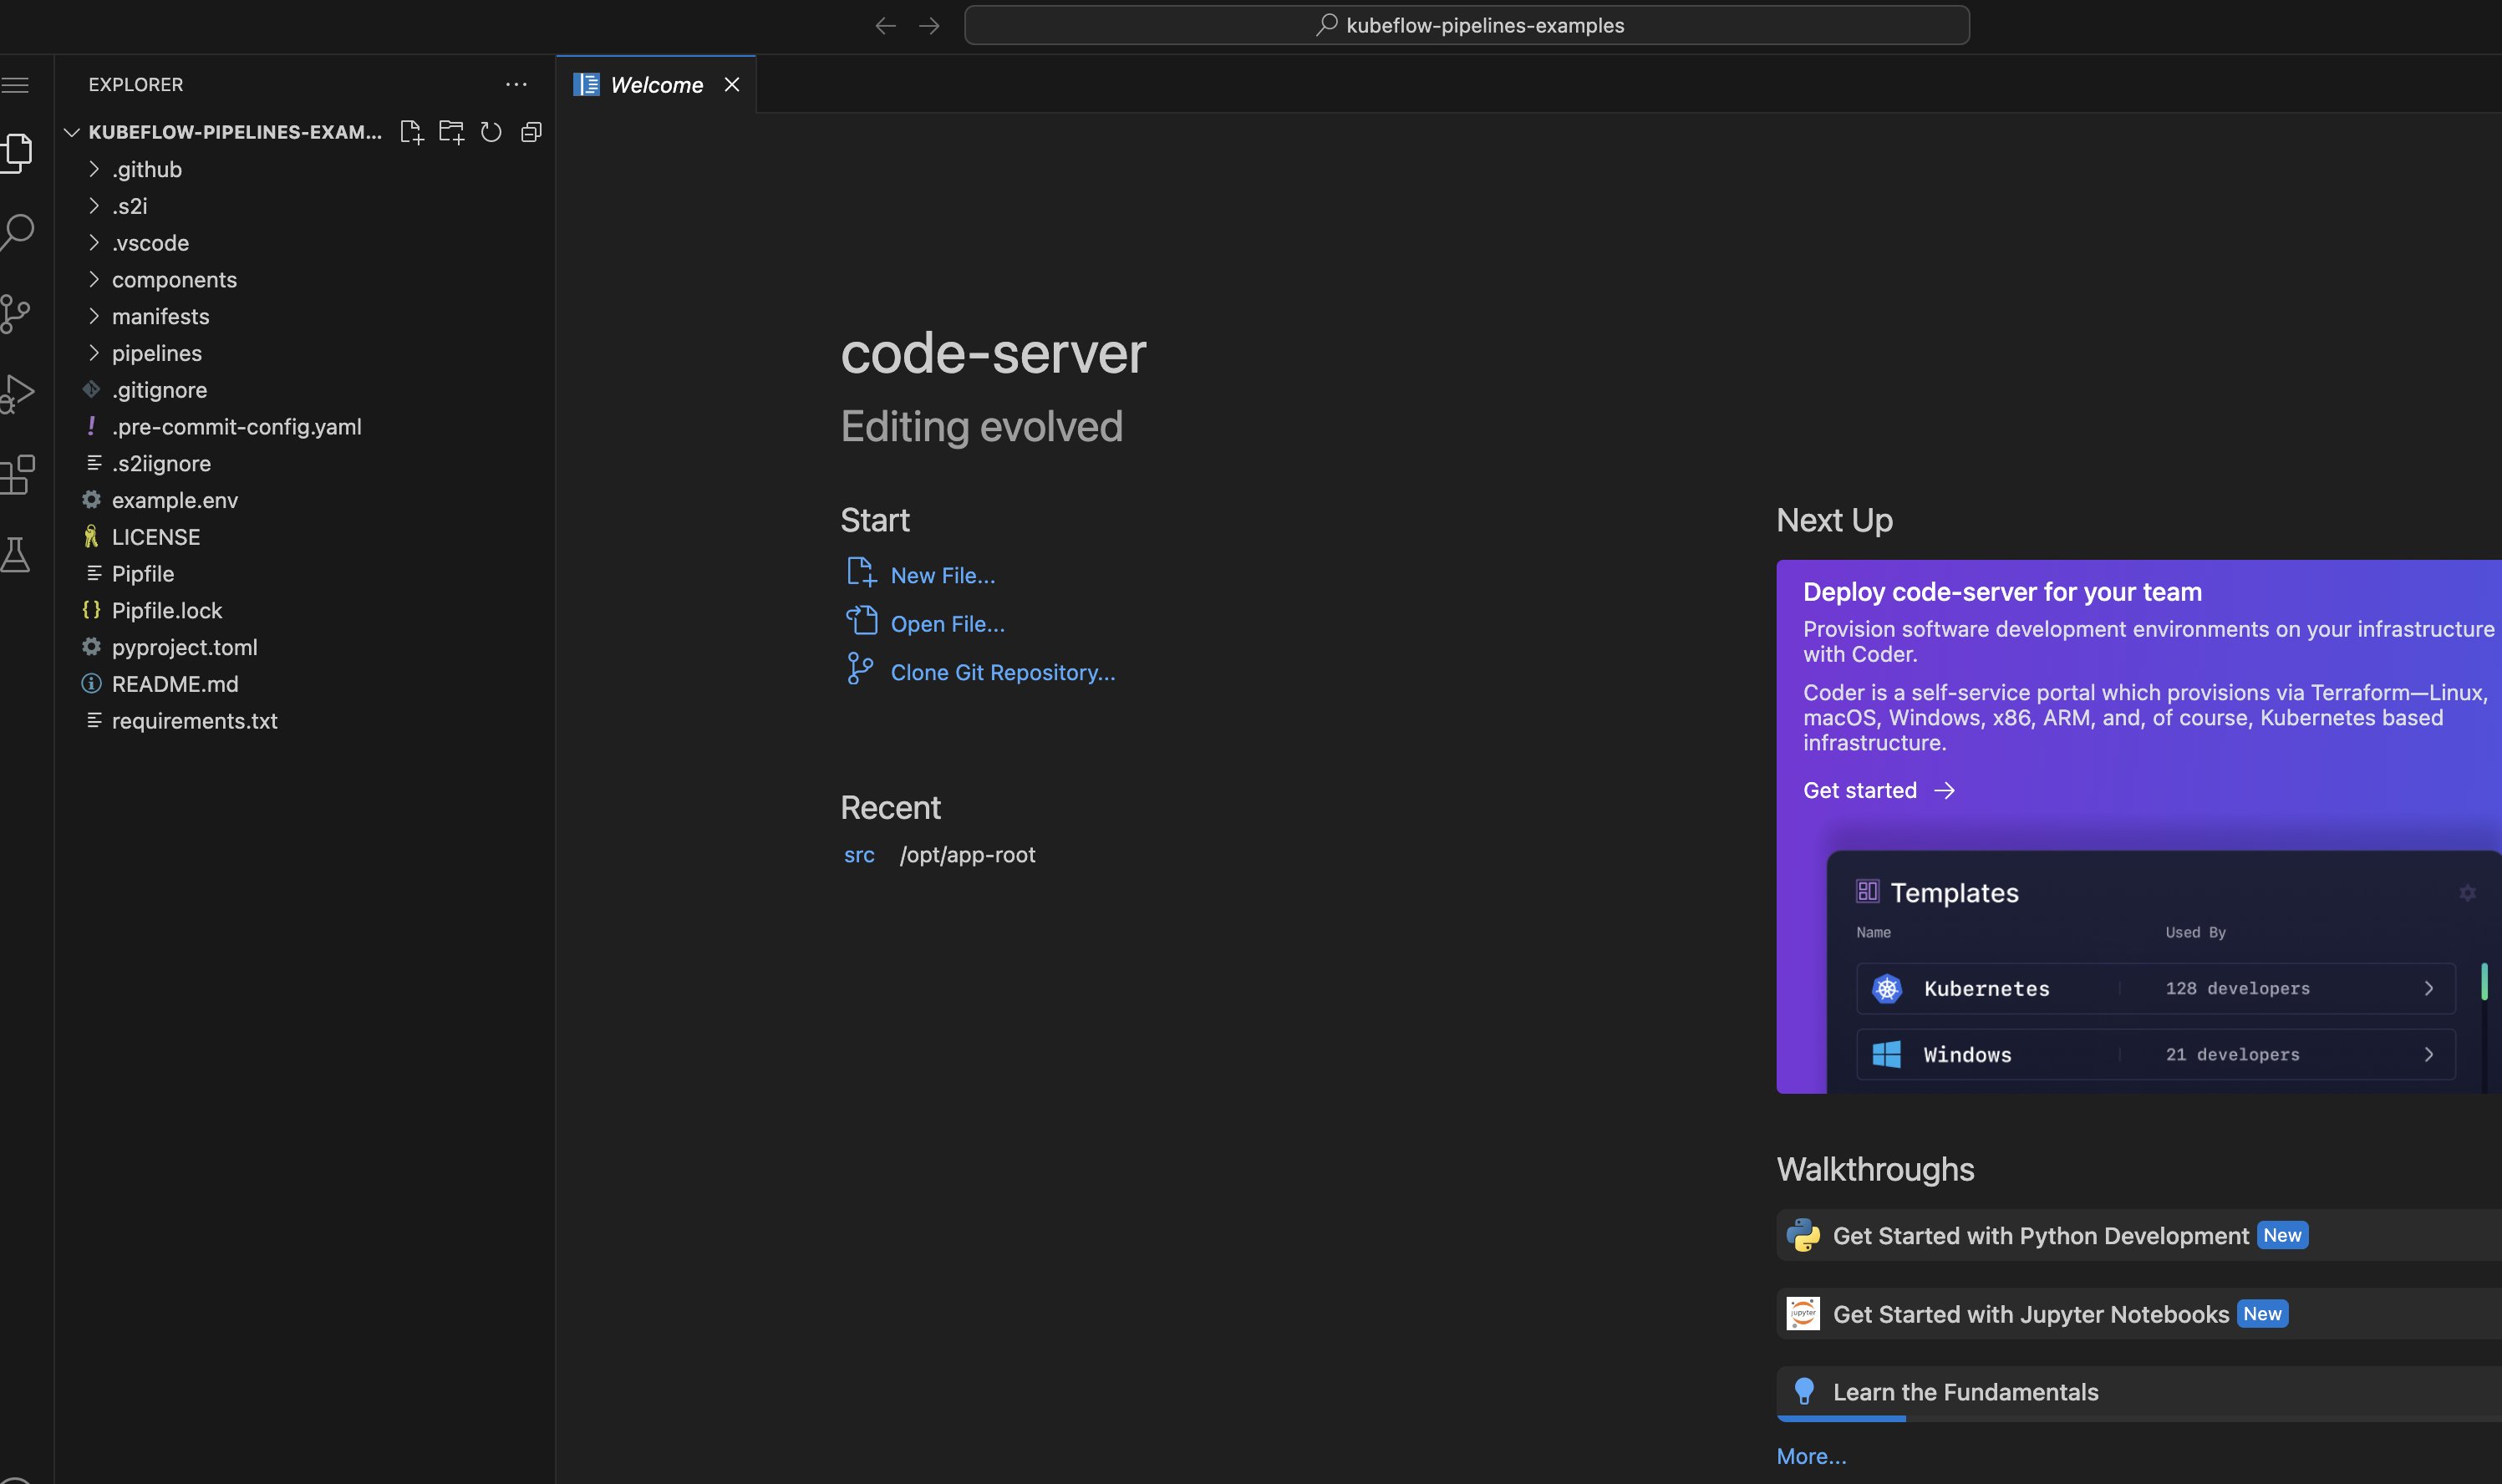
https://github.com/redhat-ai-services/kubeflow-pipelines-examples.git. You can keep the default path as /opt/app-root/src. Now open the folder that is cloned. Your window should look as follows:
-
Rename the
example.envfile to.env -
Open the .env file. We need to change some of the values.
-
In the
DEFAULT_STORAGE_CLASSadd the default storage class in your cluster. This isStorage → StorageClasses. -
The
KUBEFLOW_ENDPOINTvalue is theds-pipeline-dsparoute in theparasol-insurance namespace -
The
BEARER_TOKENcan be found in theCopy login command section
The env file should look as follows after all the changes are done.
-
DEFAULT_STORAGE_CLASS="ocs-external-storagecluster-ceph-rbd"
DEFAULT_ACCESSMODES="ReadWriteOnce"
KUBEFLOW_ENDPOINT="https://ds-pipeline-dspa-parasol-insurance.apps.cluster-vt9jb.dynamic.redhatworkshops.io"
BEARER_TOKEN="sha256~0QQ0VTC87TQf6GsOKxm6ay4-_sw8O4x7ZWvzzZVo34I~" # oc whoami --show-token
-
Open the terminal and run the following command to install pipenv:
pip install pipenv -
Now we can install all the packages that are defined in the Pipfile. We can do this with the command:
pipenv install -
Now our environment is ready to run all the examples. Check if you get an output with the command:
pip list | grep kfp
Pipeline examples
-
All the pipeline examples are in the
pipelinesfolder -
Open the file
00_compiled_pipeline.py. This is a very basic example of how to create a kfp pipeline. In this we are compiling the pipeline into a yaml file. To run the pipeline go to the terminal and execute the command:
python pipelines/00_compiled_pipeline.py
-
This will generate a yaml file named '00_compiled_pipeline.yaml'
-
Download this file to your local machine
-
Now go to RHOAI and into the Data Science Pipelines section. Click on
Import pipelineand upload the file. -
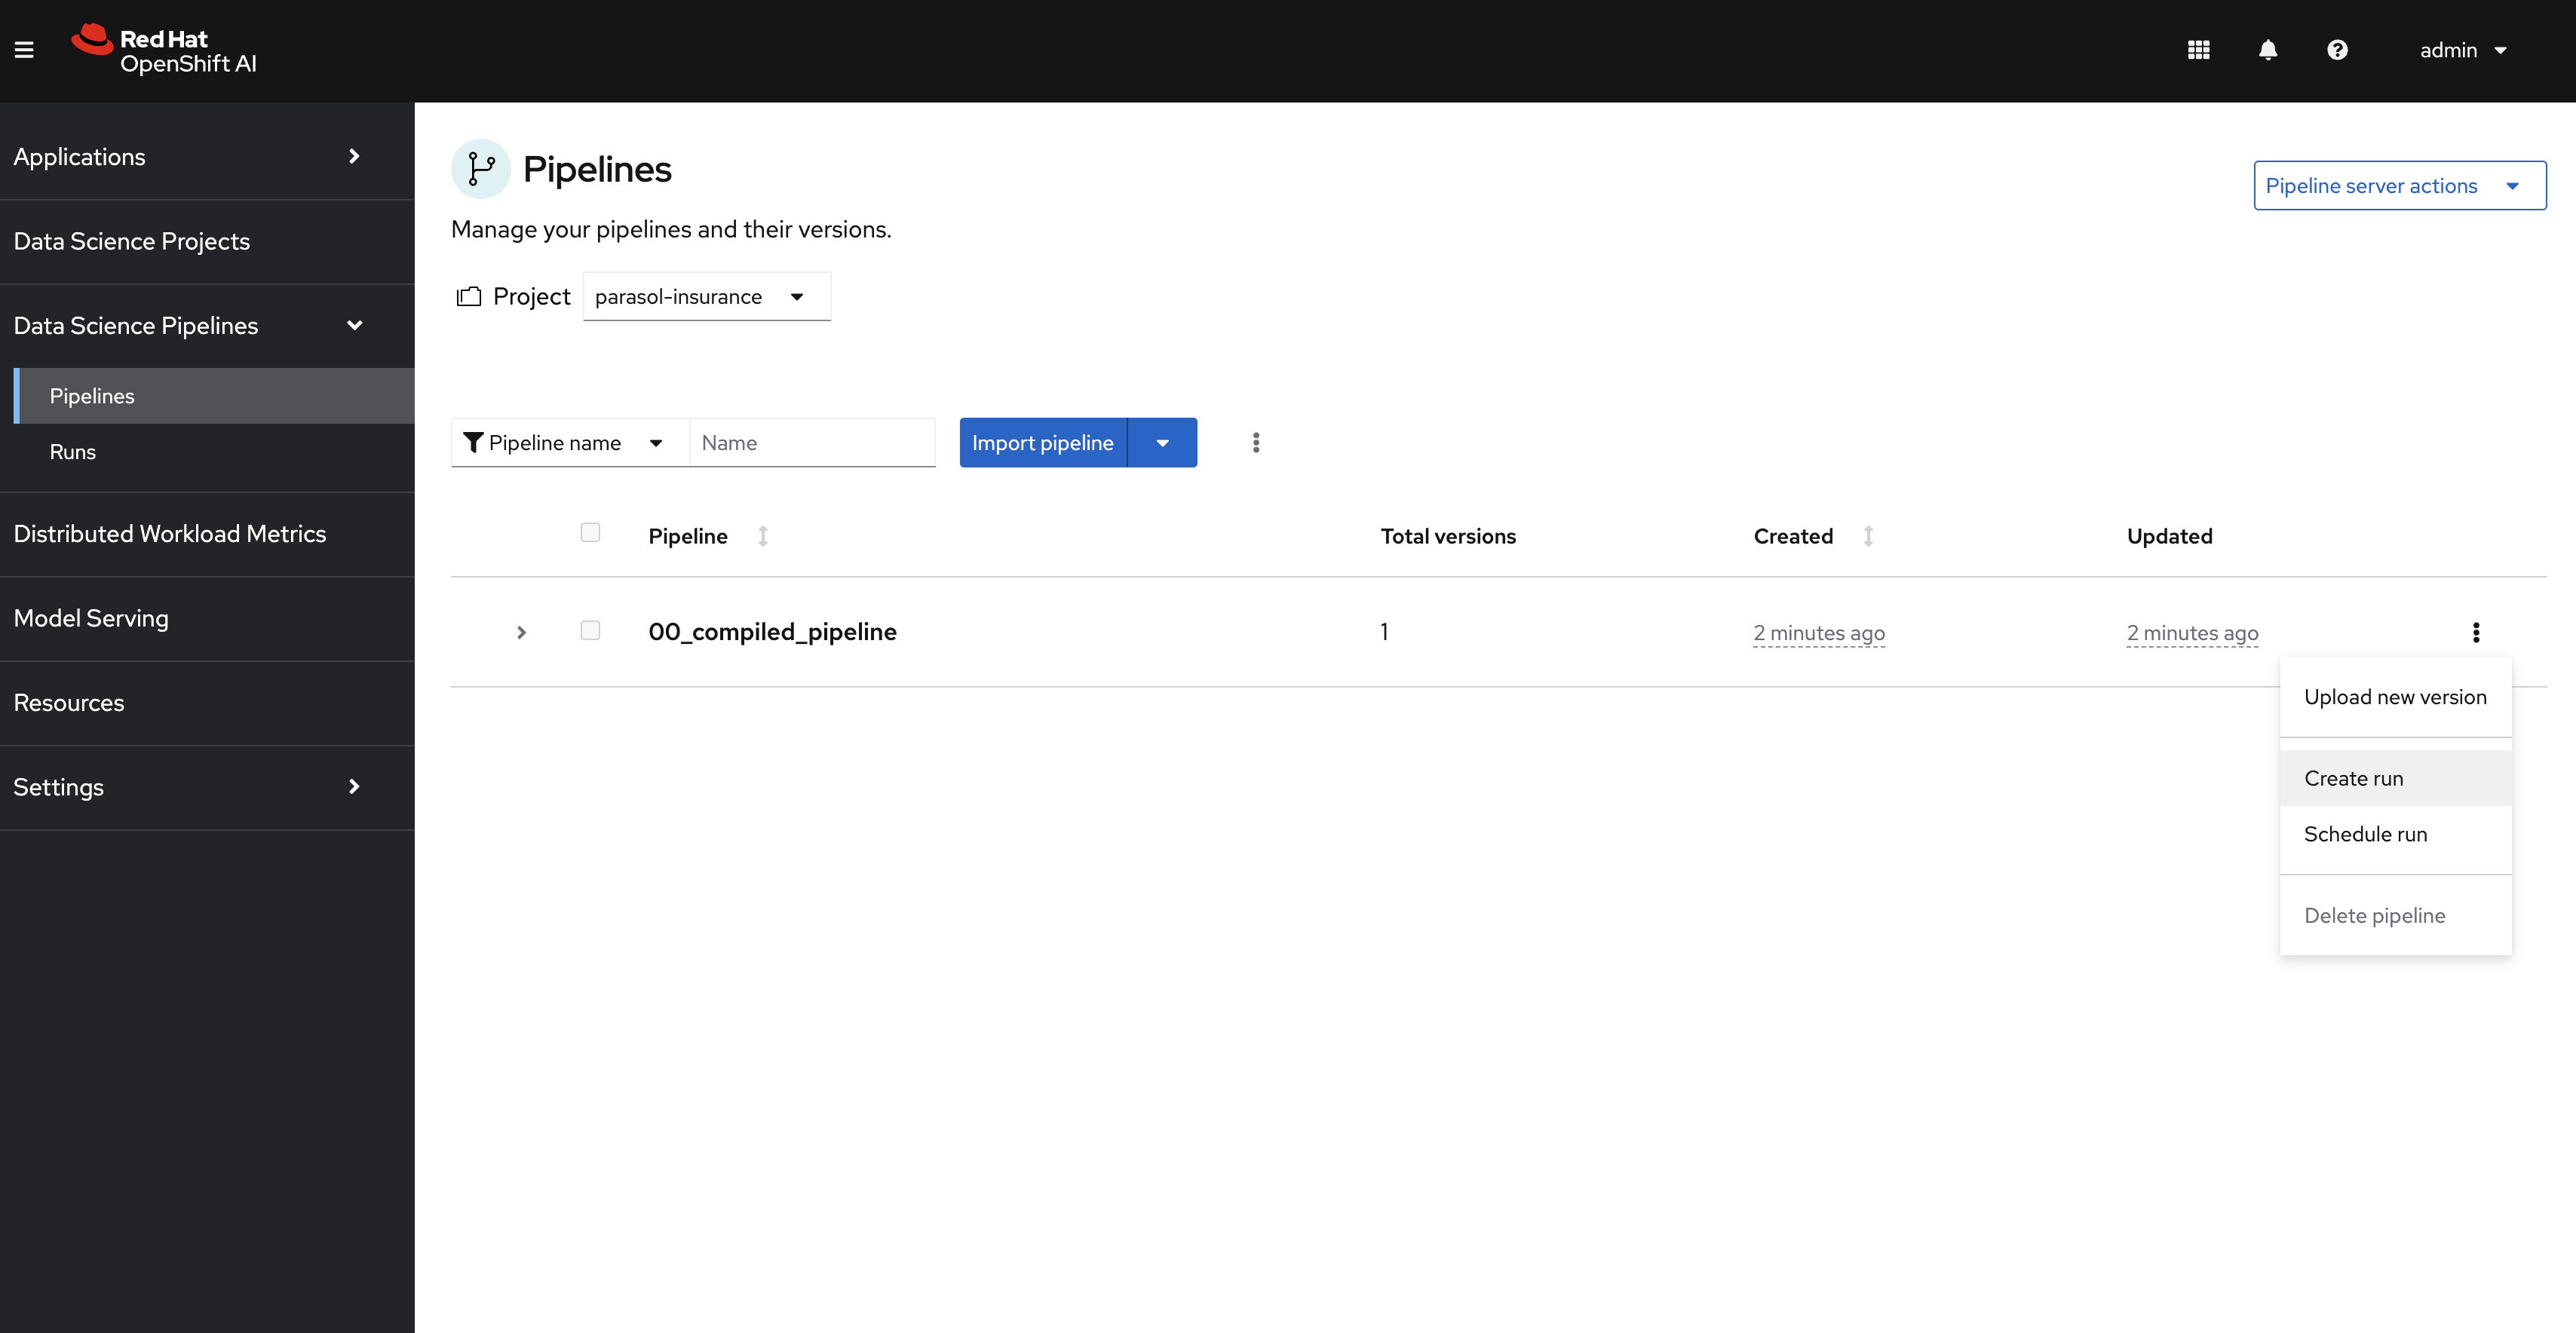
To run this pipeline click on the Create Run option as follows:

-
To check the run, go to the Runs section under the Data Science Pipelines section
-
Next we will check the file
01_test_connection_via_route.py. This just checks if we can connect to kfp with the route that we entered in the .env file. To run this go to the terminal in the notebook and execute the command:python pipelines/01_test_connection_via_route.py -
As we saw in the first example, compiling the pipeline and importing it in RHOAI is a little tedious. The next example '02_submitted_pipeline_via_route.py' shows us how we can submit the pipeline directly from our notebook. To run this go to the terminal in the notebook and execute the command:
python pipelines/02_submitted_pipeline_via_route.pyThis will create a pipeline and also submit a run. To view this run go to
RHOAI Dashboard→Experiments→Experiments and runs.
-
The next file,
03_outputs_pipeline.py, introduces the output capability. Run it in the notebook terminal with the below command and check the output in the Runs section in RHOAI:python pipelines/03_outputs_pipeline.py -
Similar to the previous file, the
04_artifact_pipeline.pyand05_metrics_pipeline.pyfiles introduces how to save artifacts and metrics respectively. Run them and check the output similar to the previous file. -
Skip the files
06_visualization_pipeline.pyand07_container_components_pipeline.pyas they dont work in the kfp v2 version. -
The
08_additional_packages_pipeline.pyshows how we can install additional packages on top of the base image through thepackages_to_installfeature of kfp. This is a great feature for experimentation. Run it with the command below and check the output in the Runs section:python pipelines/08_additional_packages_pipeline.py -
Run the
09_secrets_cm_pipeline.py. This pipeline shows how we can access secrets and config maps in out pipelines.Hint: We need to add configmap and secret.
Solution
--- apiVersion: v1 kind: Secret metadata: name: my-secret namespace: parasol-insurance type: Opaque stringData: my-secret-data: thisisasecretvalue --- apiVersion: v1 kind: ConfigMap metadata: name: my-configmap namespace: parasol-insurance data: my-configmap-data: thisisaconfigmapvalue -
Run the
10_mount_pvc_pipeline.py. This pipeline shows how we can access pvcs in a pipeline.Hint: We need to add PVC
Solution
kind: PersistentVolumeClaim apiVersion: v1 metadata: name: my-data namespace: parasol-insurance spec: accessModes: - ReadWriteOnce resources: requests: storage: 1Gi volumeMode: Filesystem -
The
11_iris_training_pipeline.pypipeline file showcases how to define an end to end pipeline. This pipeline contains steps like data prep, training the model, validating the model, converting it into onnx format and evaluating the model. This is a great basic example to study how data science pipelines work.