Deploying a Model with vLLM on a single node with multiple GPUS
In this section will will deploy a Granite 3.3 8B Instruct model using vLLM.
For our Model Server we will be deploying a vLLM instance using a model packaged into an OCI container with ModelCar.
|
ModelCar is Generally Available as of OpenShift AI 2.16. ModelCar is a great option for smaller models like our 8B model. While it is still a relatively large container (15Gb) it is still reasonable to easily pull into a cluster. Treating the model as an OCI artifact allows us to easily promote the model between different environments using customers existing promotion processes. By contrast, dealing with promoting models between S3 instances in different environments may create new challenges. |
Creating the vLLM Instance
-
Open the OpenShift AI Dashboard and select the
vllmproject from the list of Data Science Projects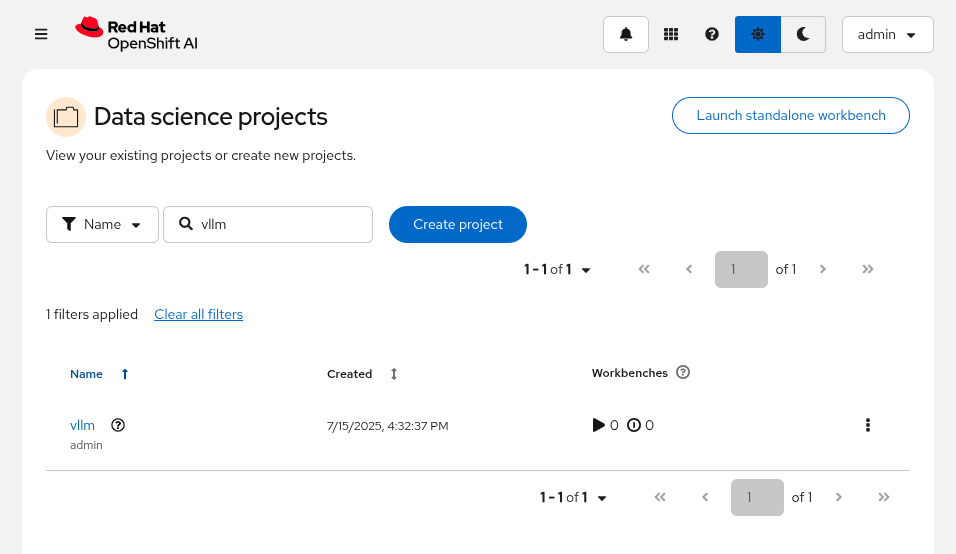
-
Select the
Modelstab and clickSelect single-model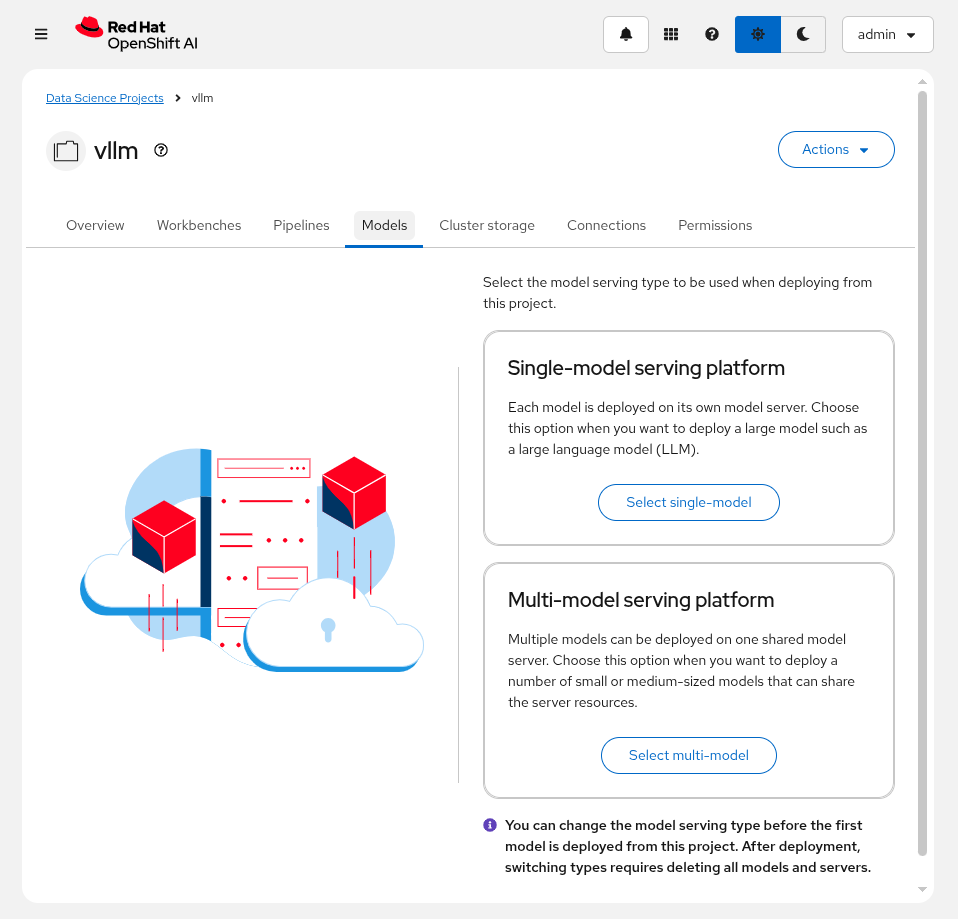
-
Select
Deploy model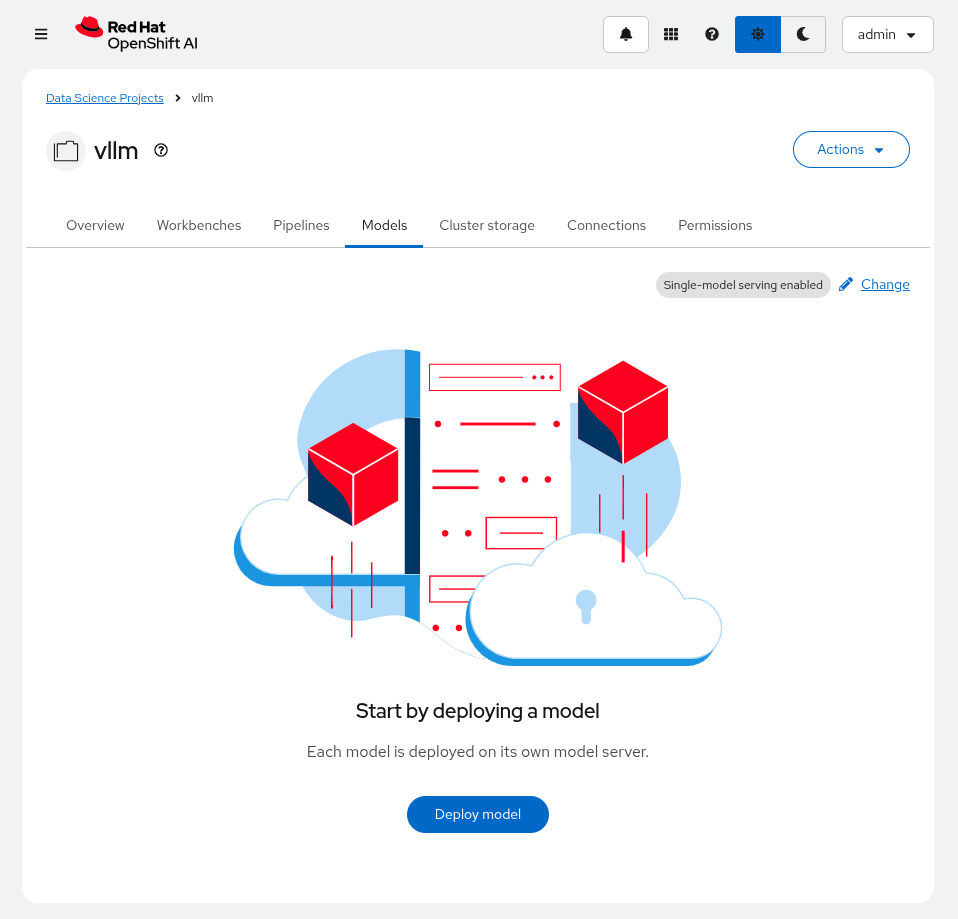
-
Enter the following information:
Model deployment name: granite-8b
Serving runtime: vLLM NVIDIA GPU ServingRuntime for KServe
Deployment mode: Advanced
Number of model server replicas to deploy: 1
Model server size: Custom
CPUs requested: 4 Cores
CPUs limit: 8 Cores
Memory requested: 24 GiB
Memory limit: 32 GiB
Accelerator: NVIDIA GPU
Number of accelerators: 1
Make deployed models available through an external route: Checked
Require token authentication: Unchecked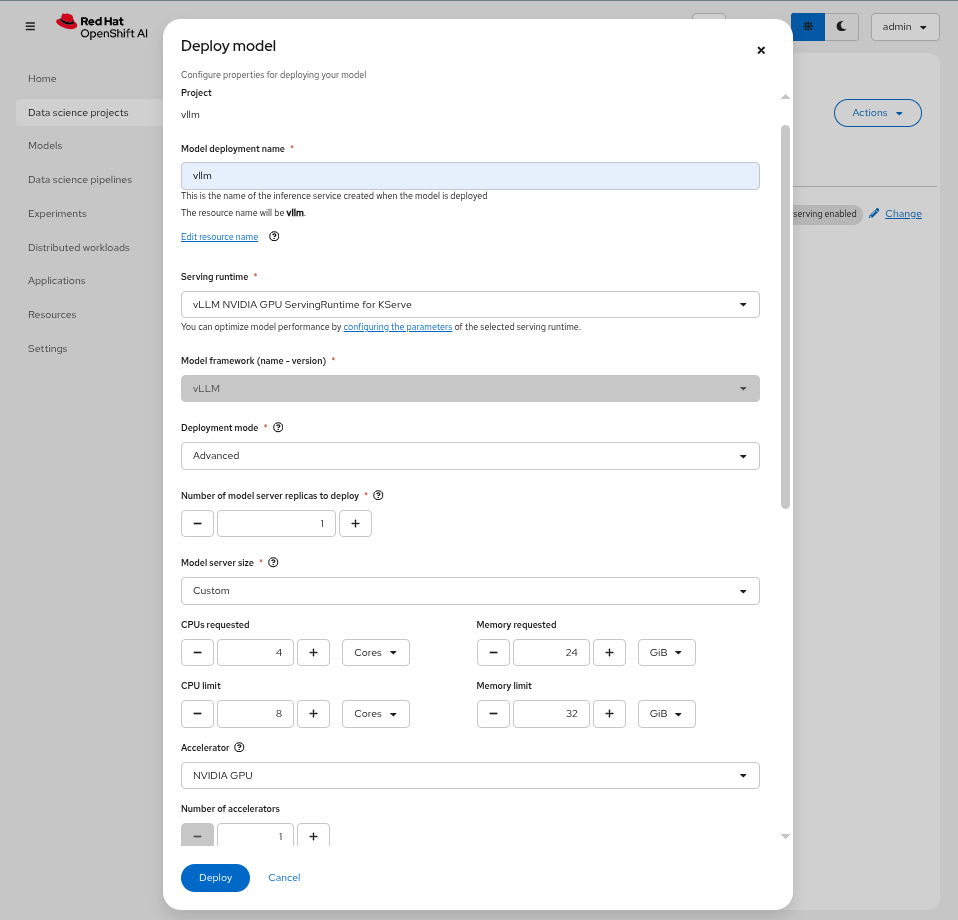
change me
-
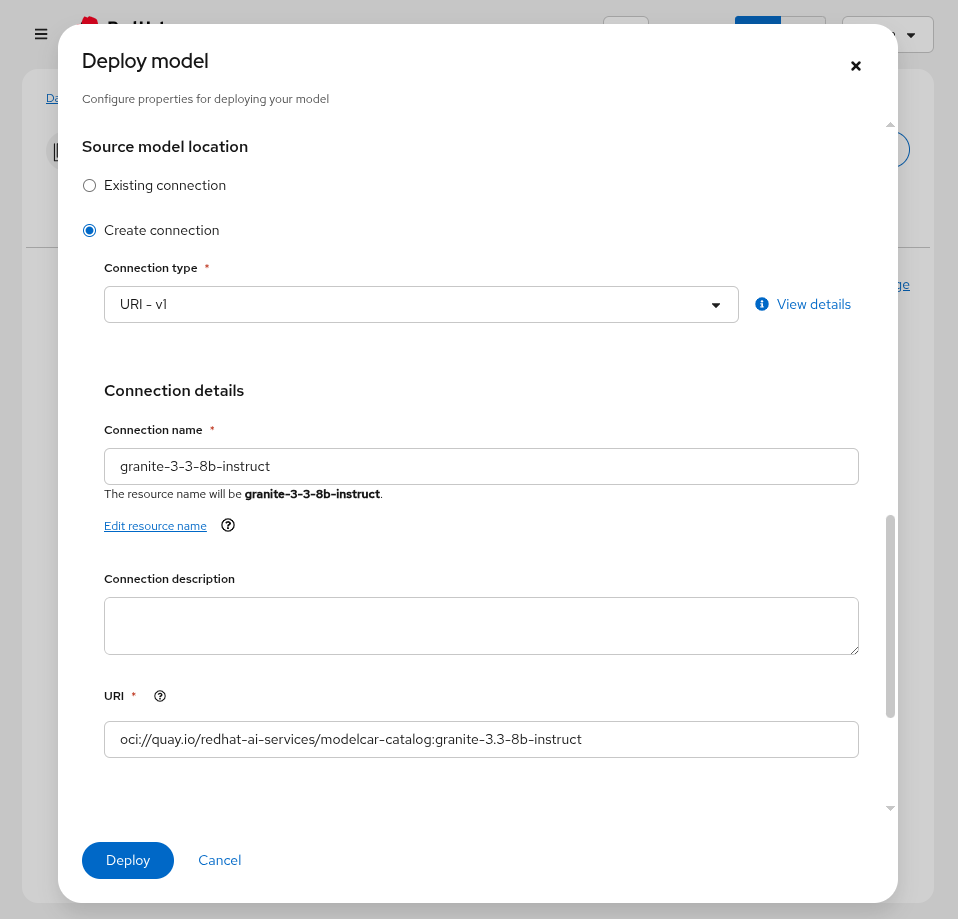
In the
Source model locationsection, choose the option toCreate connection. Enter the following information:Connection type: URI - v1 Connection name: granite-3-3-8b-instruct URI: oci://quay.io/redhat-ai-services/modelcar-catalog:granite-3.3-8b-instruct
|
You can find the image container our model here alongside other ModelCar images that you can try. Additionally, the source for building these ModelCar images can be found on GitHub. For more information on ModelCar see the KServe Serving models with OCI images documentation. |
|
A copy of the image has already been pulled onto the GPU node to help speed up deploying the model, but deploying LLMs can take quite some time. KServe uses KNative Serverless to manage the model servers which has a default timeout of 10 minutes which means that if the model server takes longer than 10 minutes to deploy it will automatically terminate the pod and mark it as failed. You can extend the timeout by adding the following annotation to the |
After creating the model serving instance, a granite-8b-predictor-00001-deployment-*vllm
oc get pods -n vllm
NAME                                              READY   STATUS            RESTARTS   AGE
granite-8b-predictor-00001-deployment-5cd766d5f-t52qm   0/4     PodInitializing   0          43s
If we go ahead and see the logs for the pod, it will eventually fail:
ERROR 07-16 07:47:09 [core.py:387] ValueError: To serve at least one request with the models's max seq len (131072), (20.00 GiB KV cache is needed, which is larger than the available KV cache memory (3.84 GiB). Based on the available memory, Try increasing `gpu_memory_utilization` or decreasing `max_model_len` when initializing the engine.vLLM is failing to start because it does not have enough vRAM to support the sizing of the default KV Cache. At this point, we can limit the size of the KV Cache, or we can add additional GPU resources to the instance to increase the available vRAM. From the Models
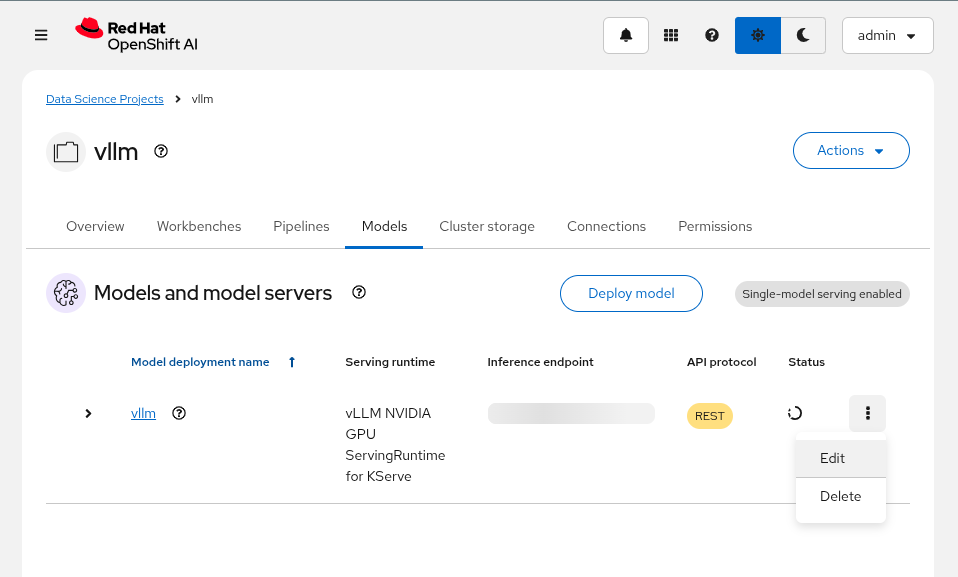
Then, update Number of acceleratorsAdditional serving runtime arguments
--tensor-parallel-size=2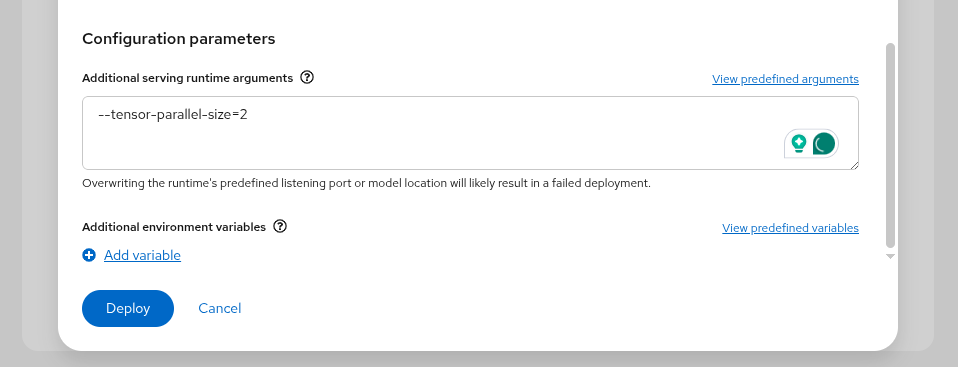
This will create an updated deployment called granite-8b-predictor-00002-deployment-*
oc get pods -n vllm
NAME                                               READY   STATUS    RESTARTS   AGE
granite-8b-predictor-00002-deployment-6f7cdc67bd-8lhkn   3/4     Running   0          17s

oc logs -n vllm -f granite-8b-predictor-00002-deployment-6f7cdc67bd-8lhkn
INFO 07-16 07:53:42 [__init__.py:239] Automatically detected platform cuda.
INFO 07-16 07:53:45 [api_server.py:1034] vLLM API server version 0.8.5.dev411+g7ad990749
[...]
INFO:     Started server process [4]
INFO:     Waiting for application startup.
INFO: Application startup complete.-
A new vLLM instance will be created in the OpenShift AI Dashboard. Return to the OpenShift Web Console and check the pods in the
vllmproject. You should find a pod calledgranite-8b-predictor-00001-deployment-*. Check the podsEventsandLogsto follow the progress for the pod until it becomes ready. -
(Optional) The OpenShift AI Dashboard created two KServe objects, a
ServingRuntimeand anInferenceService. From the OpenShift Web Console, navigate to theHome>Searchpage and use theResourcesdrop down menu to search for and select those objects. Spend a few minutes reviewing the objects created by the Dashboard.
Checking our GPU usage
We can rsh into the pod and see the GPUs that have been made available to the pod with the nvidia-smi command.
To rsh into the pod, start out by getting the pod name:
oc get pods -n vllm
NAME                                               READY   STATUS    RESTARTS   AGE
granite-8b-predictor-00002-deployment-6f7cdc67bd-8lhkn   4/4     Running   0          17s
Then use the pod name to rsh into the pod:
oc -n vllm rsh granite-8b-predictor-00002-deployment-6f7cdc67bd-8lhkn
sh-5.1$
Finally, run the nvidia-smi command to view the available GPUs and the vRAM utilization.
nvidia-smi
Thu Jul 17 12:56:28 2025
+-----------------------------------------------------------------------------------------+
| NVIDIA-SMI 570.148.08             Driver Version: 570.148.08     CUDA Version: 12.8     |
|-----------------------------------------+------------------------+----------------------+
| GPU  Name                 Persistence-M | Bus-Id          Disp.A | Volatile Uncorr. ECC |
| Fan  Temp   Perf          Pwr:Usage/Cap |           Memory-Usage | GPU-Util  Compute M. |
|                                         |                        |               MIG M. |
|=========================================+========================+======================|
|   0  NVIDIA L4                      On  |   00000000:38:00.0 Off |                    0 |
| N/A   62C    P0             38W /   72W |   21582MiB /  23034MiB |      0%      Default |
|                                         |                        |                  N/A |
+-----------------------------------------+------------------------+----------------------+
|   1  NVIDIA L4                      On  |   00000000:3E:00.0 Off |                    0 |
| N/A   58C    P0             35W /   72W |   21582MiB /  23034MiB |      0%      Default |
|                                         |                        |                  N/A |
+-----------------------------------------+------------------------+----------------------+

+-----------------------------------------------------------------------------------------+
| Processes:                                                                              |
|  GPU   GI   CI              PID   Type   Process name                        GPU Memory |
|        ID   ID                                                               Usage      |
|=========================================================================================|
|    0   N/A  N/A             255      C   python                                21574MiB |
|    1   N/A  N/A             267      C   python                                21574MiB |
+-----------------------------------------------------------------------------------------+
Testing vLLM Endpoints
Accessing the Swagger Docs
To test our vLLM endpoint to make sure it is responding, we will start by accessing the Swagger docs for vLLM.
-
To start we will need to find the endpoint URL for the served model. From the OpenShift AI Dashboard, navigate to the Models tab and click on the
Internal and external endpoint detailsto find the URL.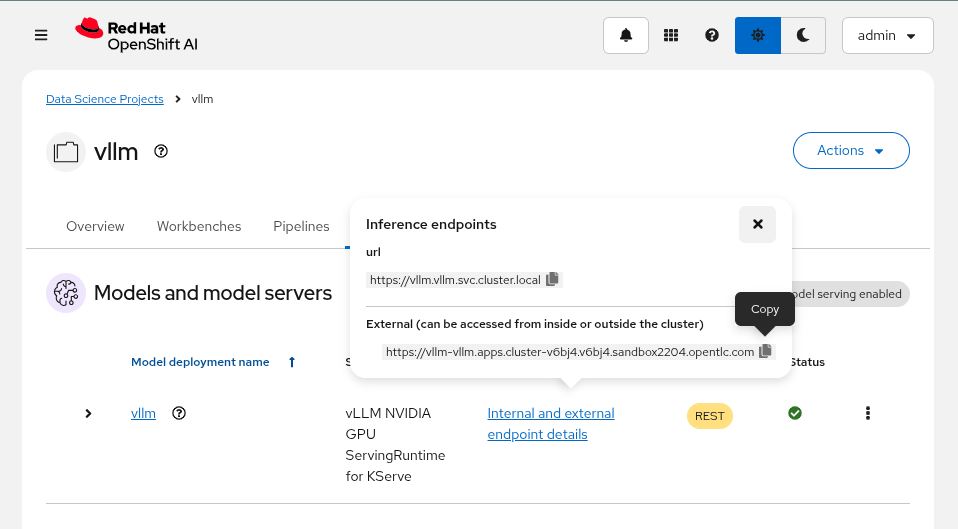
Our vLLM instance does not create a normal OpenShift route since we are deploying with Serverless mode so you won’t find it under the normal
Networking>Routesmenu.Instead it creates a KNative Serving Route object which can be found in
Serverless>Servingor with the following:oc get routes.serving.knative.dev -n vllm
-
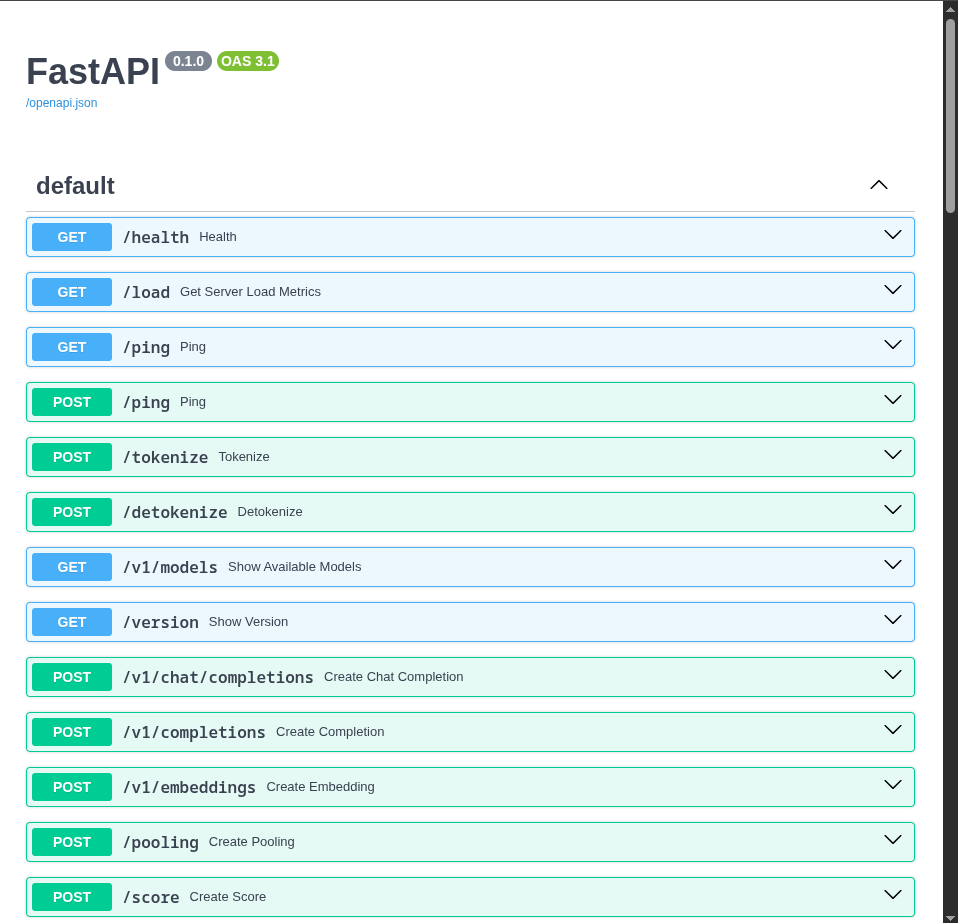
Use the
copyoption for the route found in the previous step and paste it into a new tab with/docsat the end to access a FastAPI Swagger Docs page for vLLM.
-
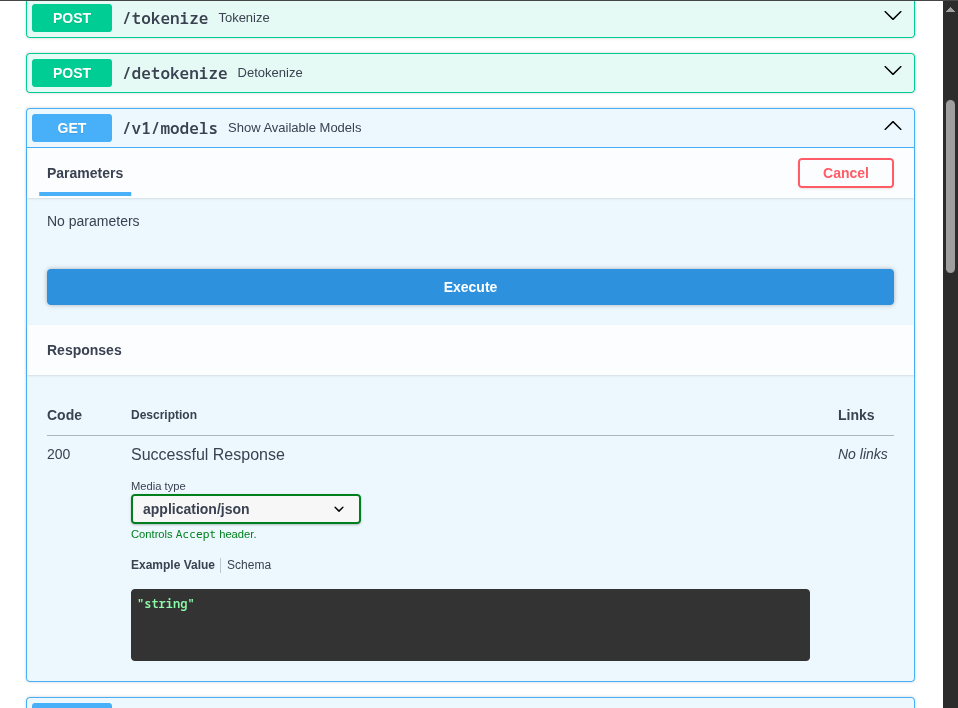
Use the
Try it outoption of theGET /v1/modelsendpoint to list the models being deployed by this server. Note that the id for our model matches the name of the model server we created in the OpenShift AI Dashboard.
+
|
Running into a 404 error on the OCP web console after trying this? Let us know to help identify a bug. To get around this, try accessing the OCP web console through an Incognito window or a different browser. |
-
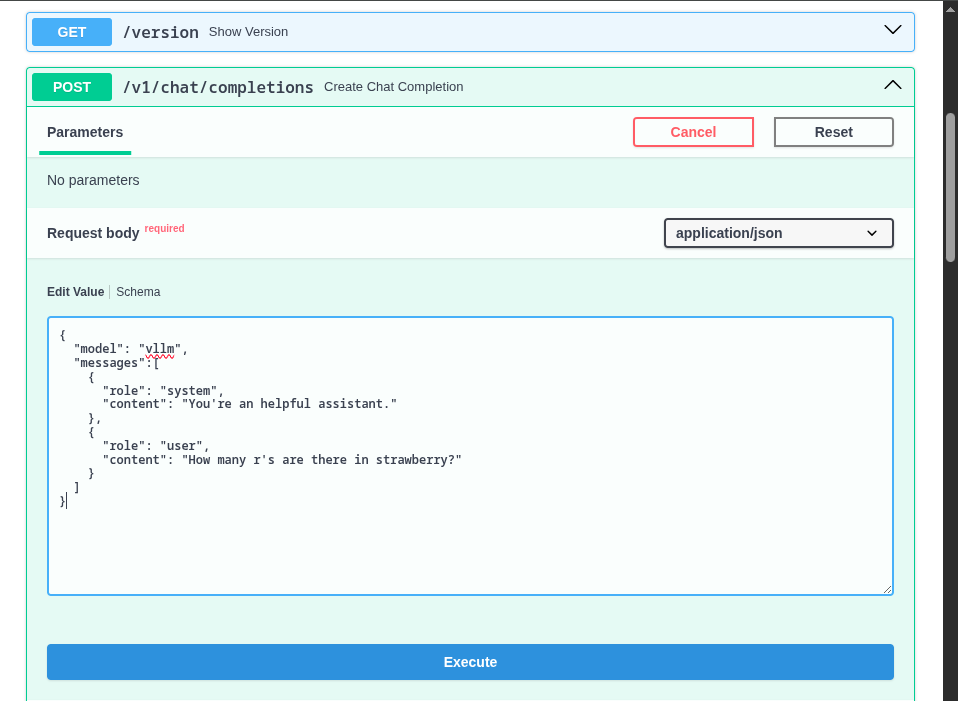
Once you have the model name, find the
POST /v1/chat/completionsendpoint and use theTry it outand use the following as the Request body.
{
  "model": "granite-8b",
  "messages":[
    {
      "role": "system",
      "content": "You're an helpful assistant."
    },
    {
      "role": "user",
      "content": "Who is Michael Jordan?"
    }
  ]
}
You should receive a response with an answer to the question.