Model Quantization Pipeline
This pipeline automates the process of quantizing machine learning models. It handles the same set of steps that we performed in the previous lab (downloading the model from Hugging Face, quantizing it, uploading the quantized version to S3 (MinIO), and evaluating its accuracy).
Pipeline Overview
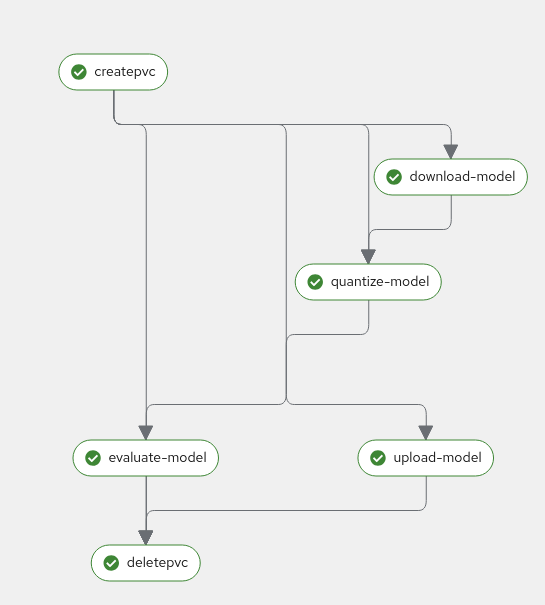
The pipeline consists of the following stages:
-
Create PVC: Creates a Persistent Volume Claim for storing model data
-
Download Model: Downloads the specified model from Hugging Face Hub
-
Quantize Model: Performs model quantization (supports int4 and int8 quantization)
-
Upload Model: Uploads the quantized model to a S3 (MinIO) storage location
-
Evaluate Model: Evaluates the quantized model’s accuracy
-
Delete PVC: Cleans up by deleting the PVC after completion
Prerequisites
-
Python 3.12
-
Kubeflow Pipelines SDK (
kfpandkfp_kubernetes) -
Access to OpenShift AI
-
S3-compatible storage data connection configured in OpenShift AI
Storage Requirements
The pipeline creates a PVC with:
-
Size: 30Gi
-
Access Mode: ReadWriteMany
-
Storage Class: standard
Make sure your cluster has the appropriate storage class available.
Data Connection Setup
Before running the pipeline:
-
Create a data connection in OpenShift AI pointing to your (MinIO) S3 storage. In the above example we reused the one created at Section 2.2 (Minio - models)
-
The data connection has the next mandatory fields:
-
Connection name: minio-models (harcoded in the source pipeline file)
-
Access Key
-
Secret Key
-
Endpoint
-
Bucket: need to ensure the bucket exists on S3 (MinIO) before triggering the pipeline
-
Workbench instructions
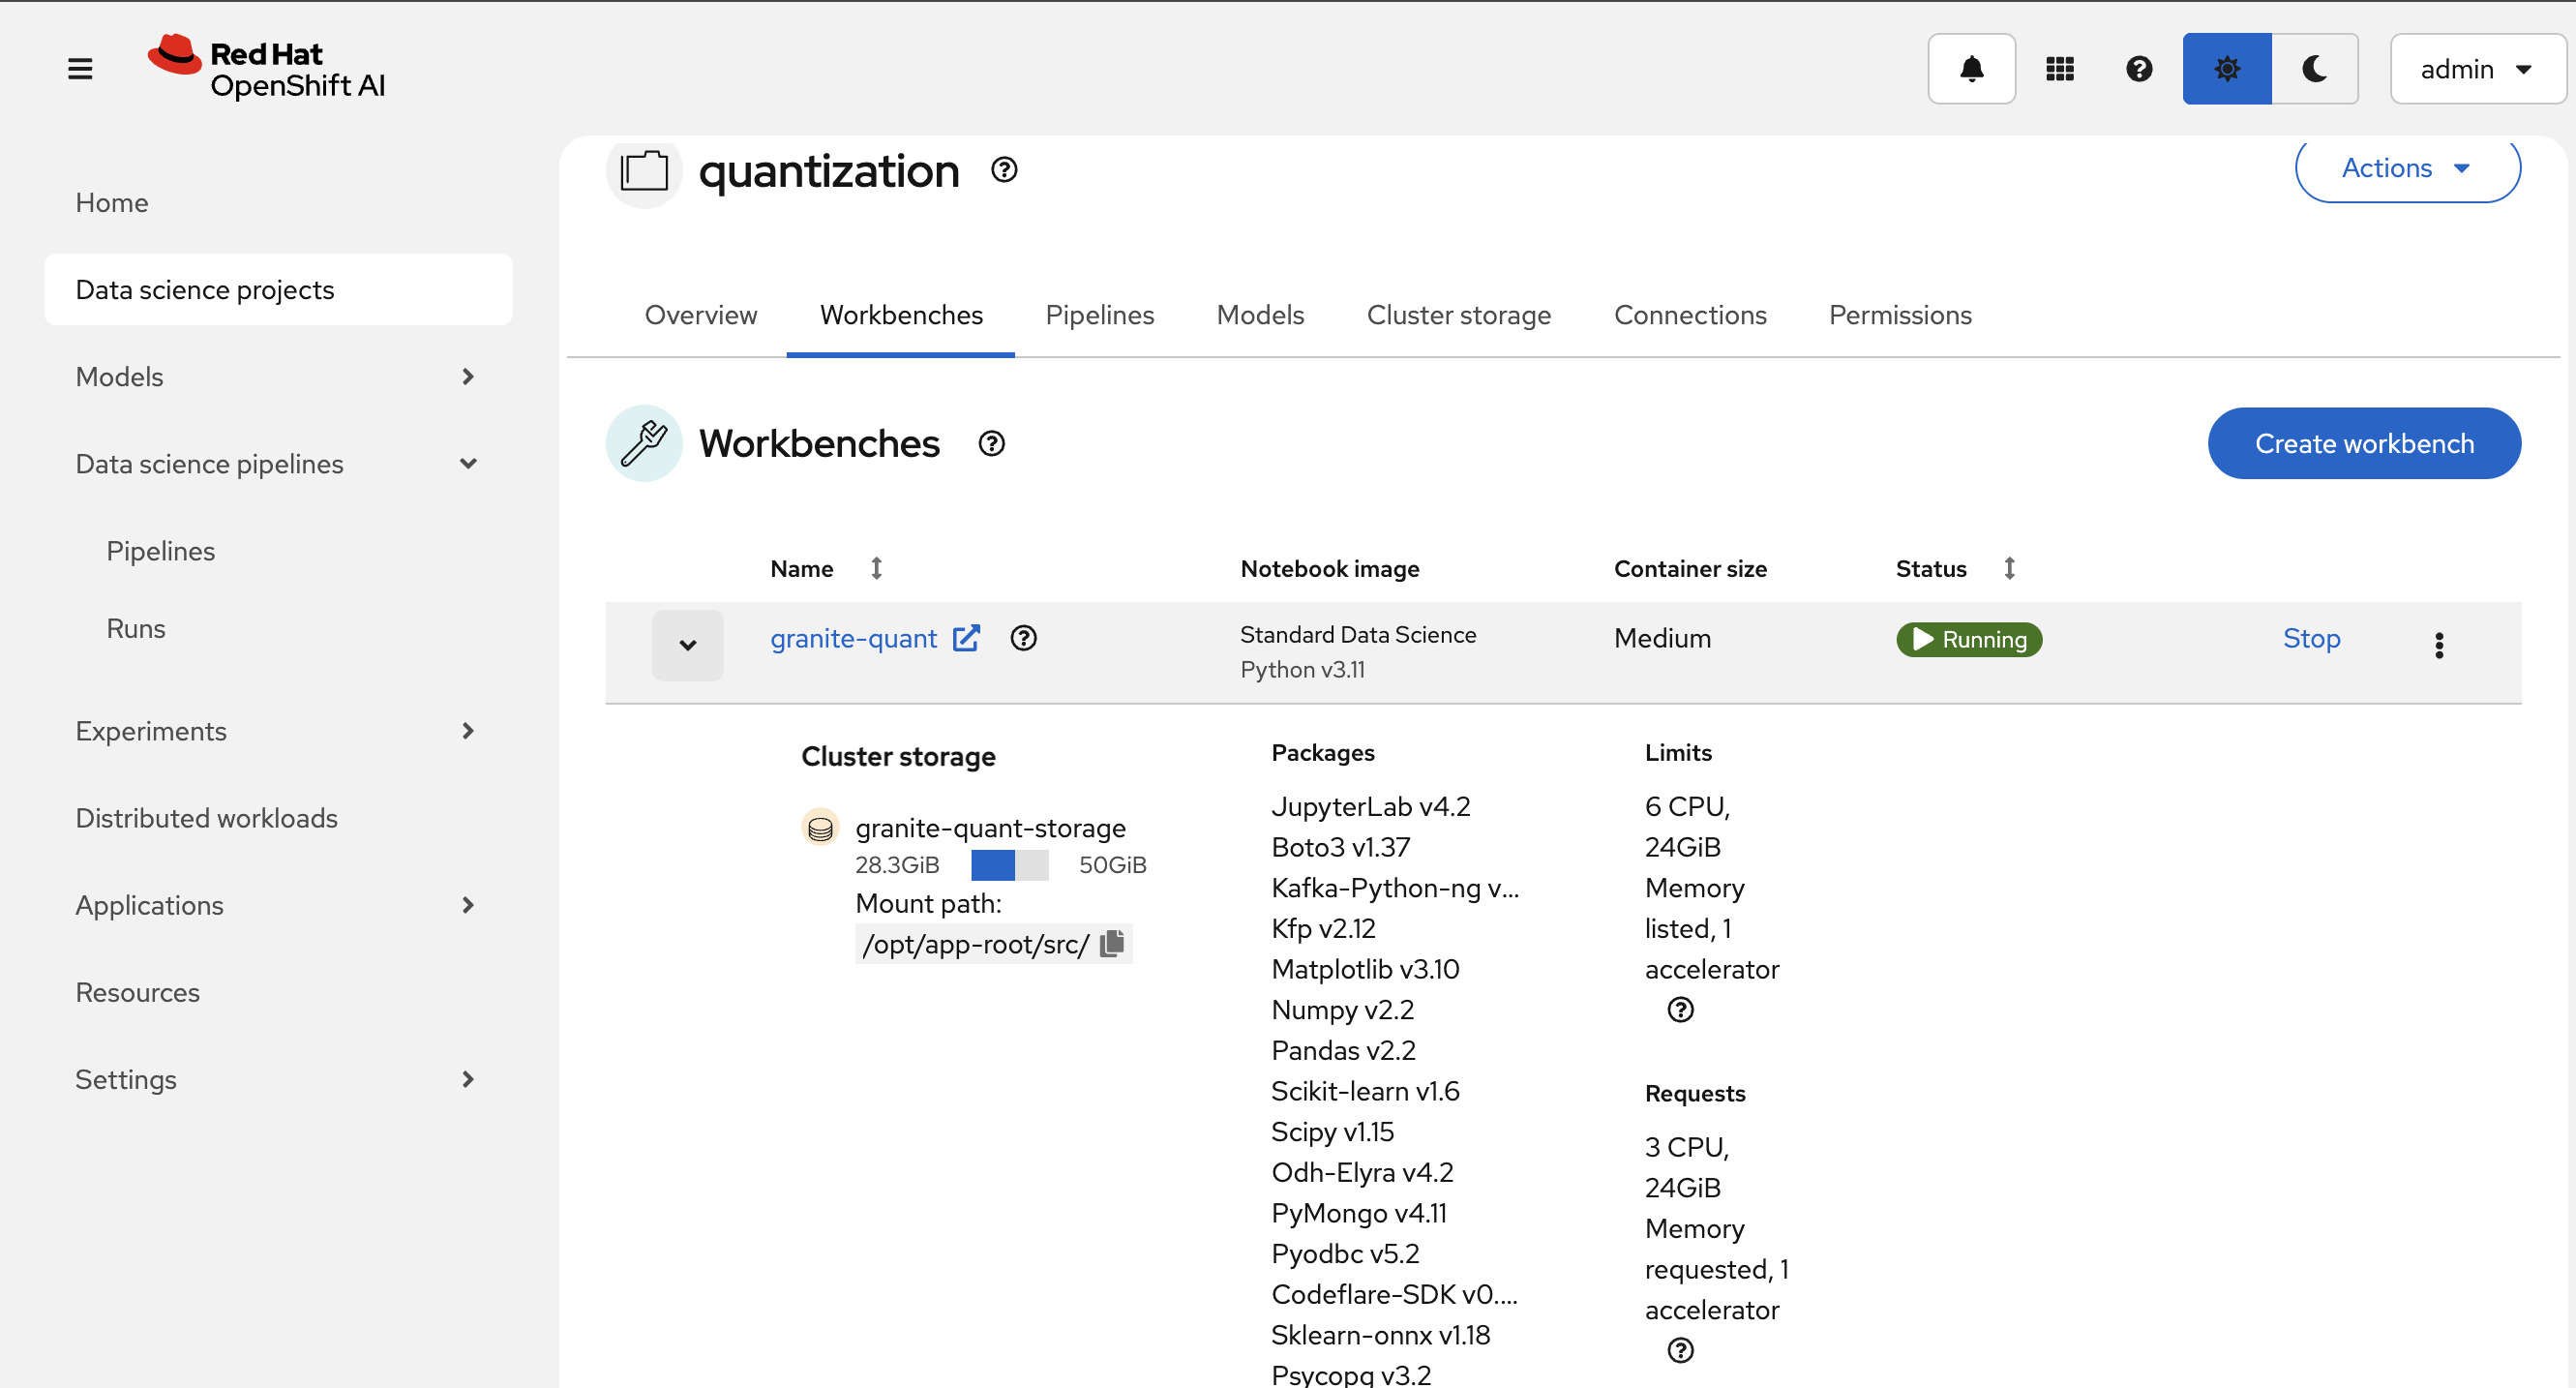
We are going to reuse the workbench created in the previous model quantization lab.
| If we stopped the workbench we need to start it again to use it to modify/compile the pipeline |
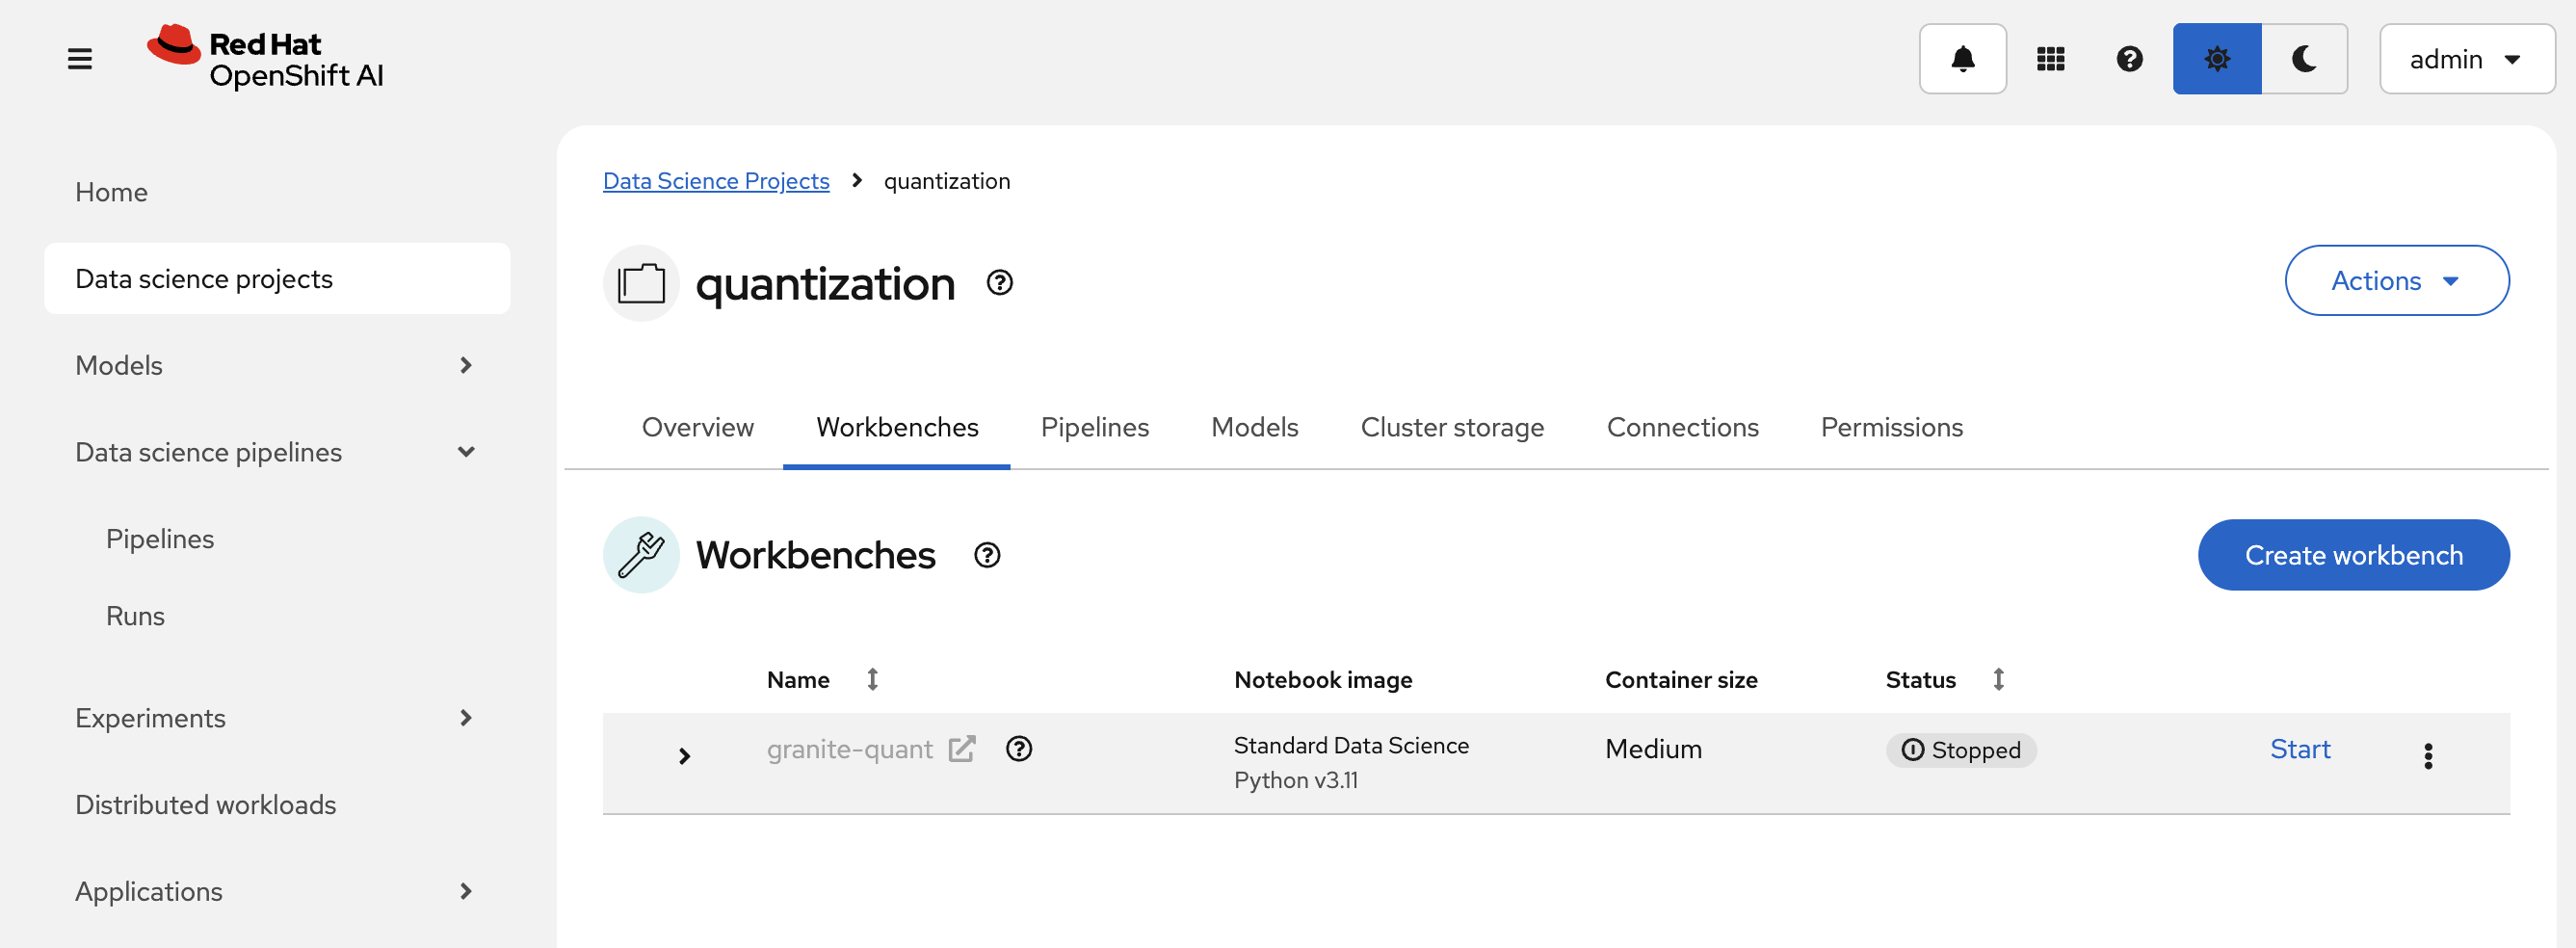
Inside the workbench we create a terminal session:
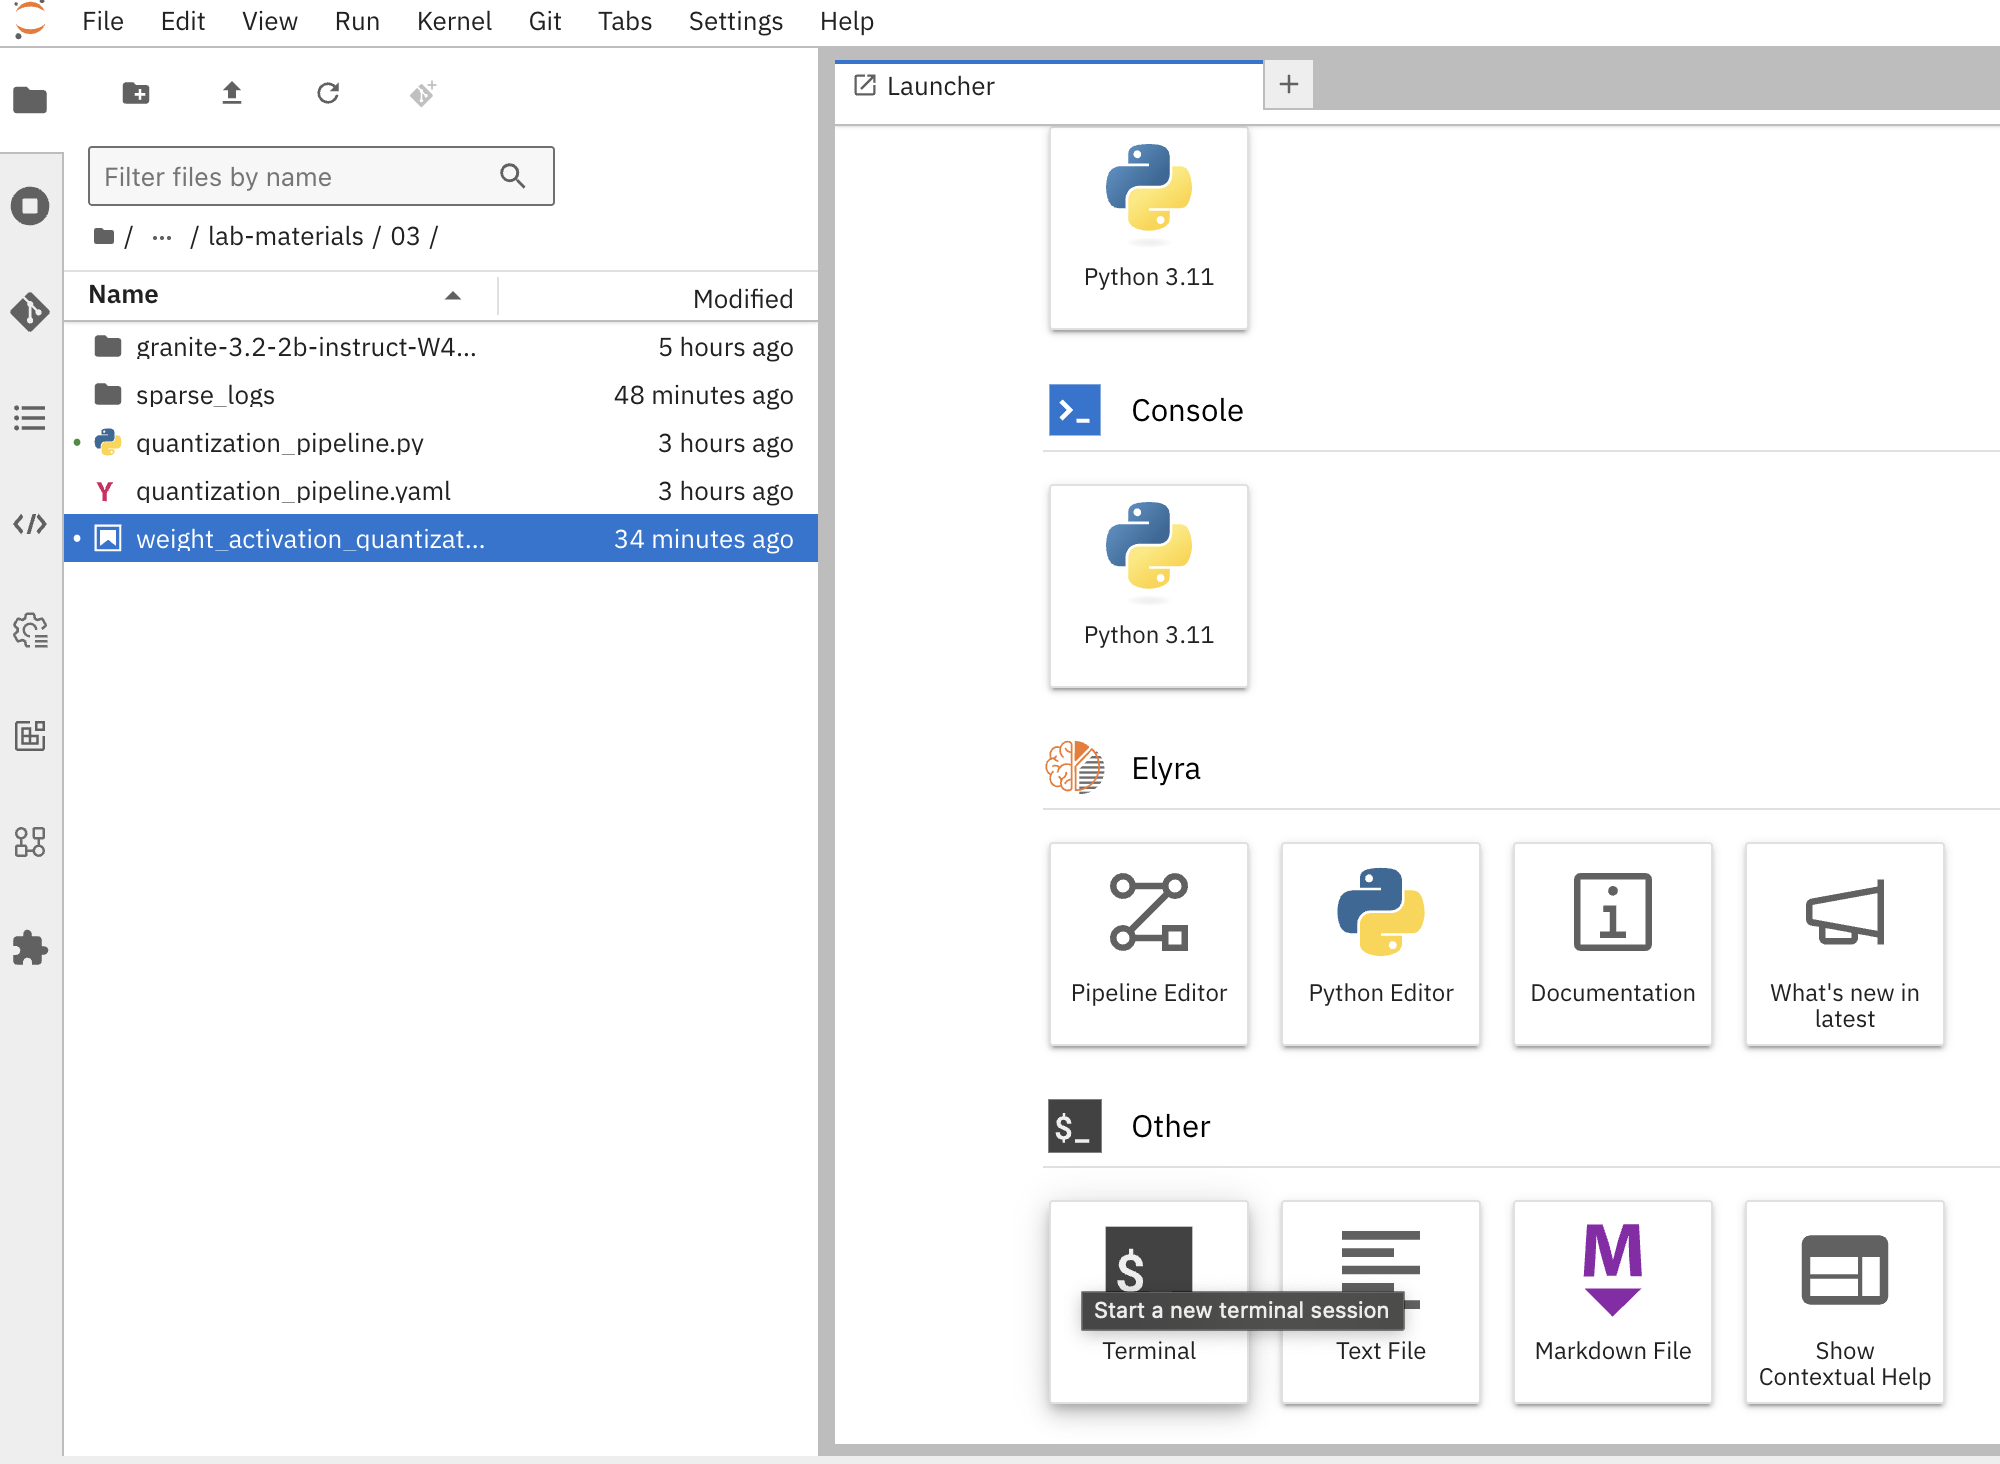
And install the below listed dependencies required for creating the KfP pipeline YAML:
pip install -U kfp==2.9.0 kfp-kubernetes==1.3.0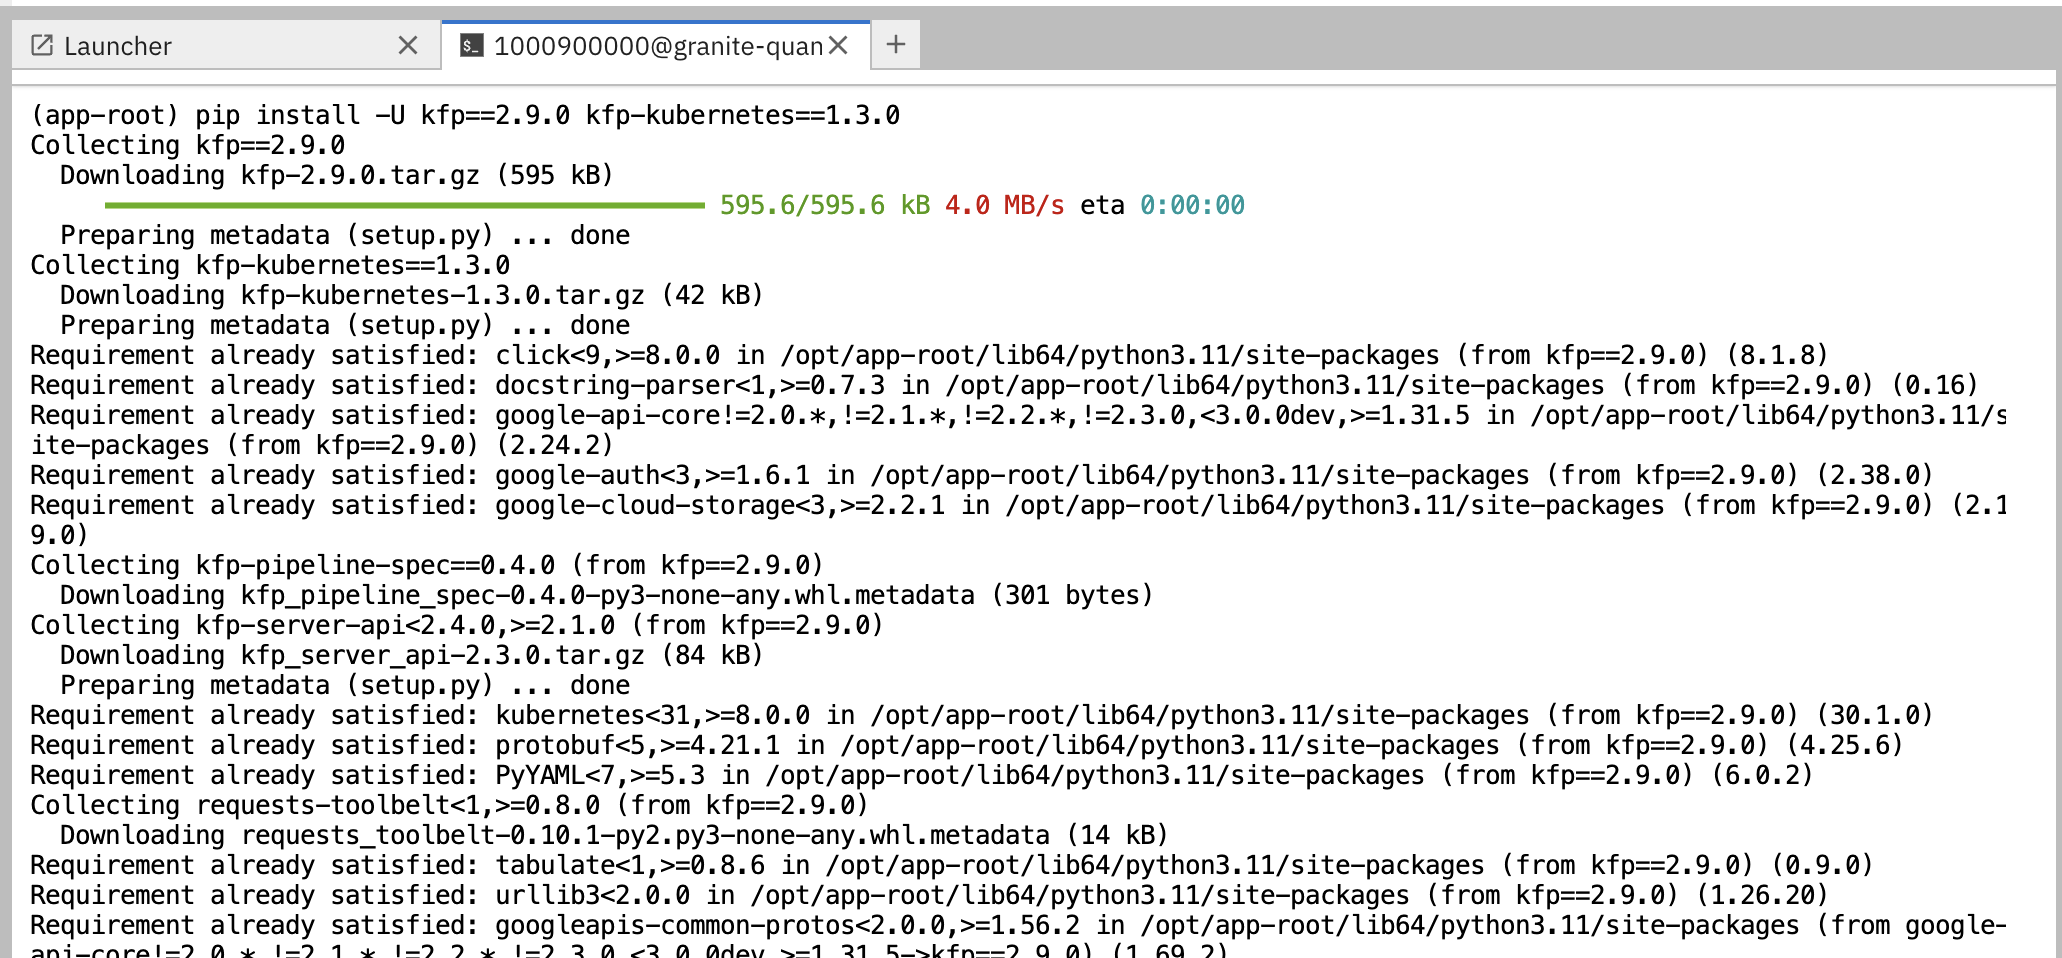
Building the Pipeline
Copy the pre-defined quantization_pipeline.py file from optimization_lab/llm_compressor to the folder structure in the workbench and review the pipeline definition.
So, what are the key steps and components involved in this pipeline? Here’s a quick overview of the pipeline.
@dsl.pipeline(...)
def quantization_pipeline(model_id, output_path, quantization_type):
    pvc = CreatePVC(...)
    download = download_model(...)
    quantize = quantize_model(...)
    upload = upload_model(...)
    evaluate = evaluate_model(...)
    delete_pvc = DeletePVC(...)
    # series of mounts, tolerations, dependencies, cleanup
The pipeline has the following key characteristics.
-
A PersistentVolumeClaim is created dynamically to persist model files across steps
-
Tolerations (nvidia.com/gpu) allow scheduling on GPU nodes
-
PVC mount across all tasks ensures shared data storage
-
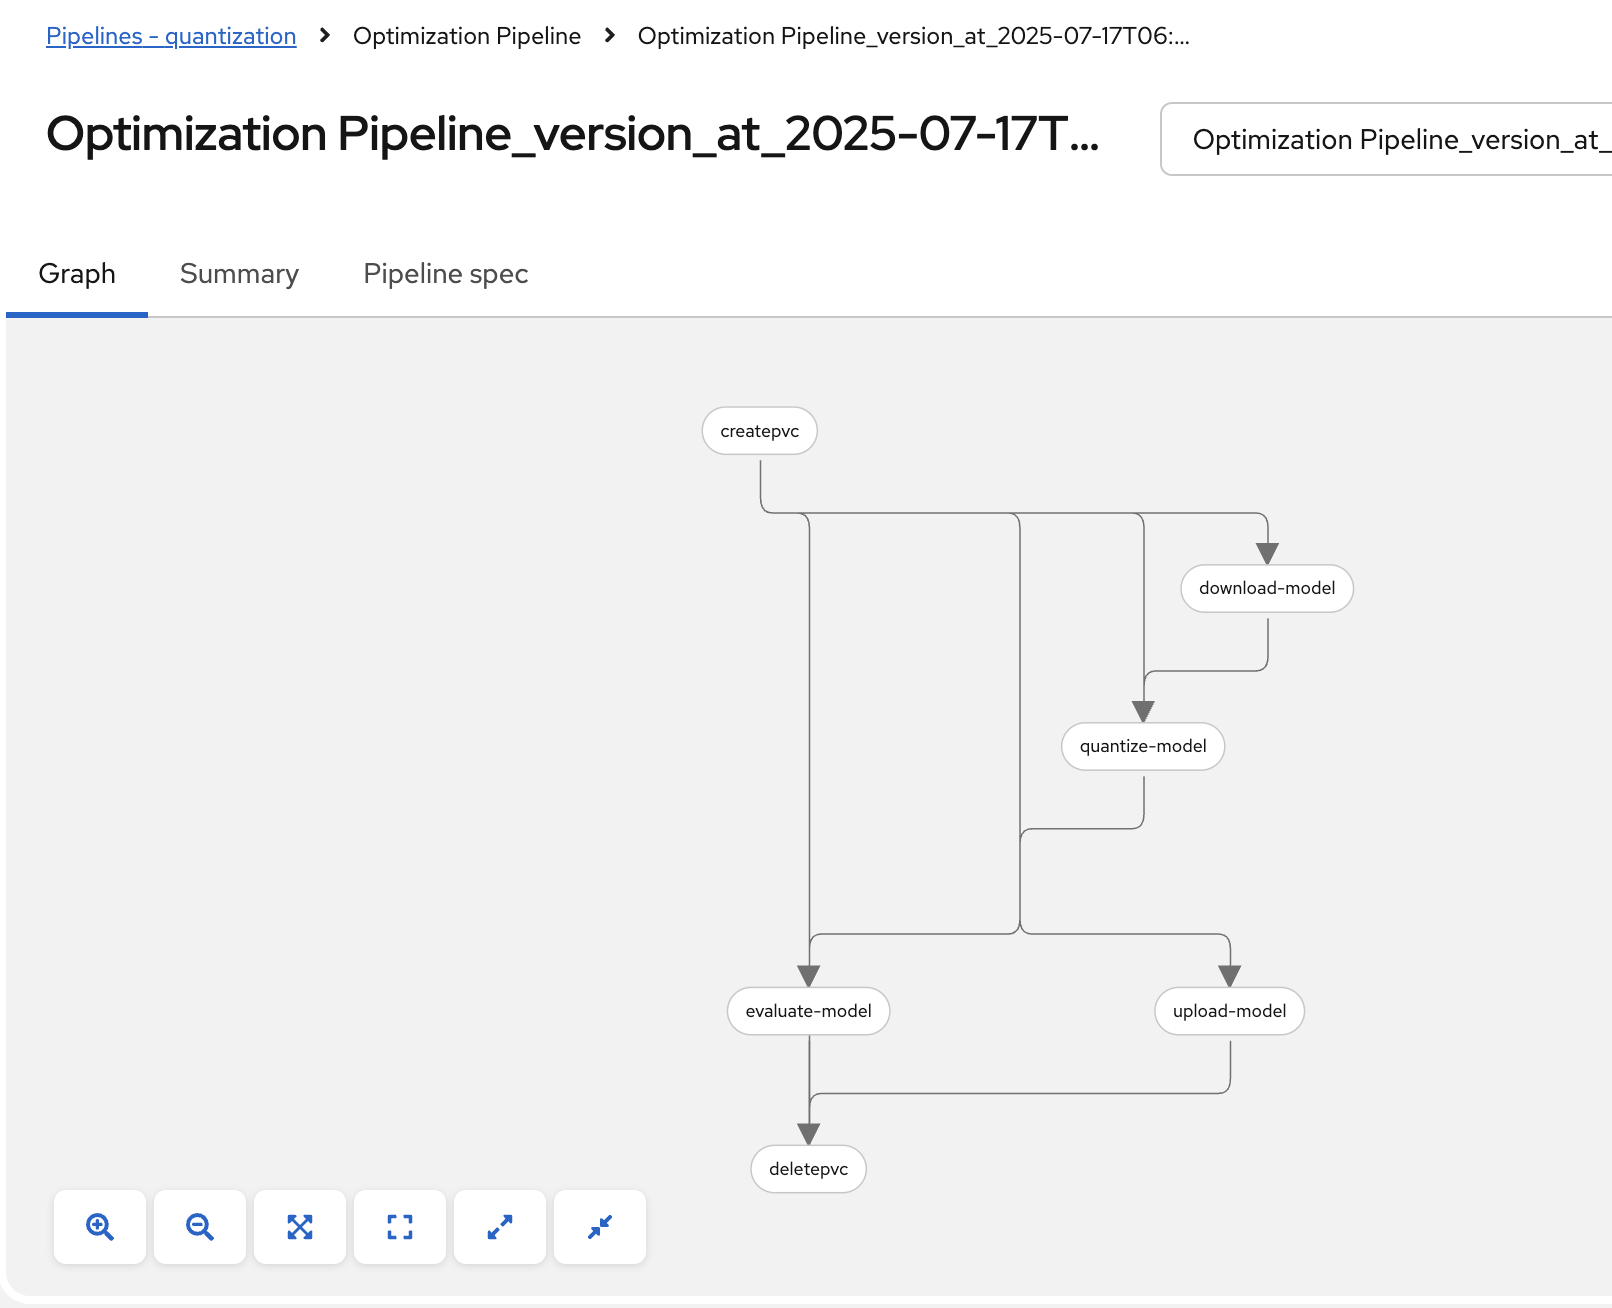
key tasks sequencing: download ➝ quantize ➝ upload & evaluate ➝ delete PVC
-
Secrets for S3 is injected via use_secret_as_env()
-
GPU resources pinned with set_accelerator_type/limit
Now, let’s review each of the components.
download_model Component.
@dsl.component(...):
def download_model(model_id: str, output_path: str):
    from huggingface_hub import snapshot_download
    snapshot_download(repo_id=model_id, local_dir=output_path)
    print("Model downloaded successfully from HF.")
This component:
-
Downloads the specified Hugging Face model to a local PVC path using snapshot_download.
-
Cleanly packages model artifacts for the next stage.
quantize_model Component
@dsl.component(...):
def quantize_model(model_path: str, output_path: str, quantization_type: str):
    # 1) load HF model/tokenizer
    # 2) gather calibration data from a dataset
    # 3) build SmoothQuant + GPTQ pipeline, depending on `quantization_type`
    # 4) call `oneshot()`
    # 5) save compressed model + tokenizer
This component:
-
Loads model & tokenizer with device_map="auto", torch_dtype="auto".
-
Uses sample calibration data from HF dataset for quant-dependent statistics.
-
Define recipe:
-
it uses W4A16 - SmoothQuant + GPTQ
-
-
Run quantization via oneshot() (calibration + model walk).
-
Save compressed artifacts with save_compressed=True.
upload_model Component
@dsl.component(...):
def upload_model(model_path: str, s3_path: str):
    # Uses boto3 with env secrets for S3 endpoint
    # Walk through model_path folder and upload each file
This component:
-
Uses s3_host, s3_access_key, etc. from the mounted secret.
-
Iterates and uploads each of the model files to S3 storage.
evaluate_model Component
@dsl.component(...):
def evaluate_model(model_path: str):
    # Constructs 'lm_eval' vLLM shell command
    # Runs GSM8K few-shot evaluation
    # Captures and prints output
This component:
-
Automates model evaluation using lm_eval on benchmarks like GSM8K;
-
Uses pre-specified GPU / tolerance to ensure the correct runtime environment.
Compiling the Pipeline
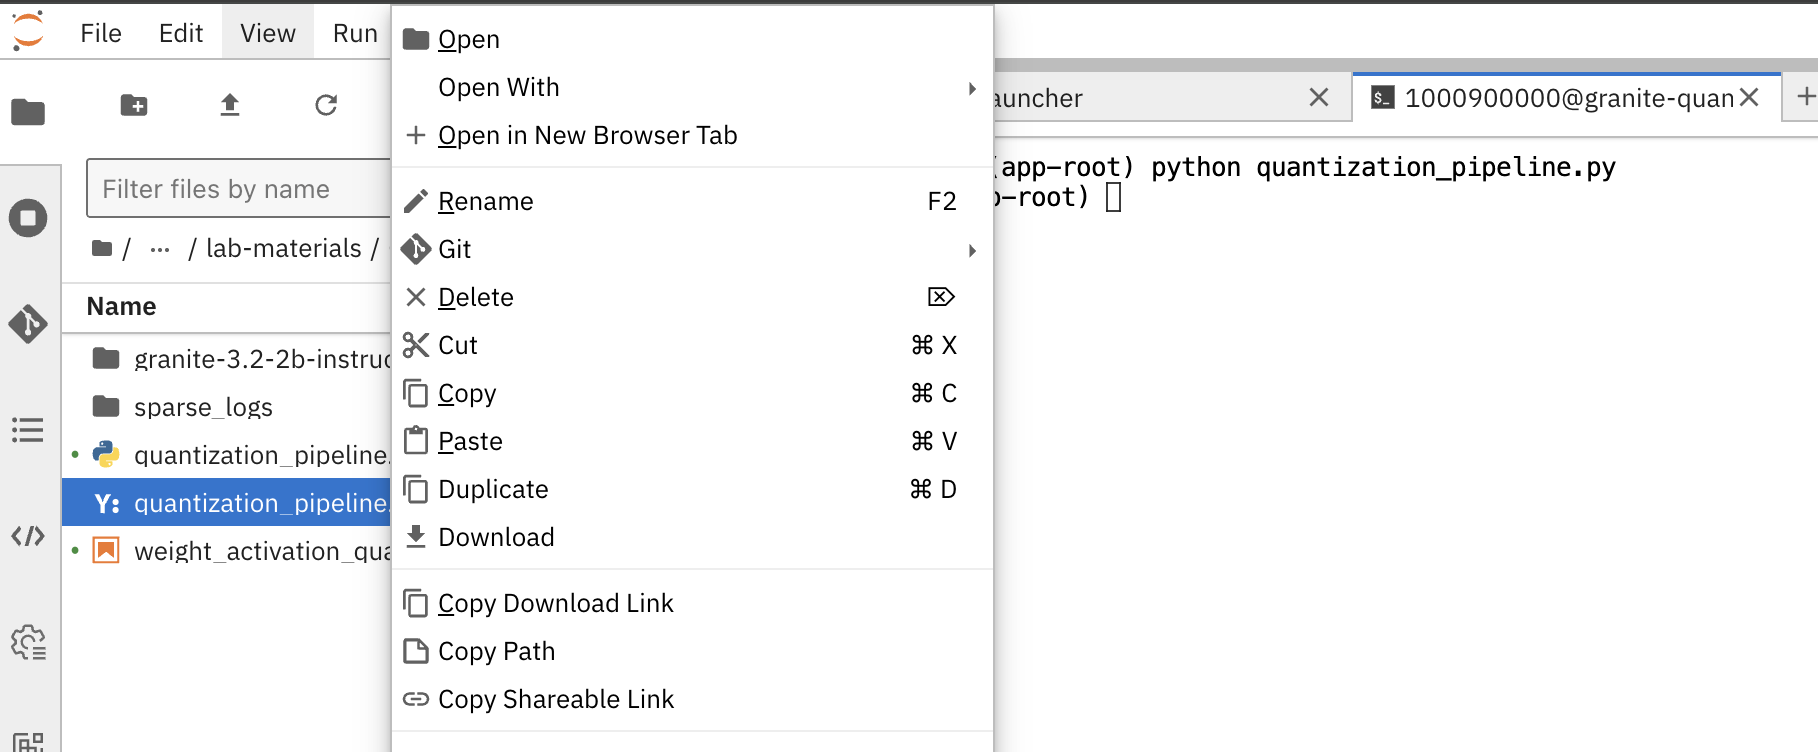
To compile the pipeline into a YAML file that can be imported into OpenShift AI, open the quantization_pipeline.py in the workbench and run it.
python quantization_pipeline.py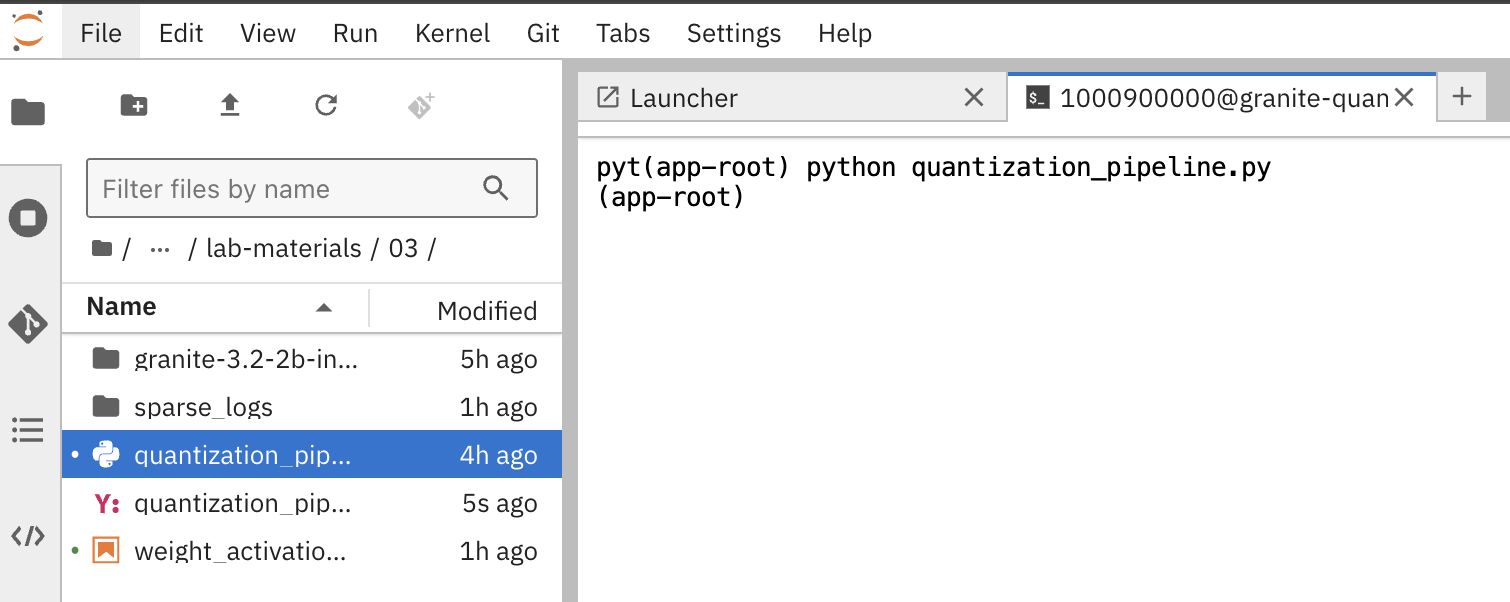
🚨 Before compiling the pipeline, if you have not used minio-models as your data connection name, you need to adjust the line secret_name = "minio-models" to point to the actual name of your data connection, otherwise the upload-model task will fail to find the right secret. Note the spaces are removed and it is lowercase.
|
This will generate a quantization_pipeline.yaml file. Download it to your local machine.
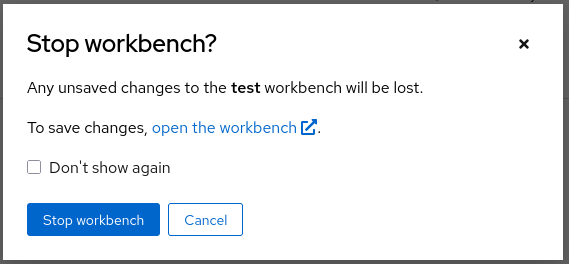
🚨 Once you got the quantization_pipeline.yaml file and you no longer need the workbench, ensure you stop it.
|
🚀 Running Your Pipeline
The steps to import and launch a pipeline, once you have a configured pipeline server, are the following:
-
Log into your OpenShift AI instance.
-
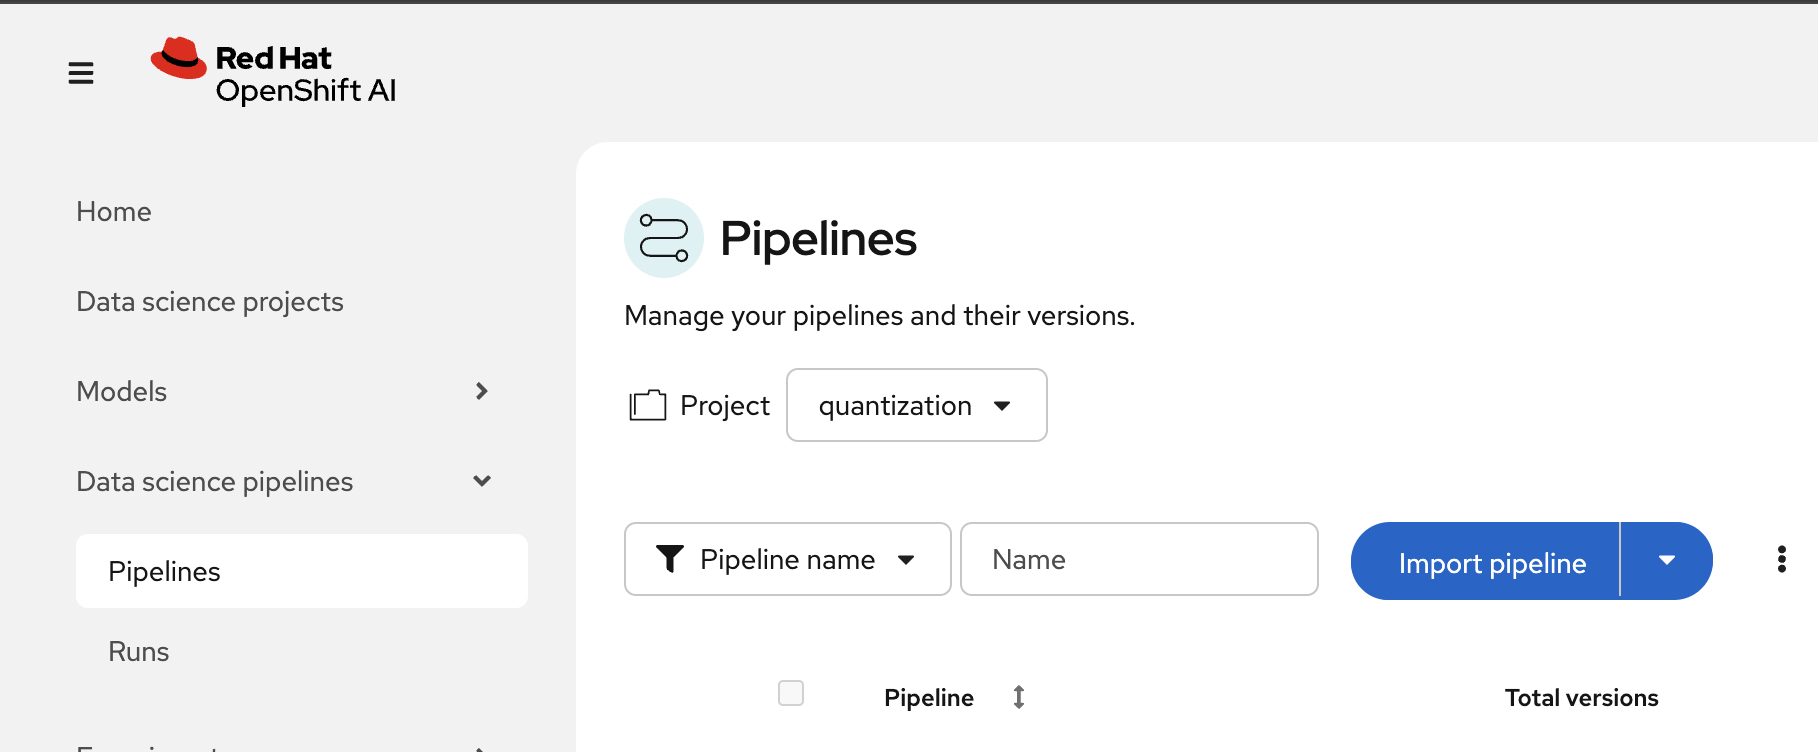
Navigate to Data Science Pipelines → Pipelines.
-
Click Import Pipeline.
-
Enter a Pipeline name for the pipeline, like:
Optimization Pipeline. -
Choose Upload and upload the generated
quantization_pipeline.yamlfile.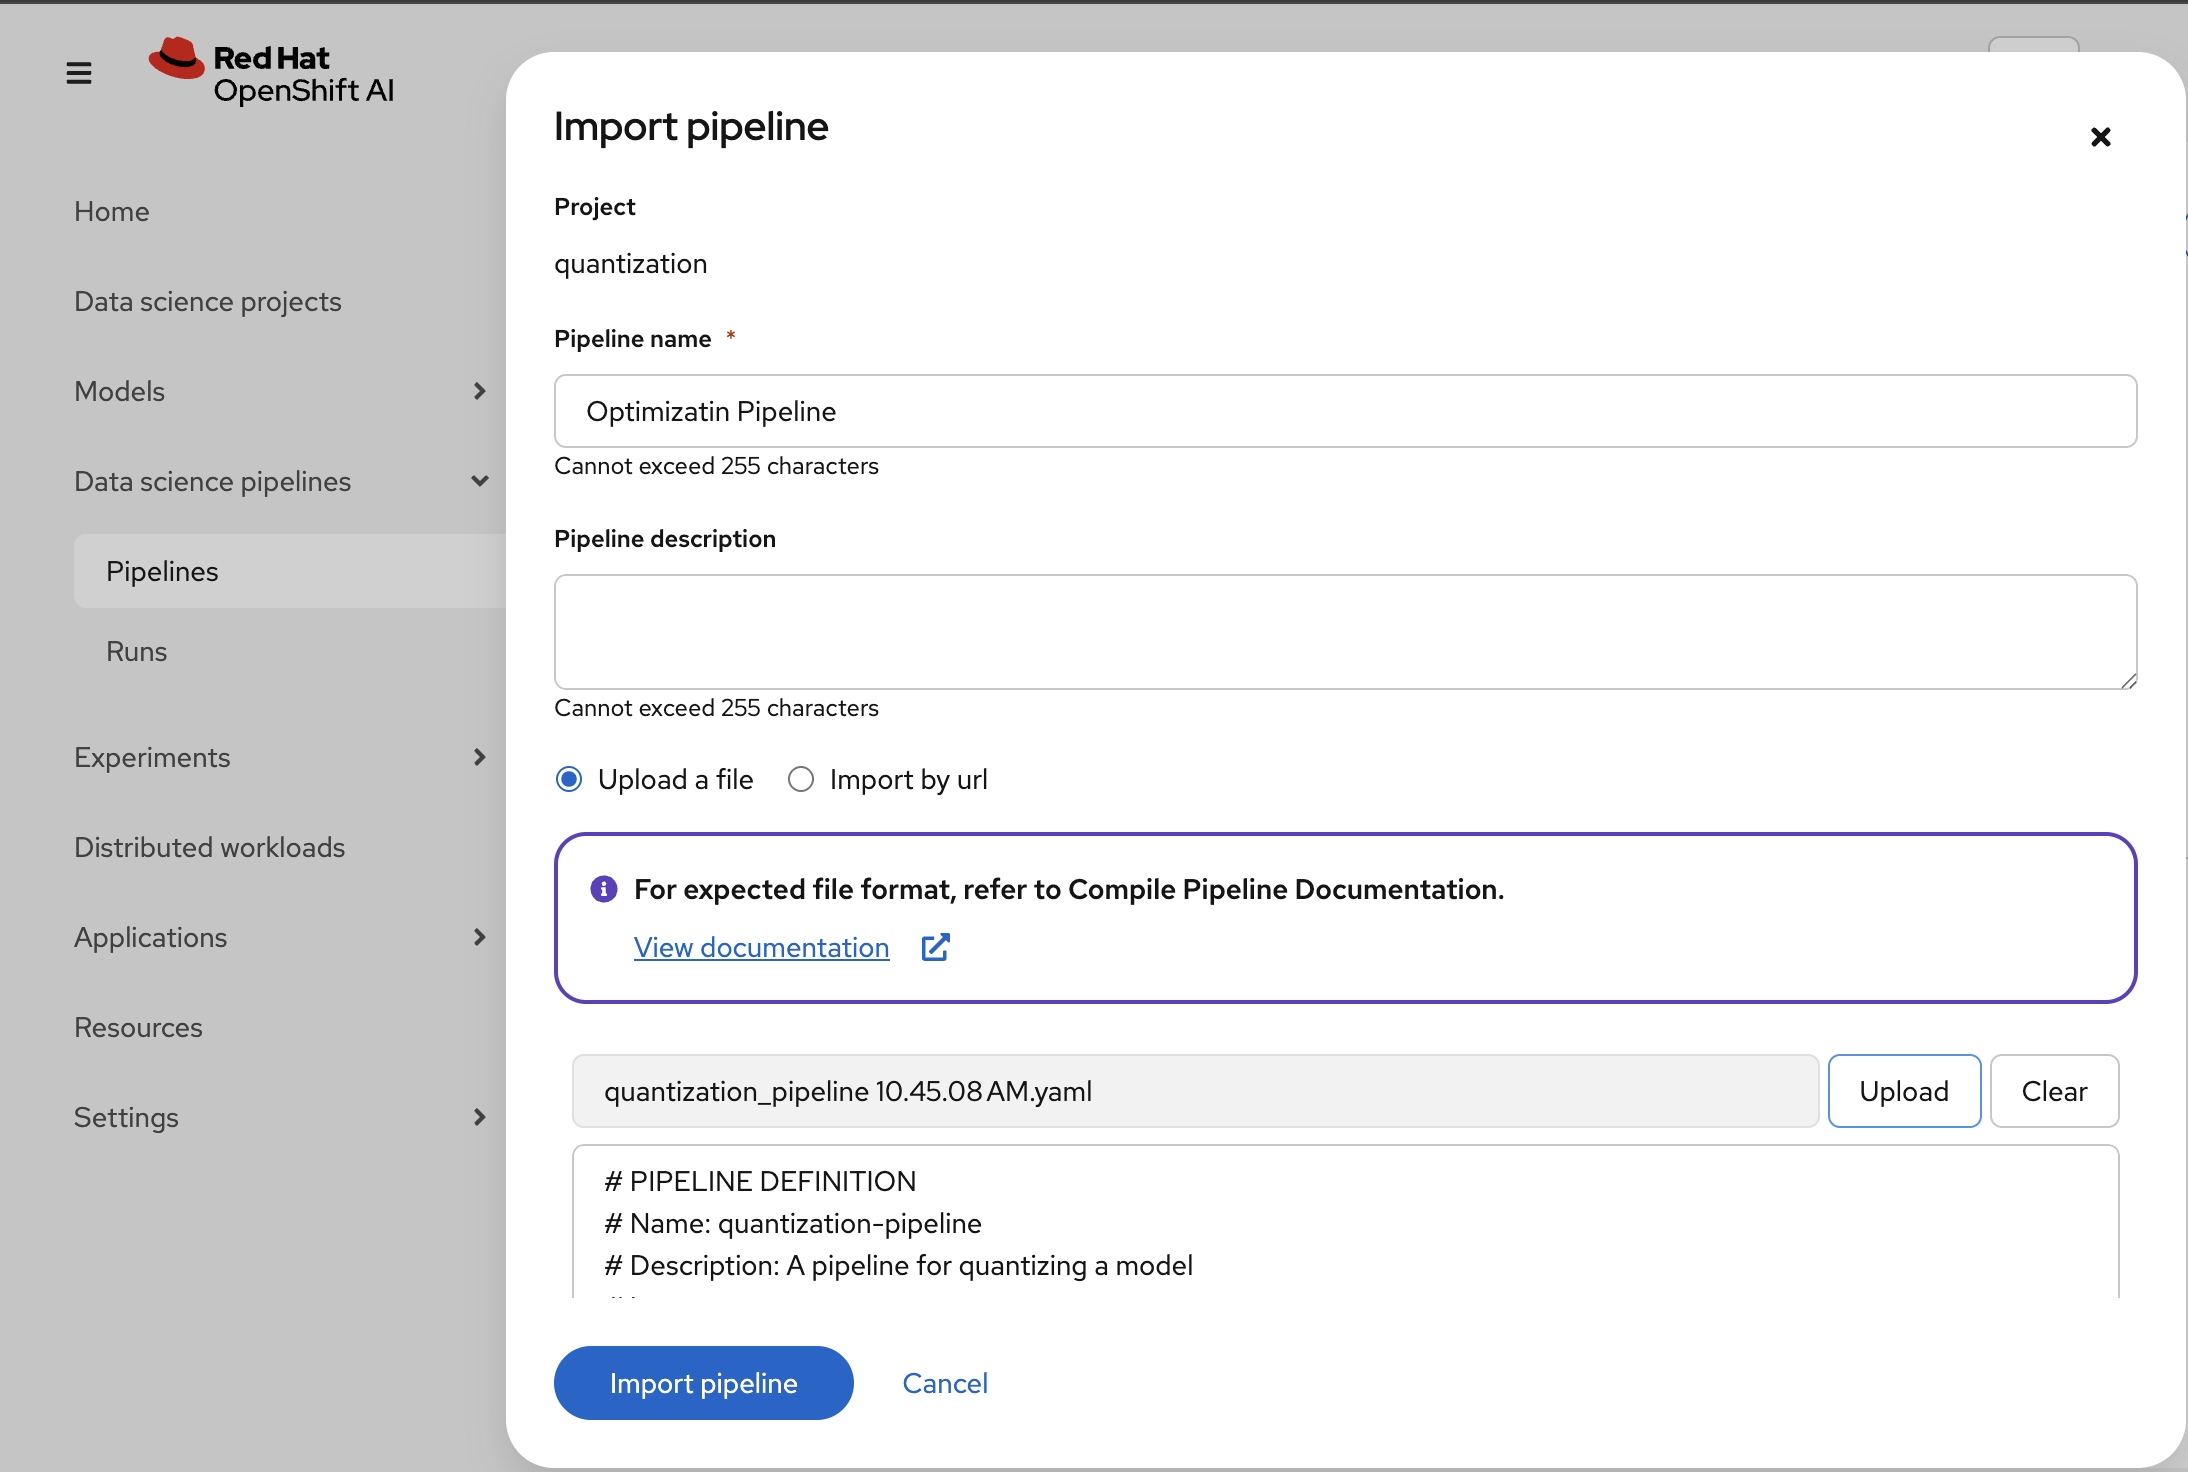
-
Once the pipeline file is uploaded, click Import pipeline. You can now see the graph of the imported pipeline
Pipeline Parameters
To trigger the pipeline, click on the Actions button and then Create run
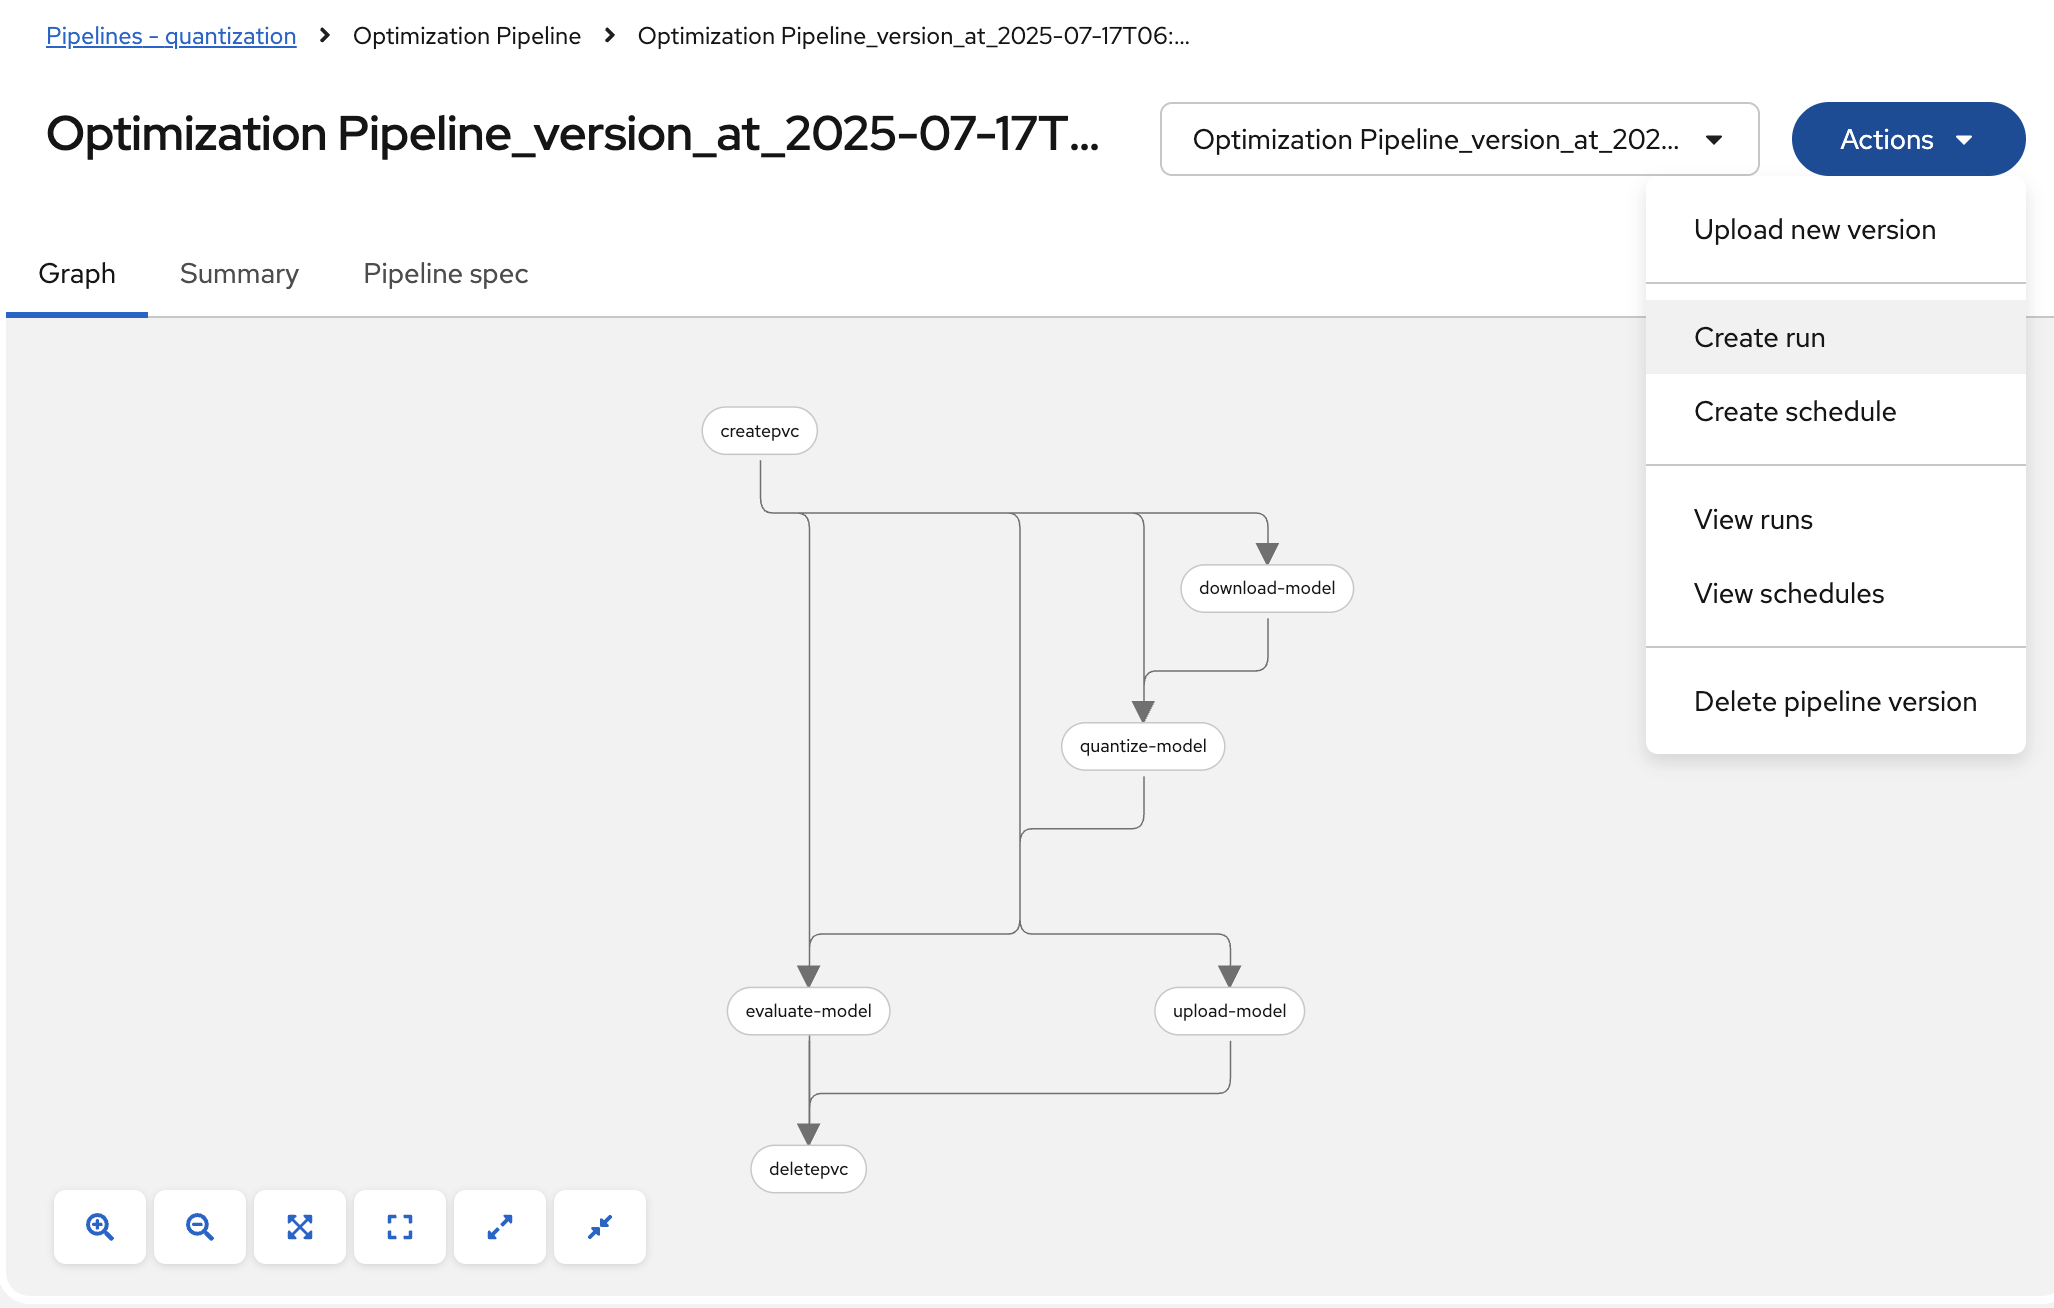
Then fill in the form with the configurable parameters:
-
Add a Name for the run, e.g.:
optimize-test. -
model_id: The Hugging Face model ID (default:ibm-granite/granite-3.3-2b-instruct) -
output_path: Path for the quantized model (default:granite-int4-pipeline) -
quantization_type: Type of quantization to perform (default:int4, options:int4orint8)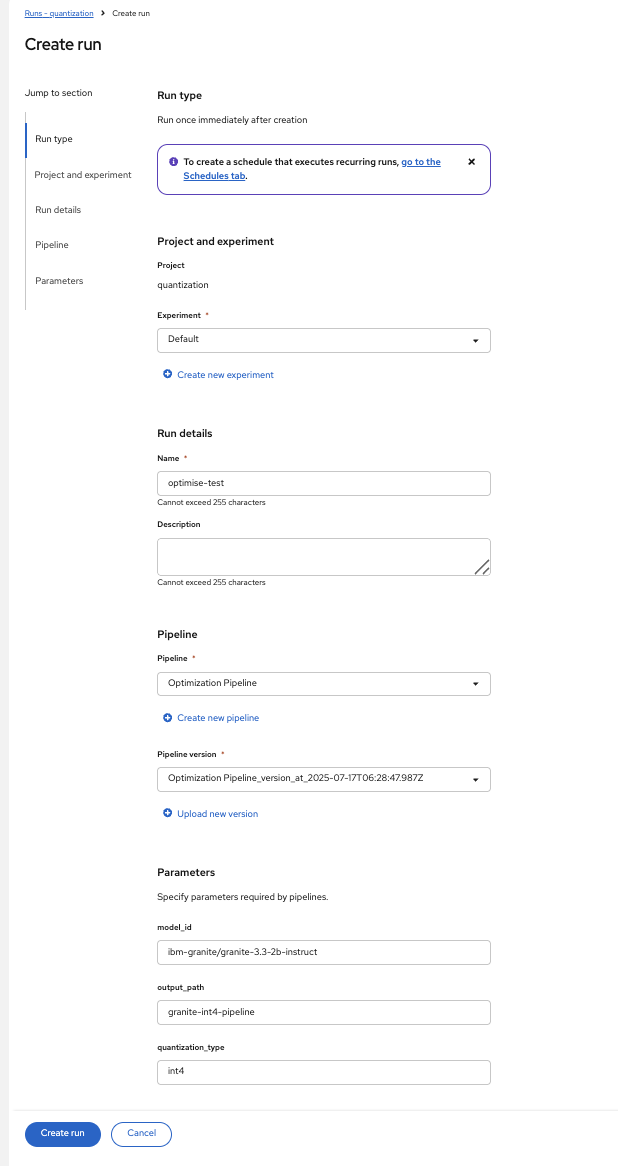
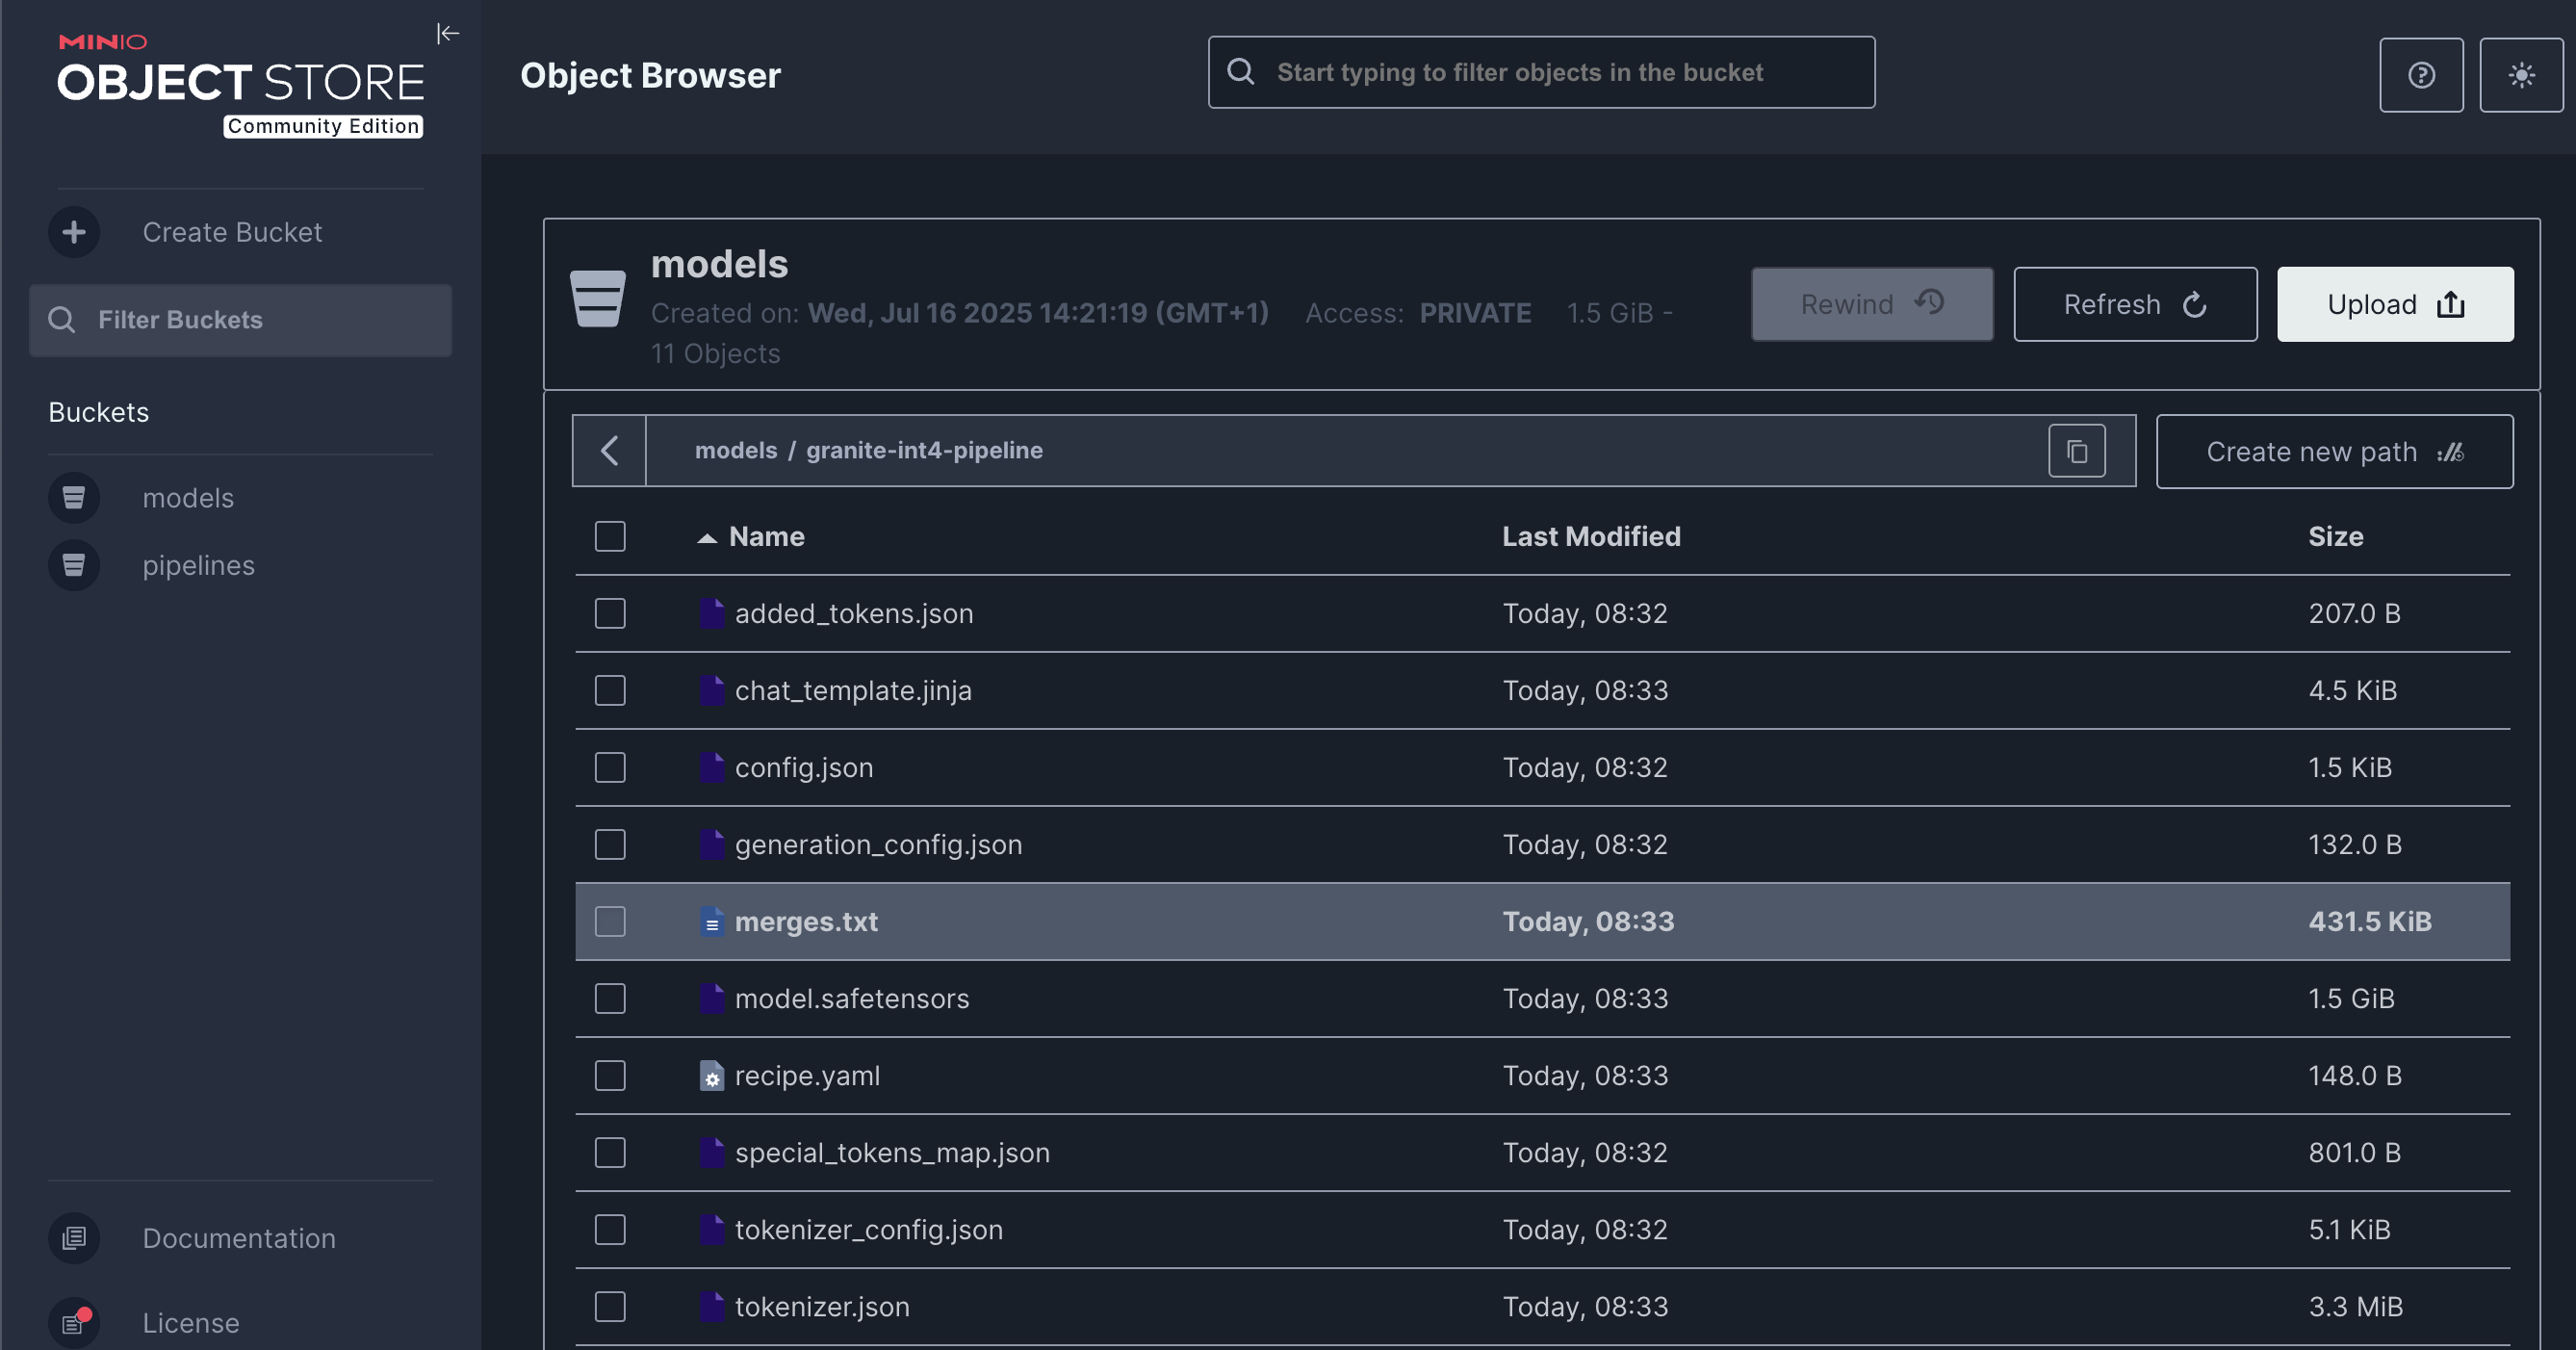
And click on the Create run button. After the execution of the pipeline you should have an optimized version uploaded to your S3 bucket
You can check the MinIO S3 bucket at {minio_dashboard_url}. User and password as the same as for OpenShift AI.
Check the bucket with name {user}.
You should see the models optimized with the workbenches and the one with the pipeline.