Weights and Activation Quantization (W4A16)
In this exercise, we will use a notebook to investigate how LLMs weights and activations can be quantized to W4A16 for memory savings and inference acceleration. This quantization method is particularly useful for:
-
Reducing model size
-
Maintaining good performance during inference
The quantization process involves the following steps:
-
Load the model: Load the pre-trained LLM model
-
Choose the quantization scheme and method - Refer to the slides for a quick recap of the schemes and formats supported
-
Prepare calibration dataset: Prepare the right dataset for calibration
-
Quantize the model: Convert the model weights and activations to W4A16 format
-
Using SmoothQuant and GPTQ
-
-
Save the model: Save the quantized model to a suitable storage
-
Evaluate the model: Evaluate the quantized model’s accuracy
Pre-requisites
To start the lab, perform the following pre-requisite setup activities.
-
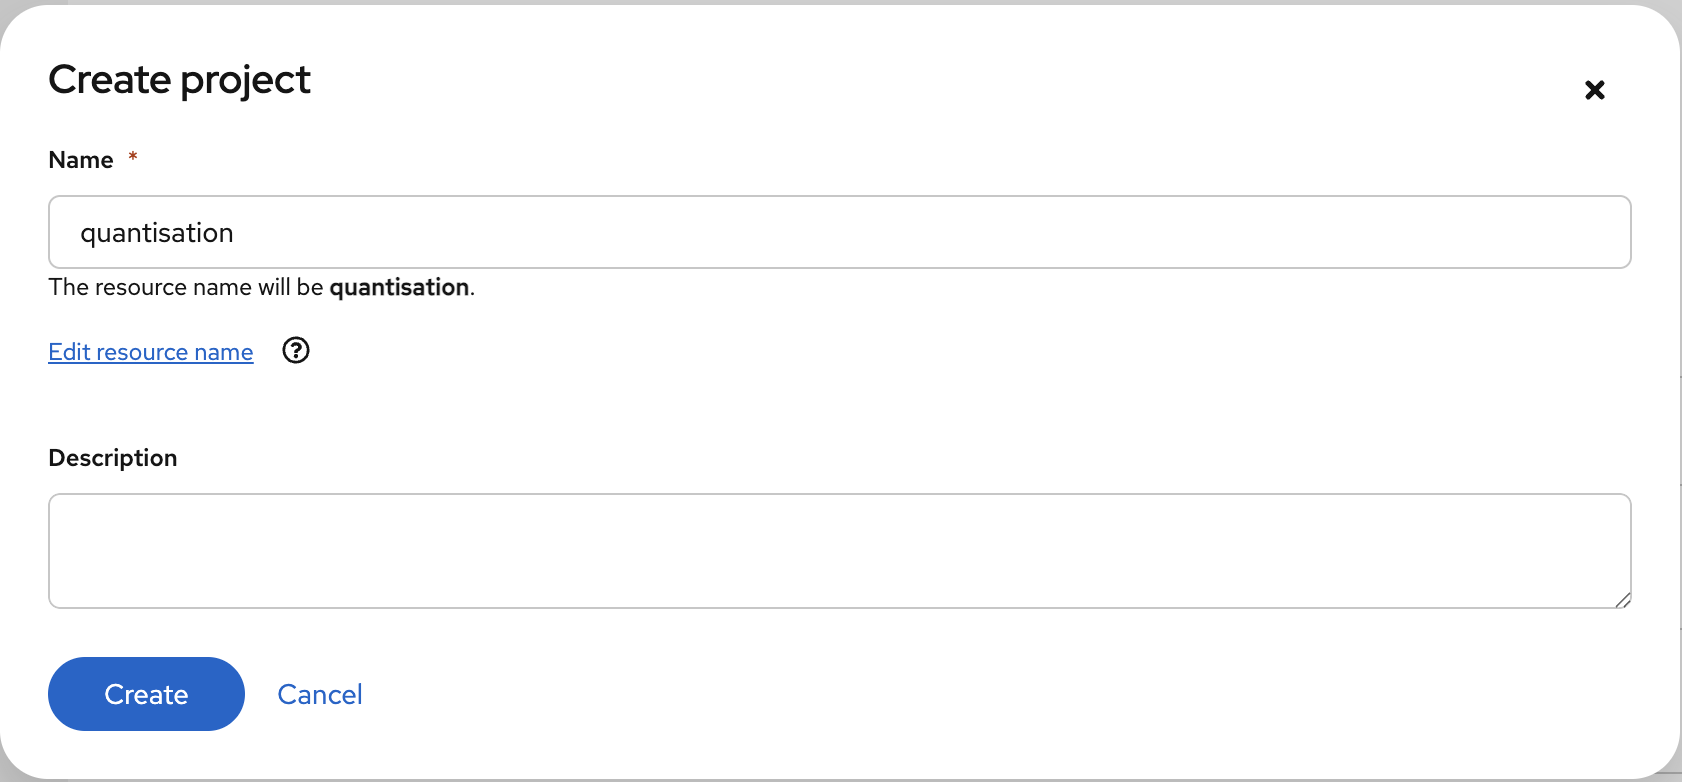
Create a Data Science Project
-
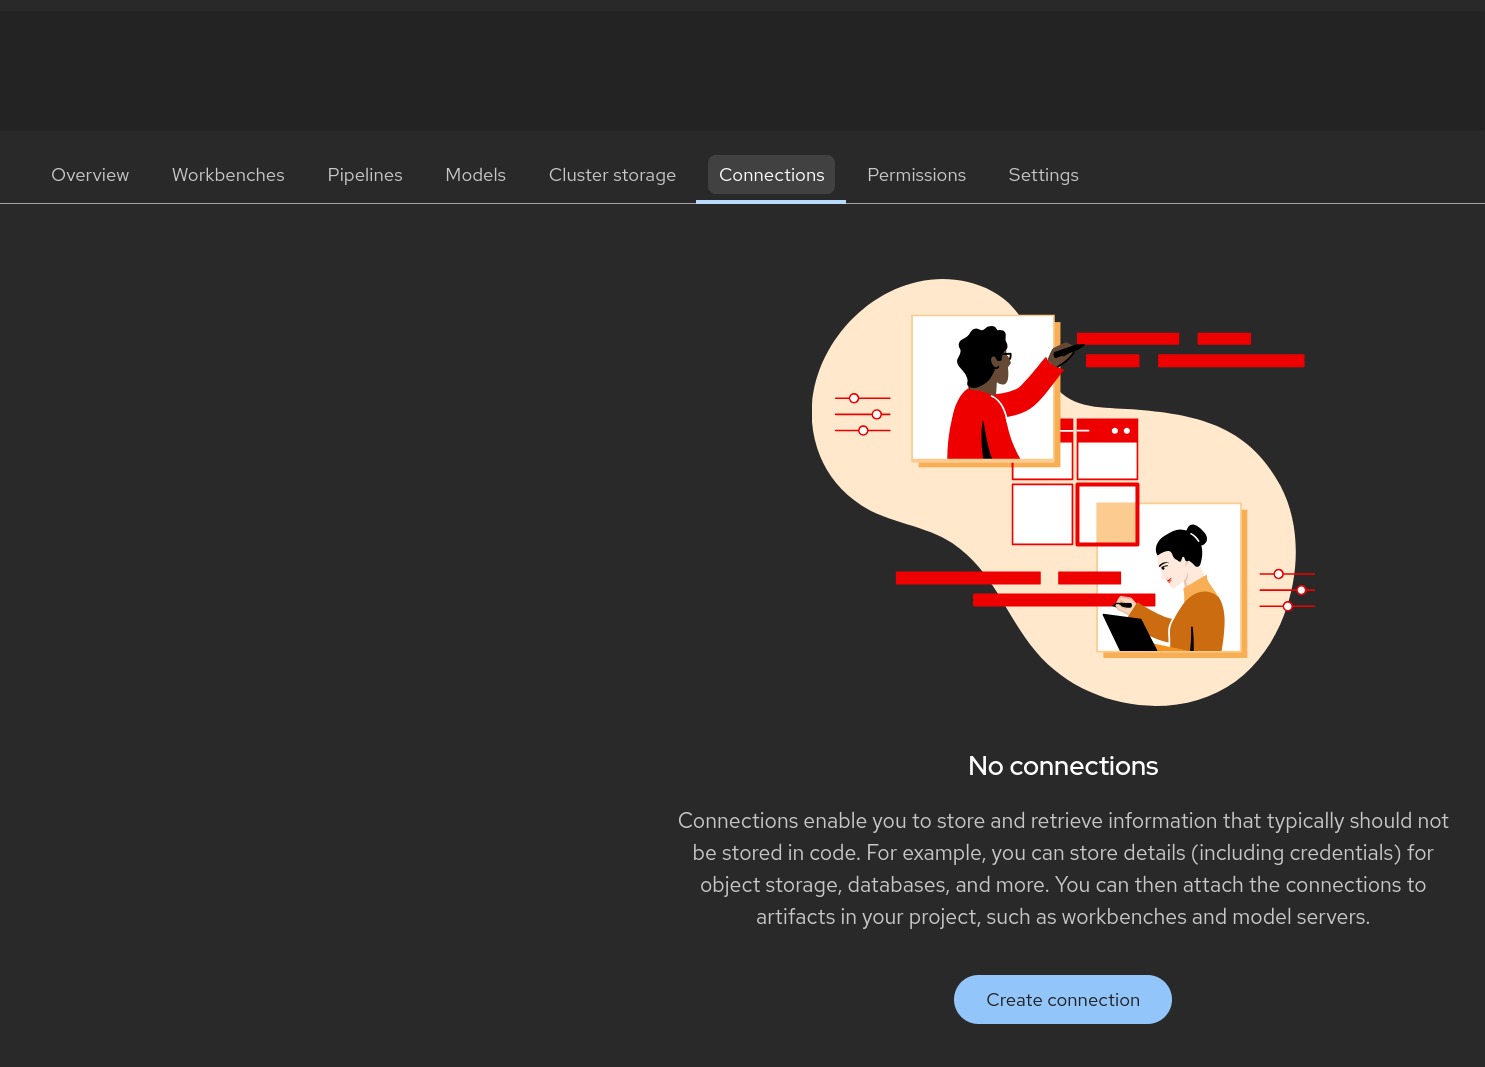
Create Data Connections - To store the quantized model
-
Deploy a Data Science Pipeline Server
-
Launch a Workbench
-
Clone the Git Repo
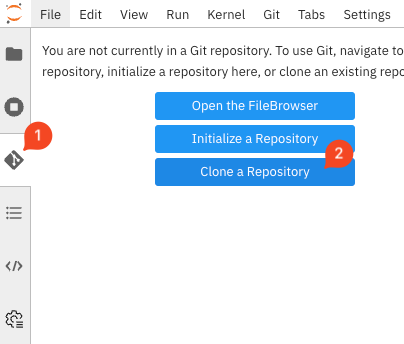
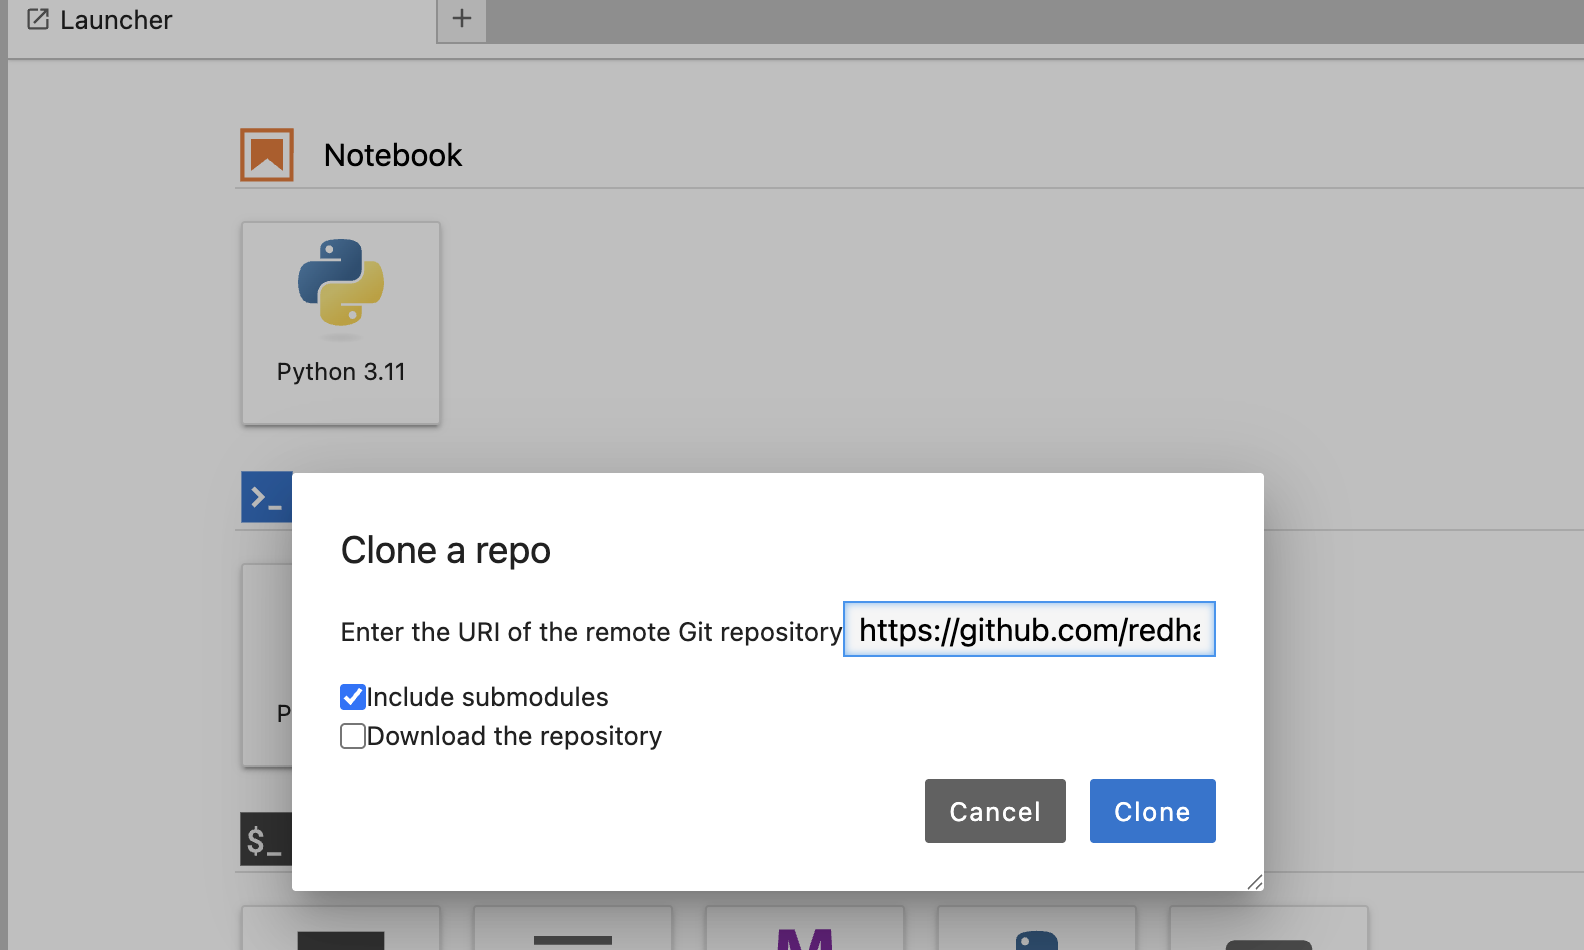
https://github.com/redhat-ai-services/etx-llm-optimization-and-inference-leveraging.gitinto the workbench
Creating a Data Connection for the Pipeline Server
-
To provide a S3 storage for pipeline server and for saving the quantized model to S3, create a new OpenShift Project
minioand set upMinIOby applying the manifest available atoptimization_lab/minio.yaml. The default credentials for accessing MinIO areminio/minio123
oc apply -n minio.yaml
-
Login to MinIO with the credentials
minio/minio123and create two buckets with the namespipelineandmodels. -
Create a new
Data Connectionthat points to it.
-
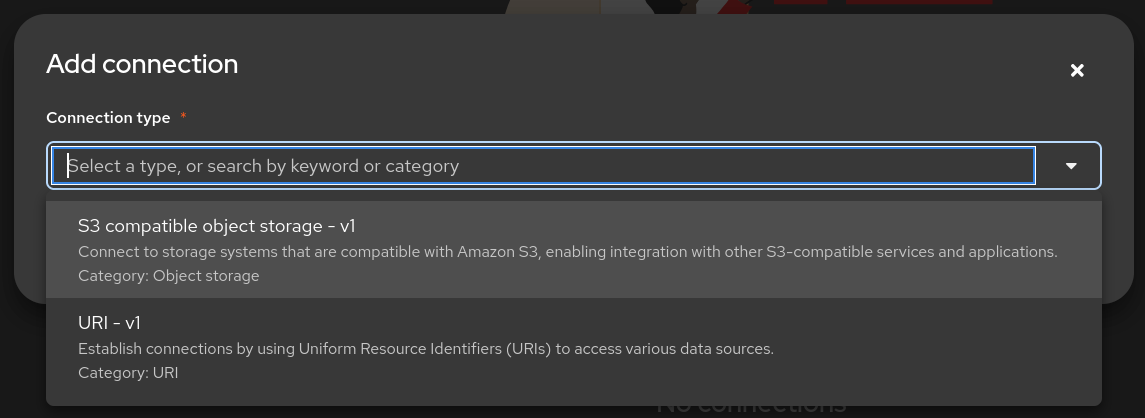
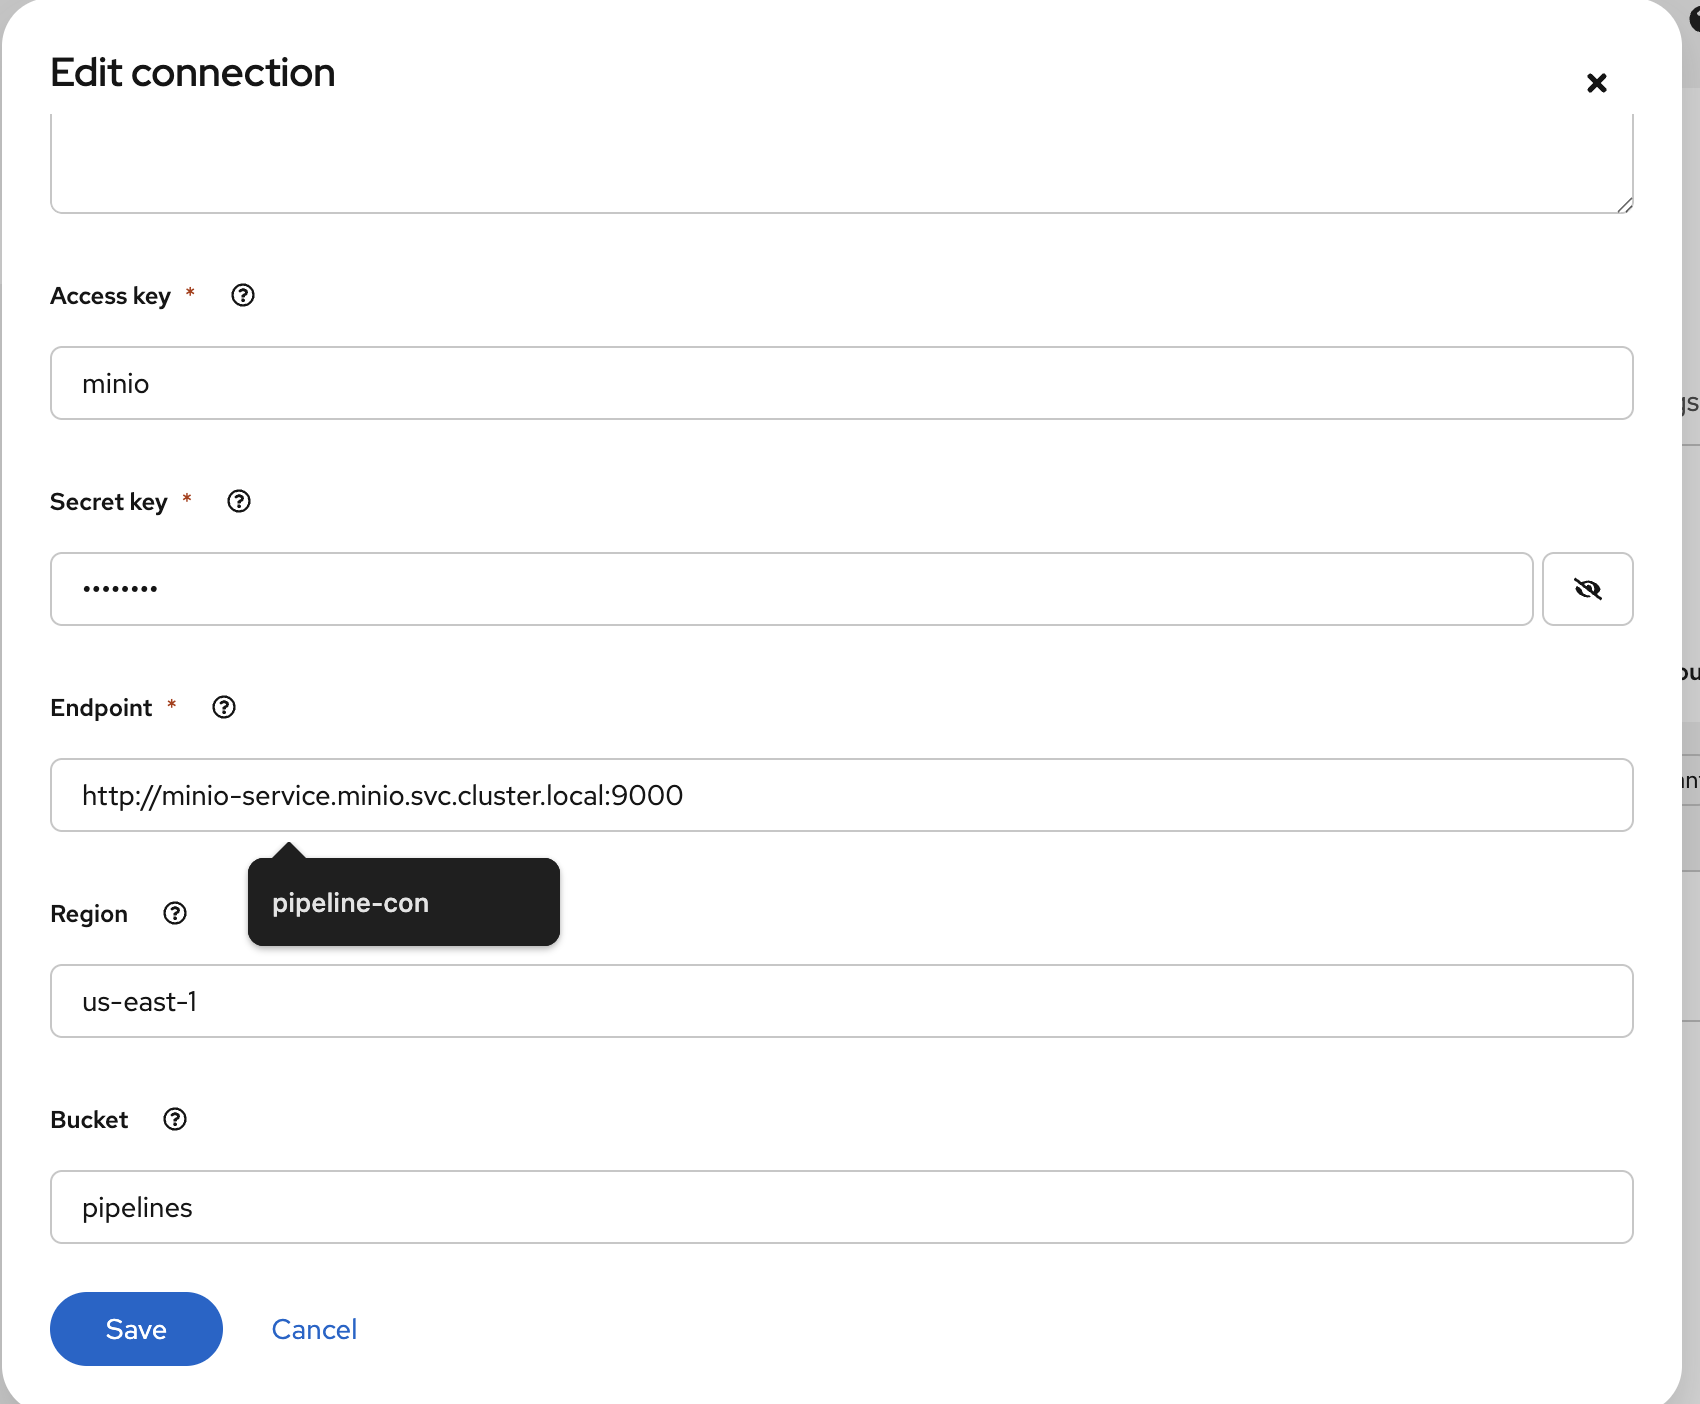
Select the connection type S3 compatible object storage -v1 and use the following values for configuring the MinIO connection.
-
Name:
Pipeline -
Access Key:
minio -
Secret Key:
minio123 -
Endpoint:
http://minio-service.minio.svc.cluster.local:9000 -
Region:
none -
Bucket:
pipelines
-
-
The result should look similar to:
-
Create another Data Connection with the name
minio-modelsusing the same MinIO connection details with the bucket name as "models"
Creating a Pipeline Server
-
It is recommended to create the pipeline server before creating a workbench.
-
Go to the Data Science Project
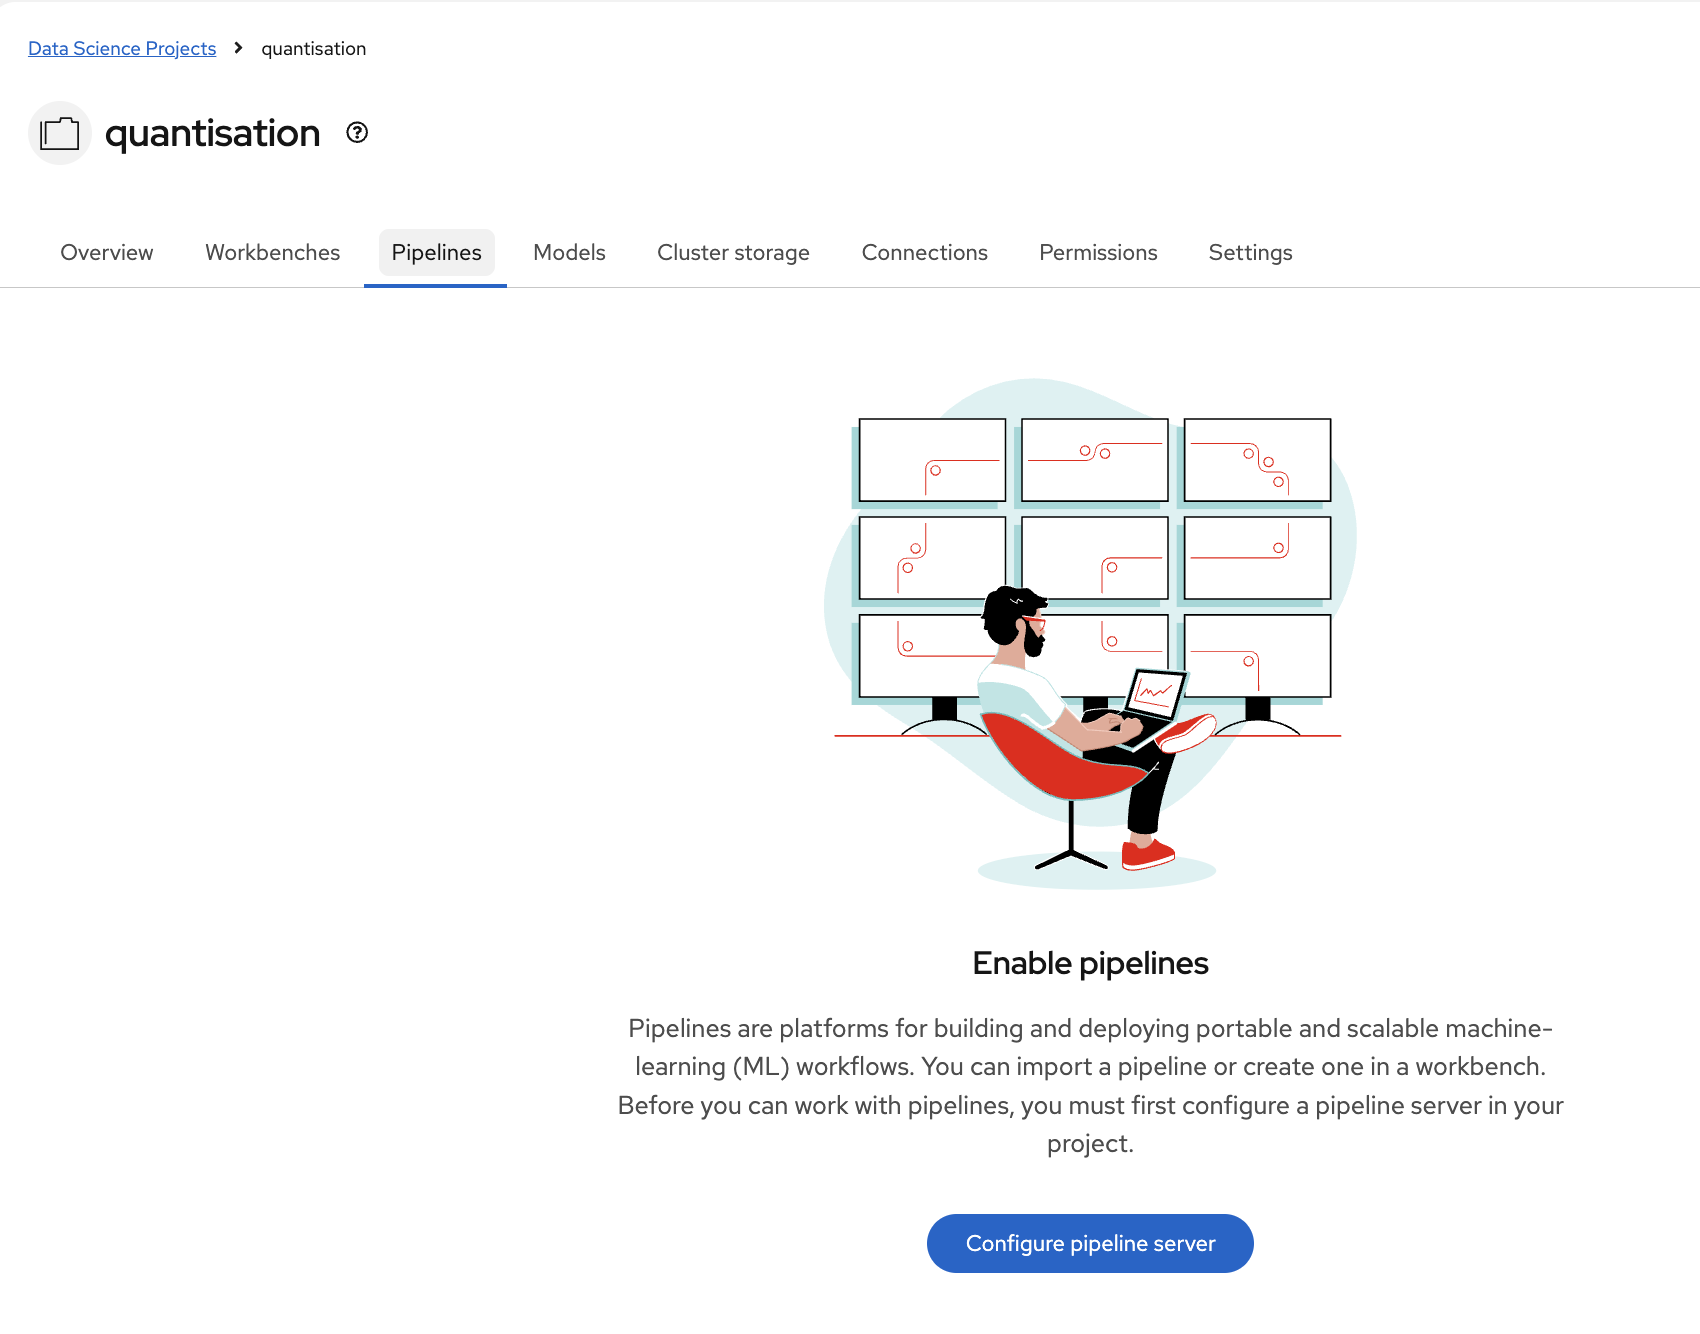
quantization→ Data science pipelines → Pipelines → click on Configure Pipeline Server -
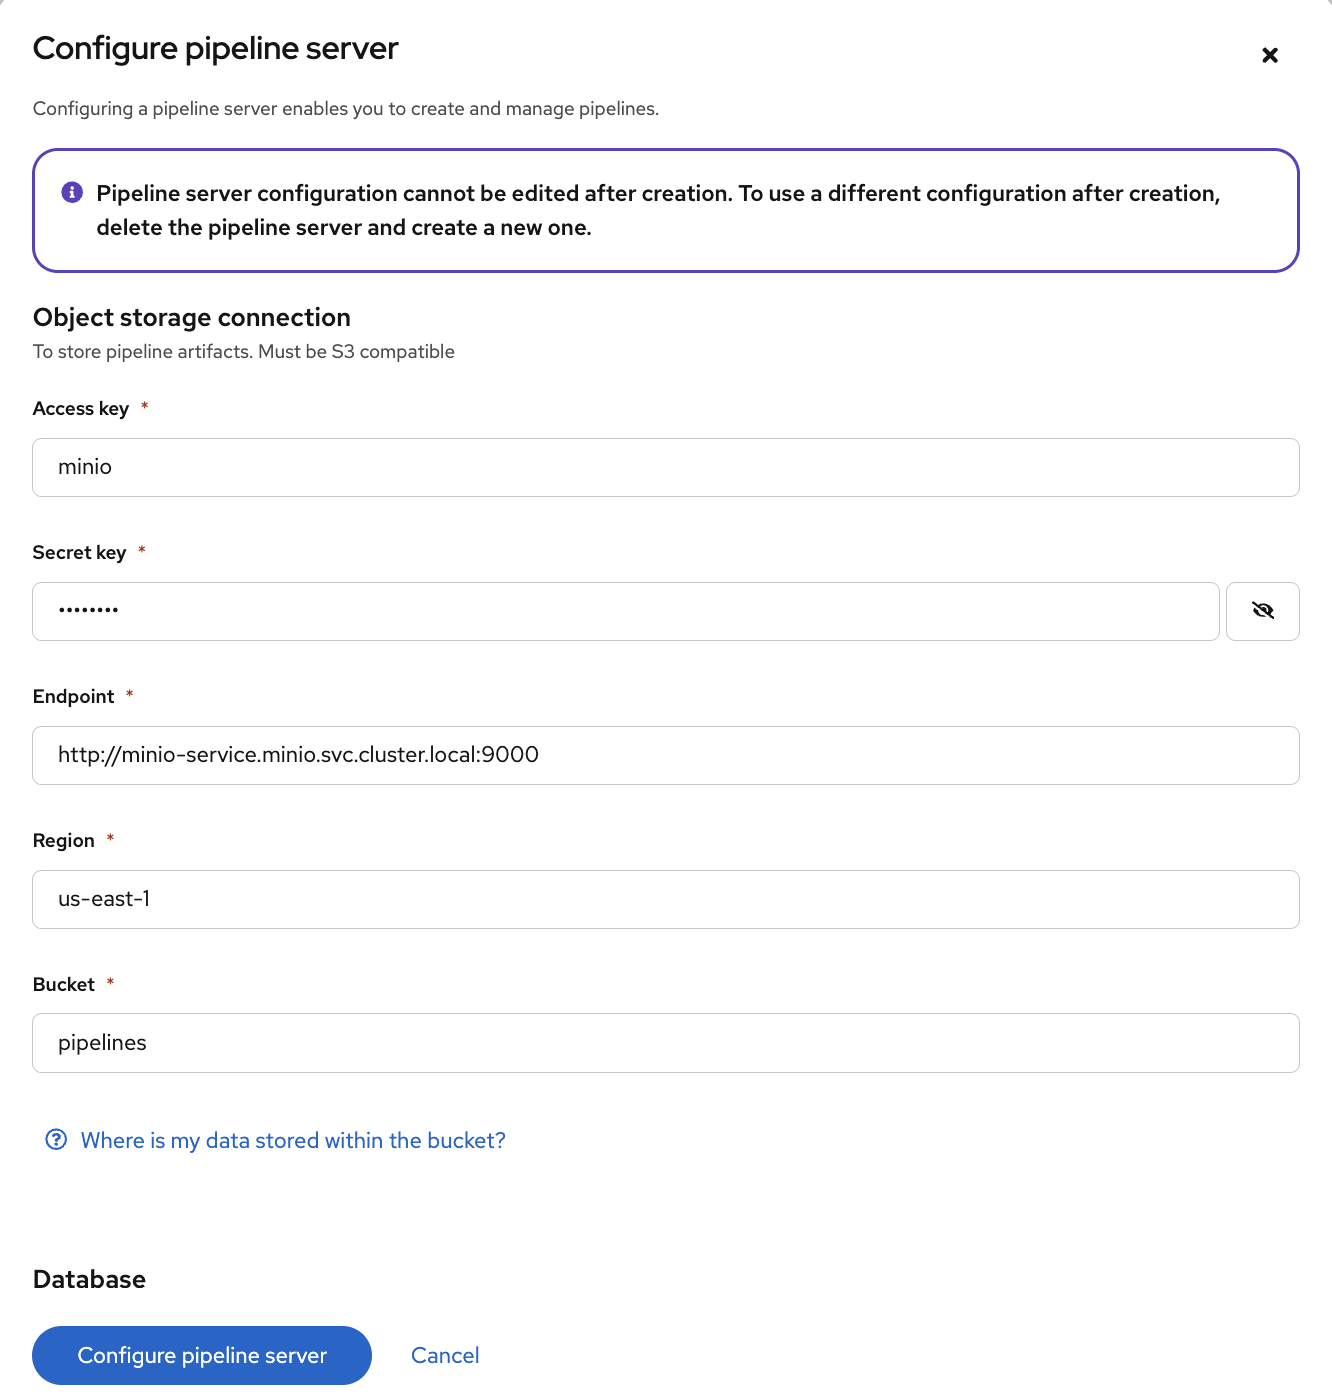
Use the same information as in the Data Connection created earlier (Pipeline) and click the Configure Pipeline Server button:
-
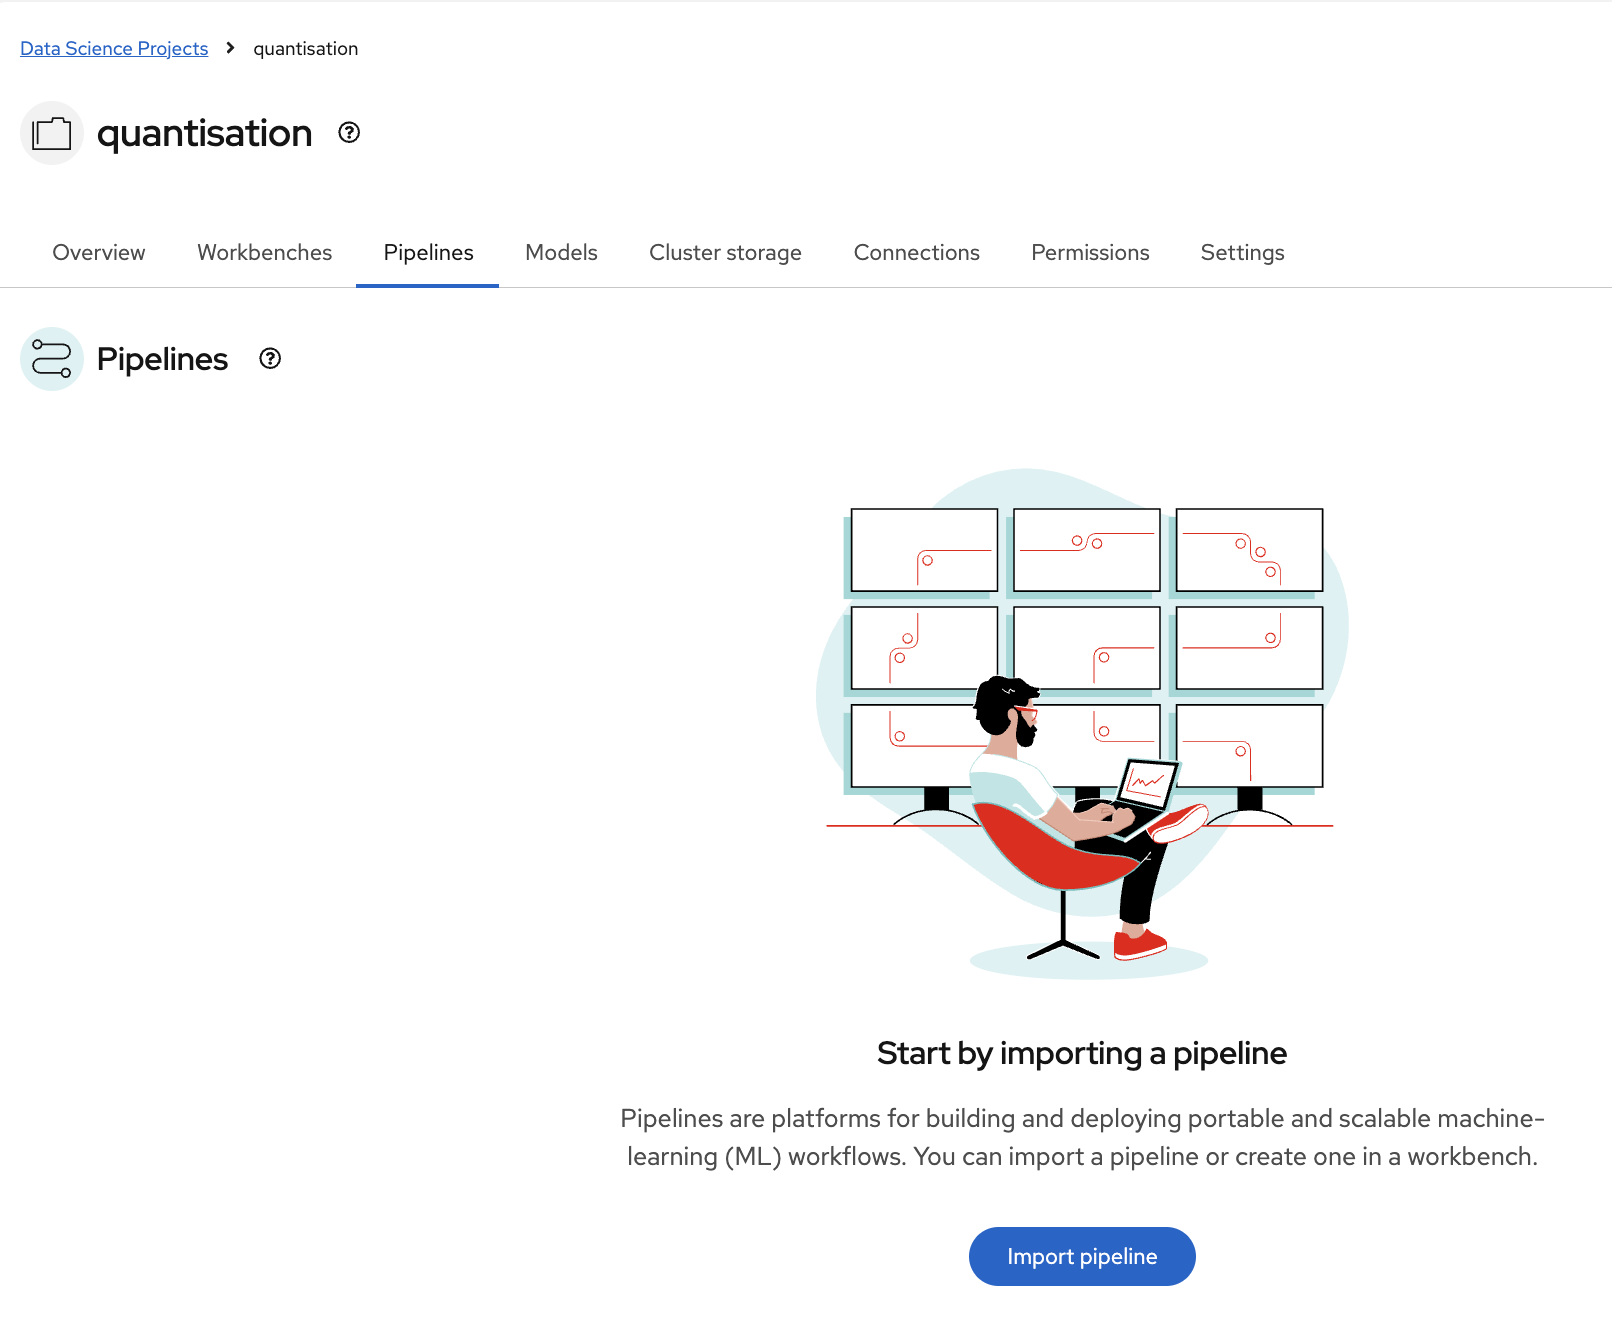
When the pipeline server is ready, the screen will look like the following:
At this point, the pipeline server is ready and deployed.
| There is no need for wait for the pipeline server to be ready. You may go on to the next steps and check this out later on. This may take more than a couple of minutes to complete. |
Creating a Workbench
-
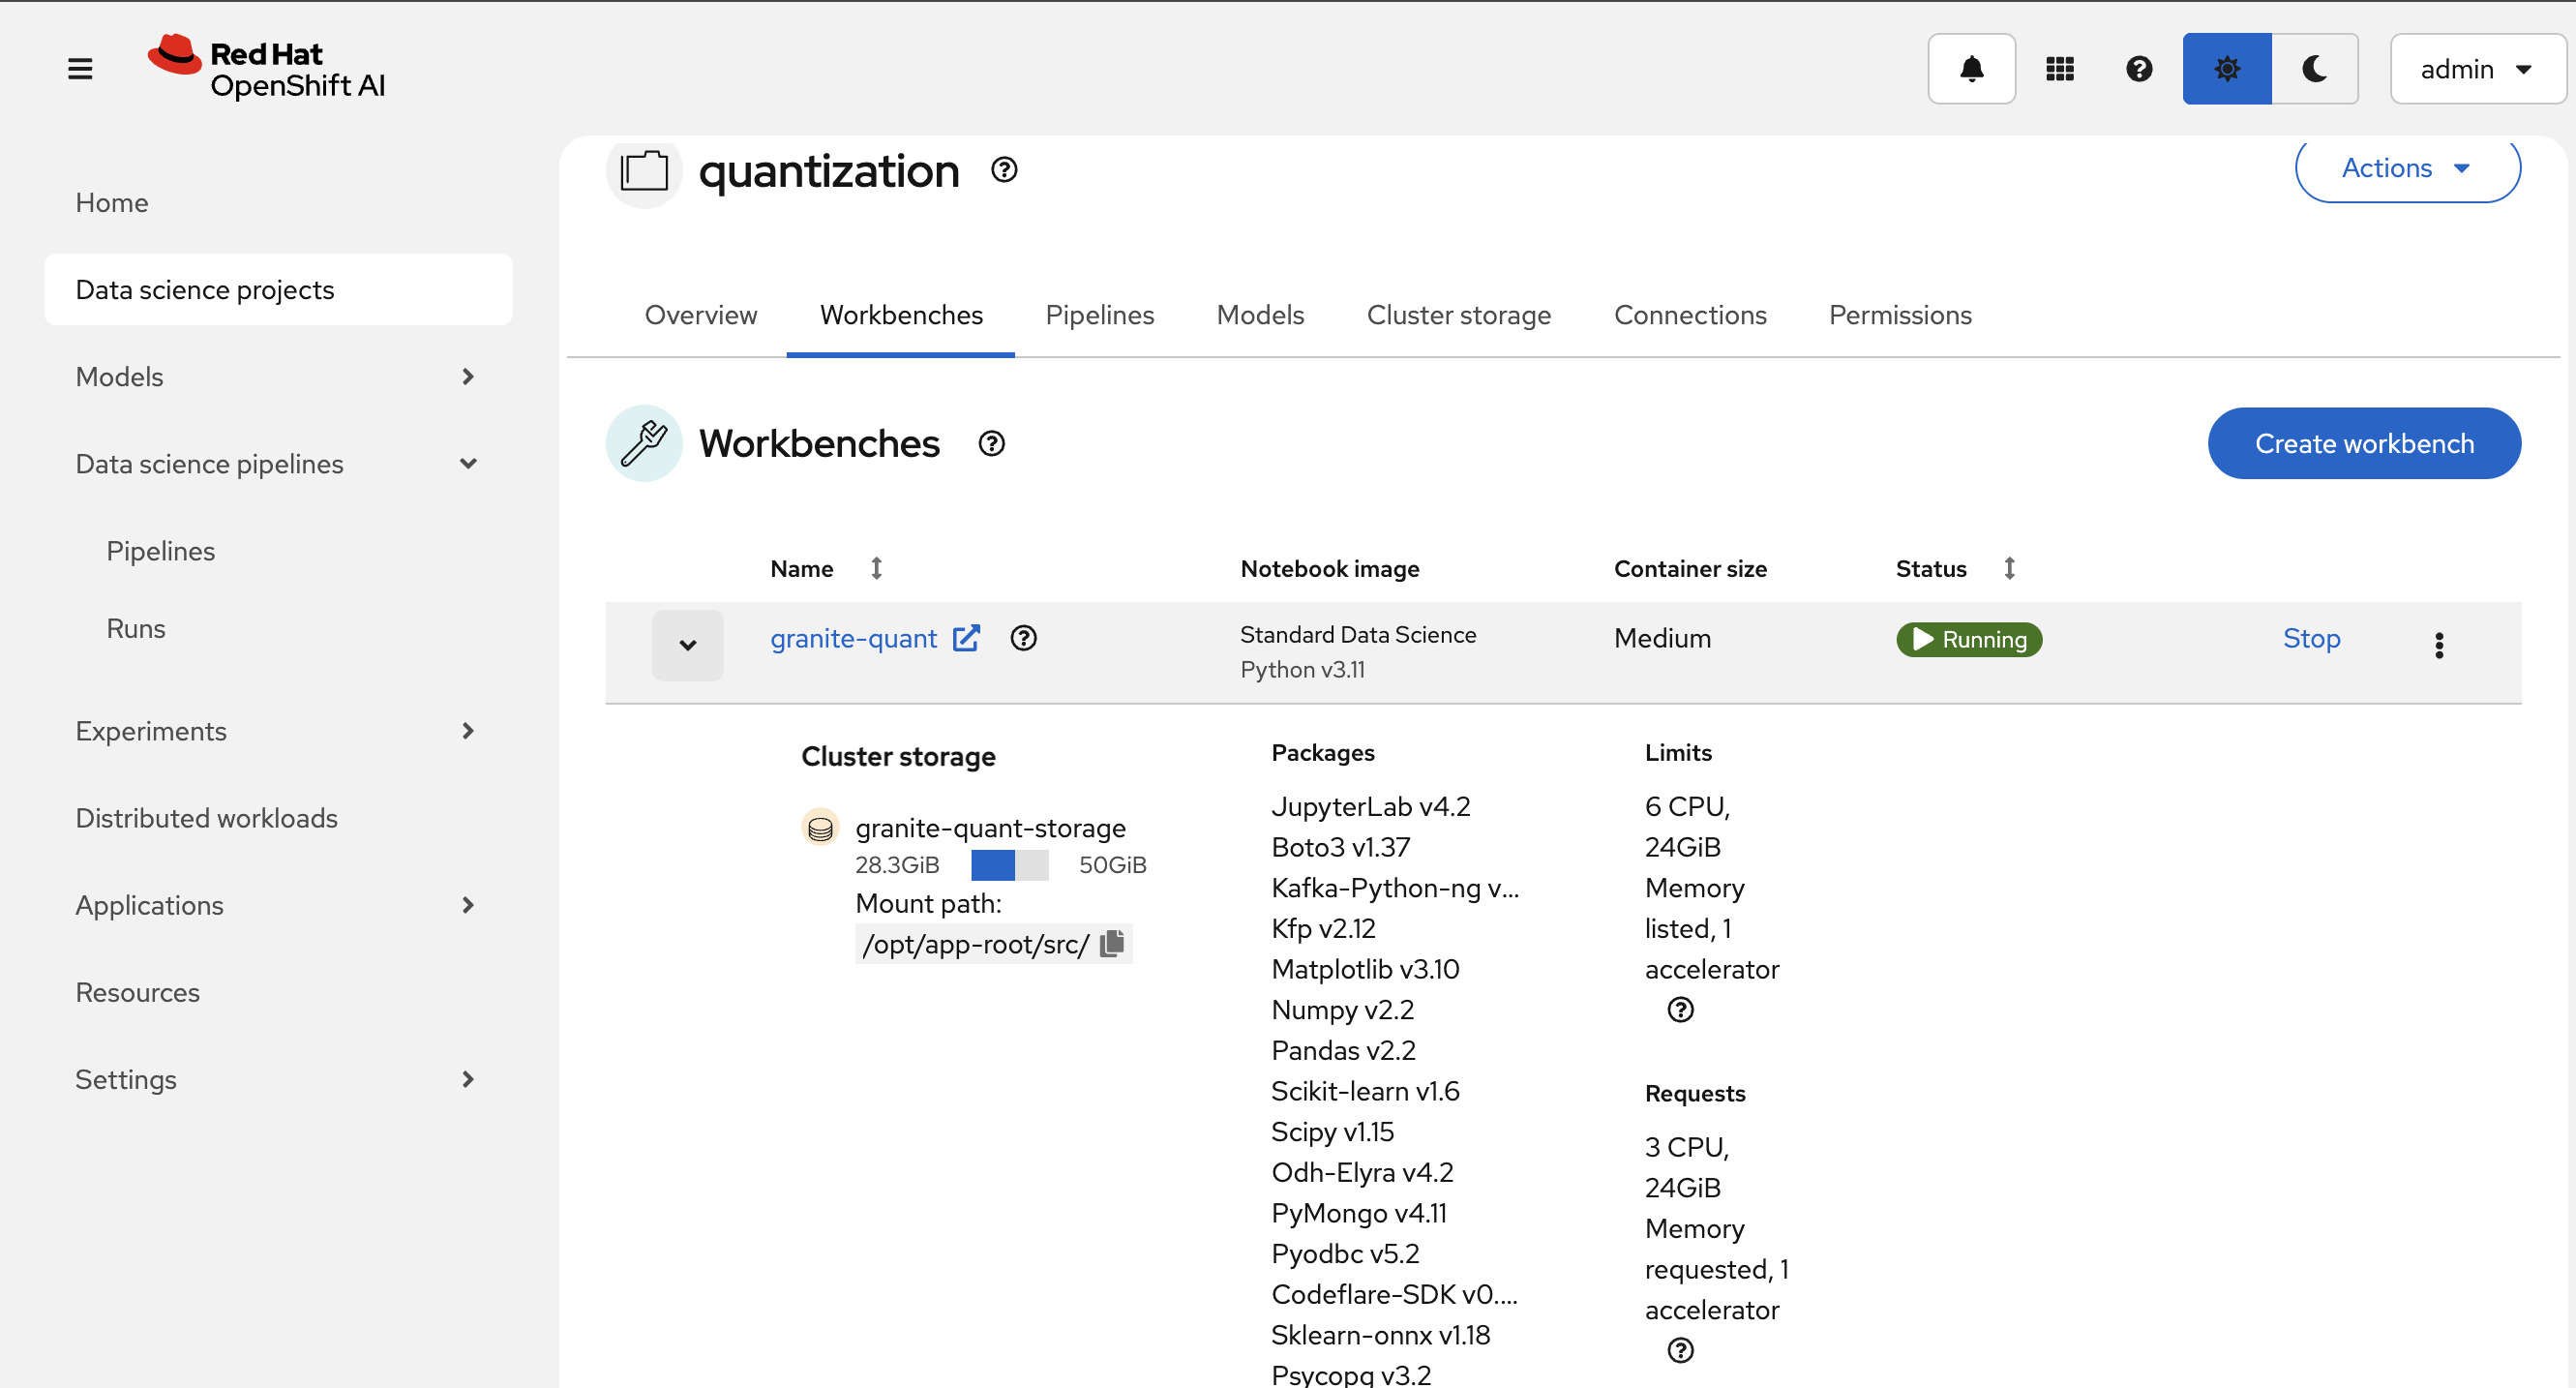
Once the Data Connection and Pipeline Server are fully created, it’s time to create the workbench
-
Go to Data Science Projects, select the project
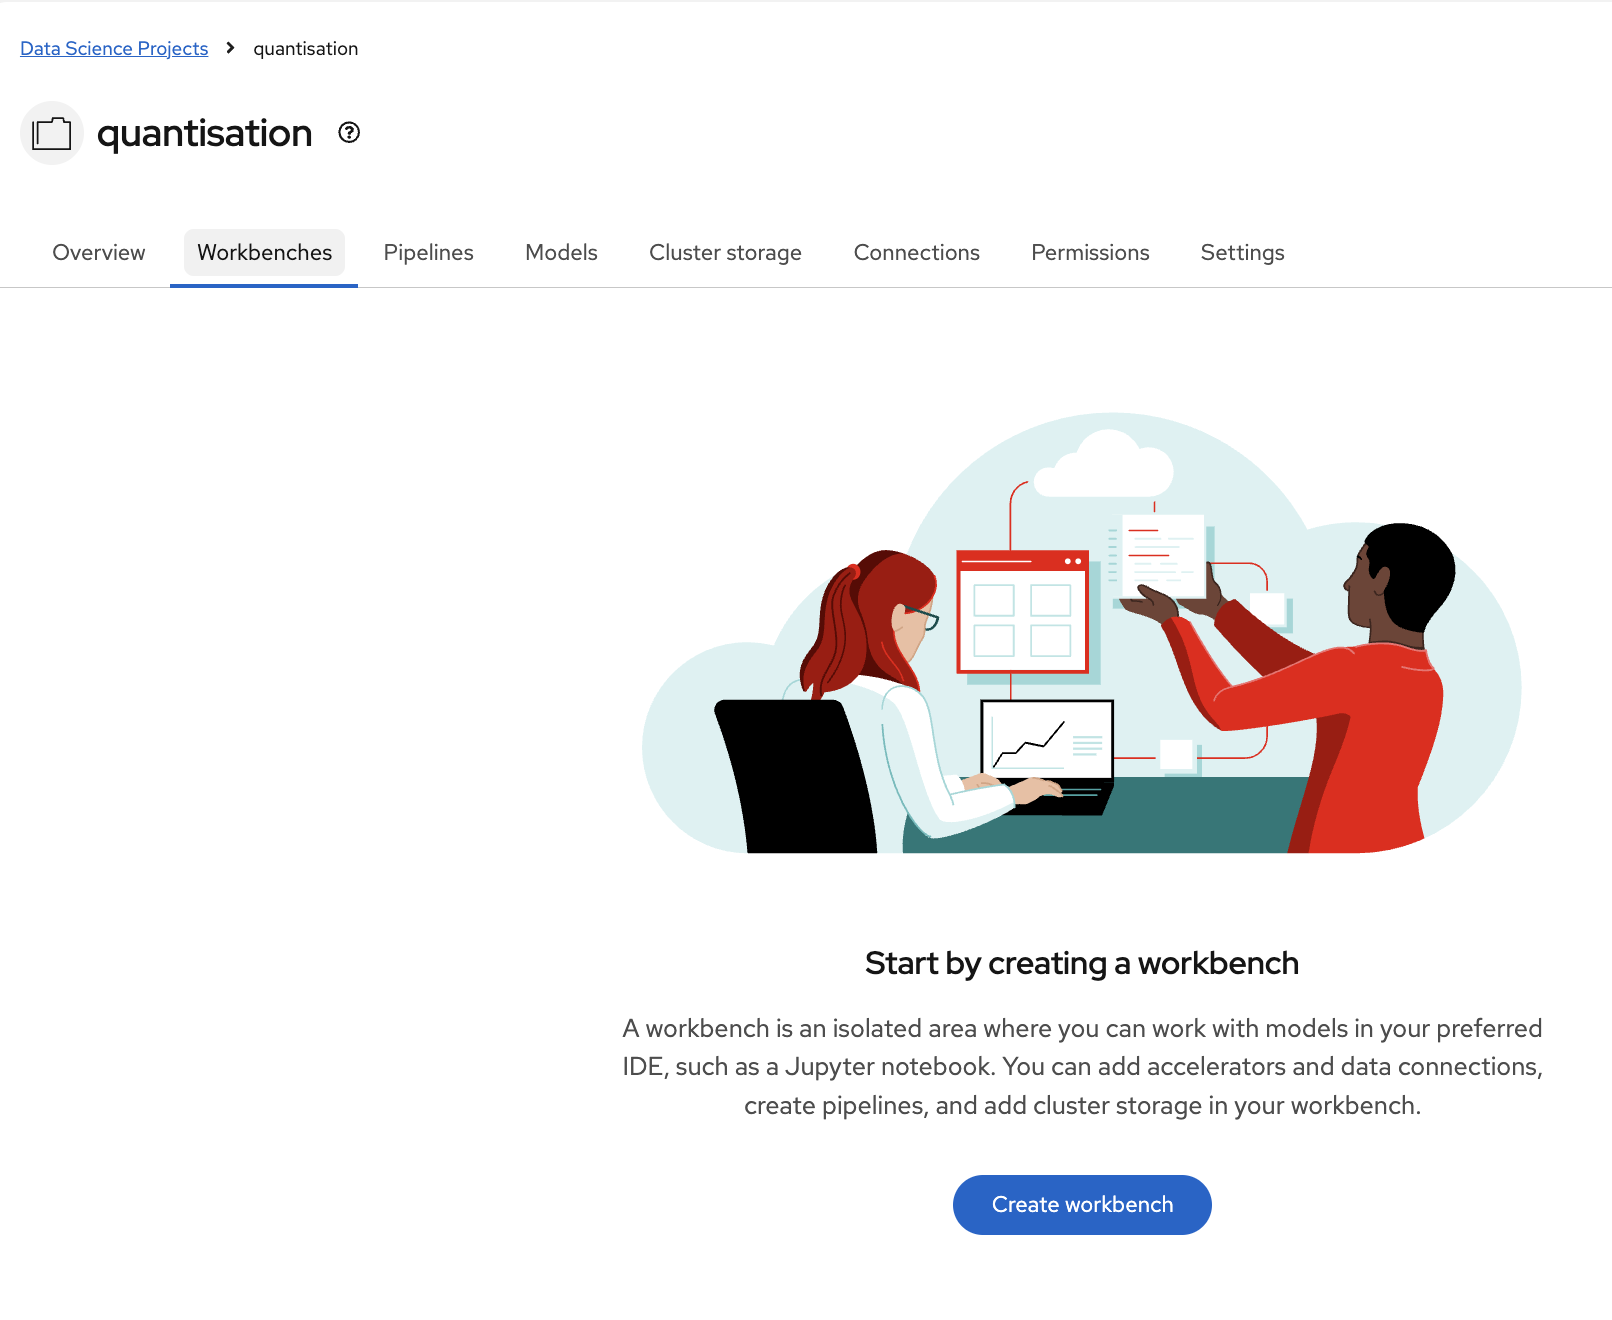
quantization, and click on Create a workbench -
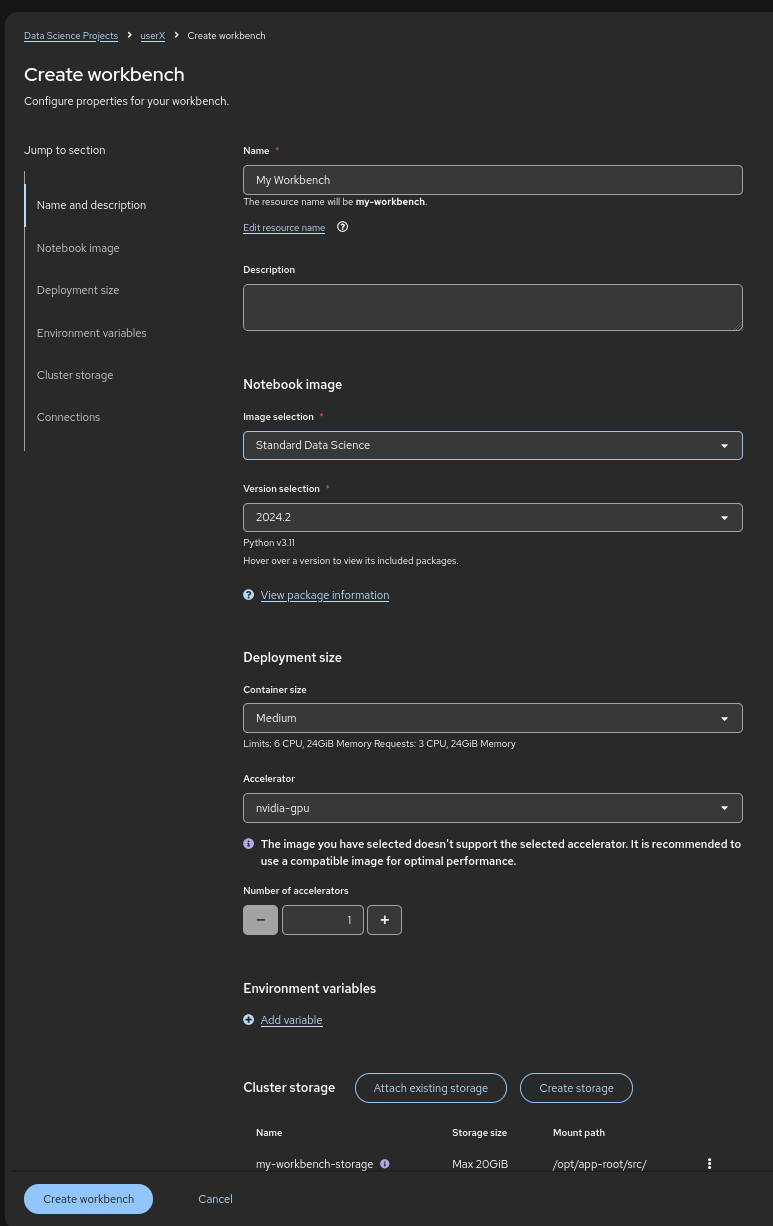
Make sure it has the following characteristics:
-
Choose a name for it, like:
granite-quantization -
Image Selection:
Minimal PythonorStandard Data Science -
Container Size:
Medium -
Accelerator:
NVIDIA-GPU
-
-
That should look like:
-
Add the created Data Connection by clicking on the Connections section and selecting Attach existing connections. Then, click Attach for the created minio-models connection. 🔗
-
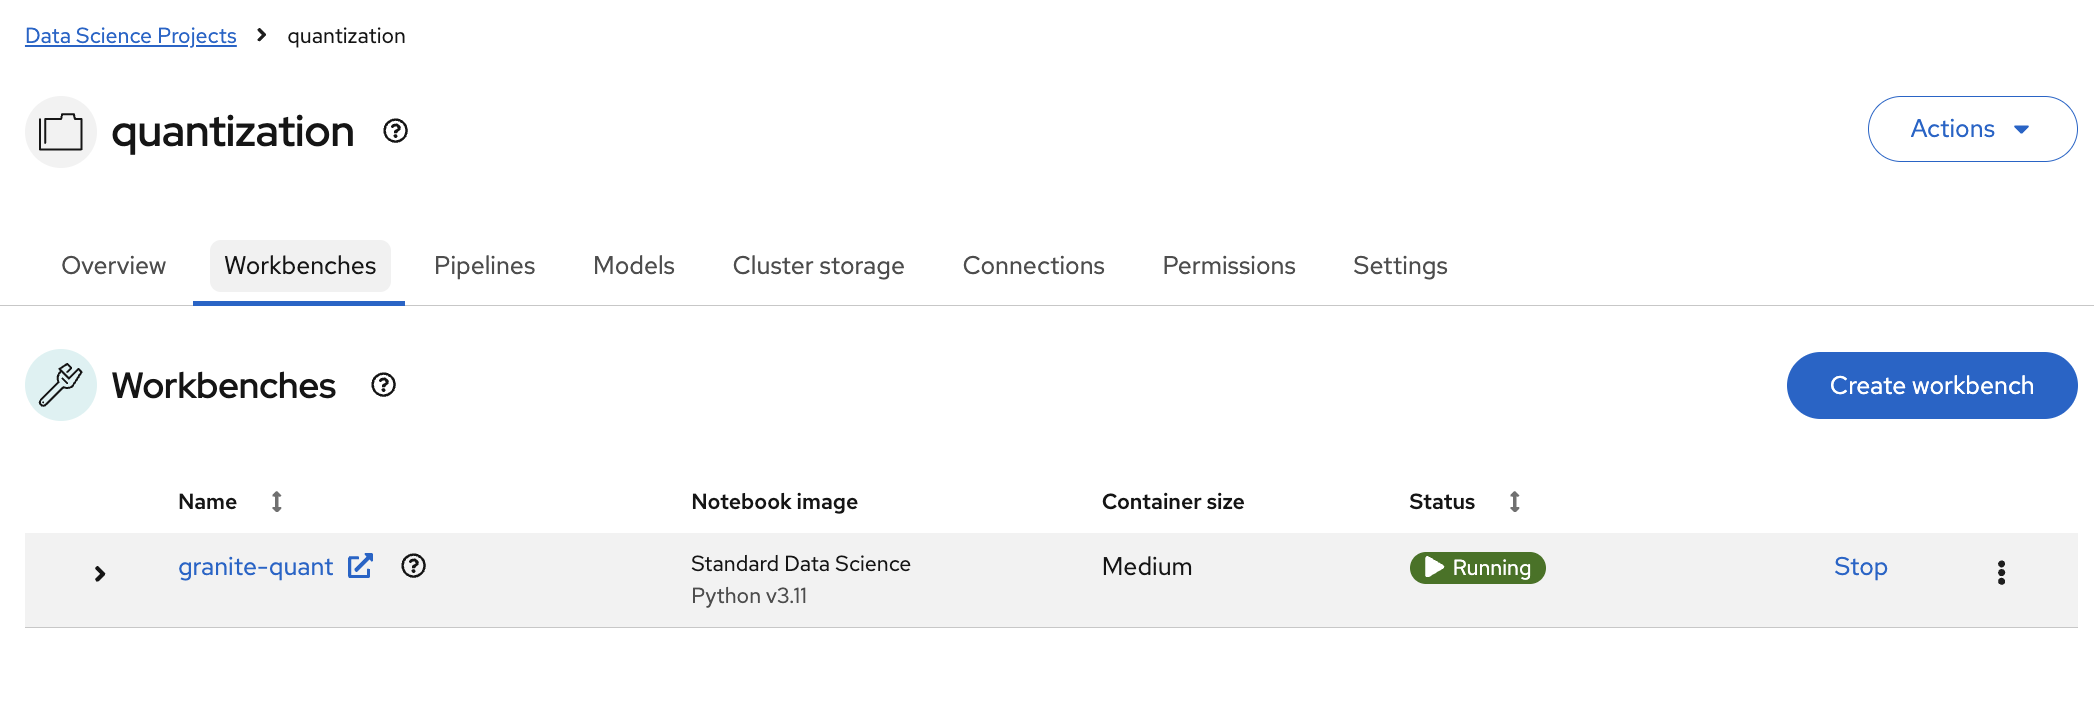
Then, click on Create Workbench and wait for the workbench to be fully started.
-
Once it is, click the link besides the name of the workbench to connect to it!
-
Authenticate with the same credentials as earlier.
-
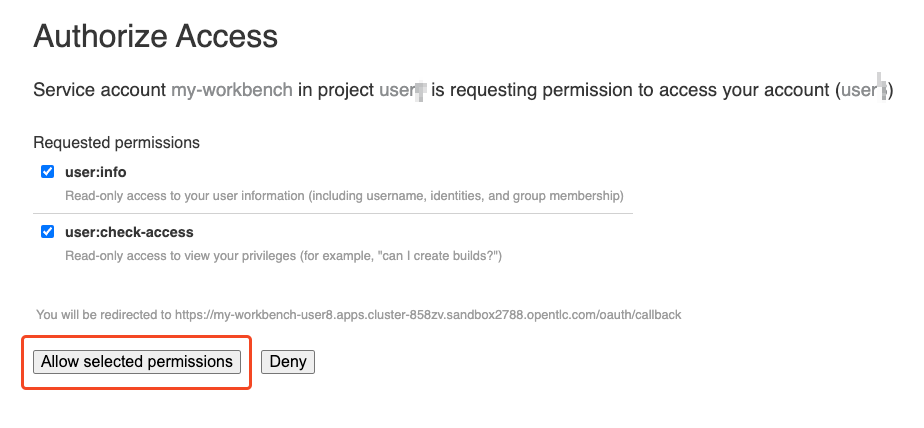
You will be asked to accept the following settings:
-
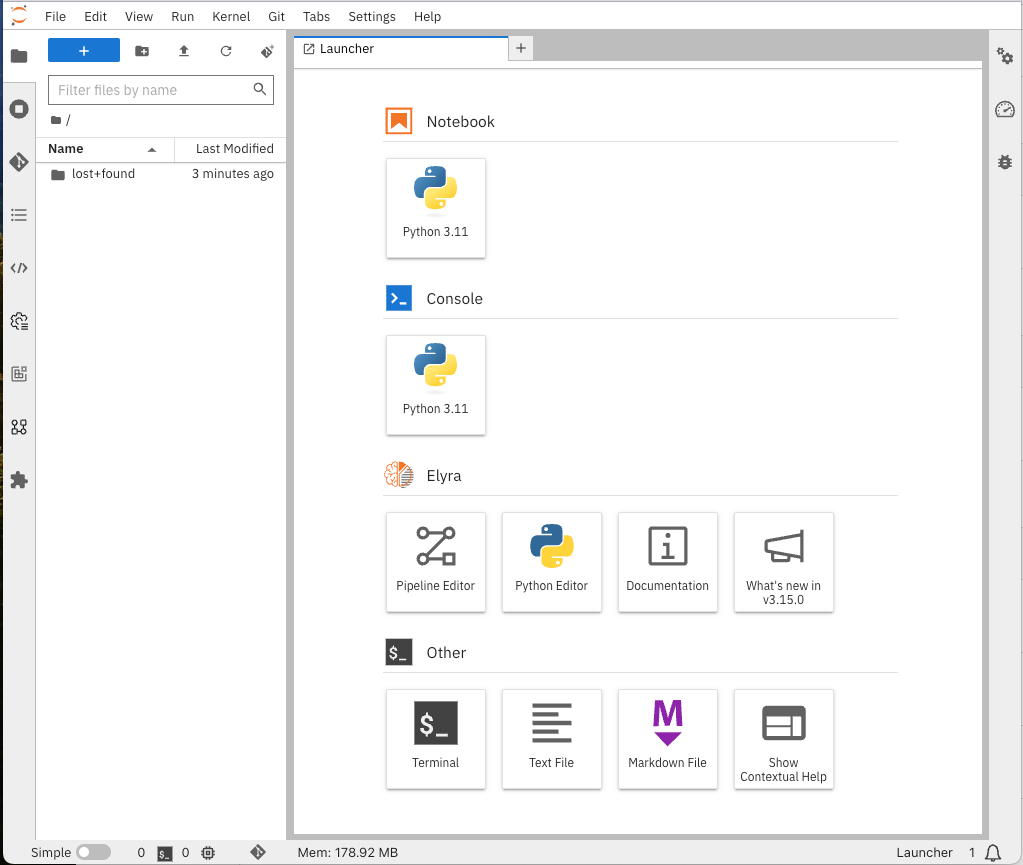
Once you accept it, you should now see this:
Exercise: Quantize the Model with llm-compressor
From the optimization_lab/llm_compressor folder, open the notebook weight_activation_quantization.ipynb and follow the instructions.
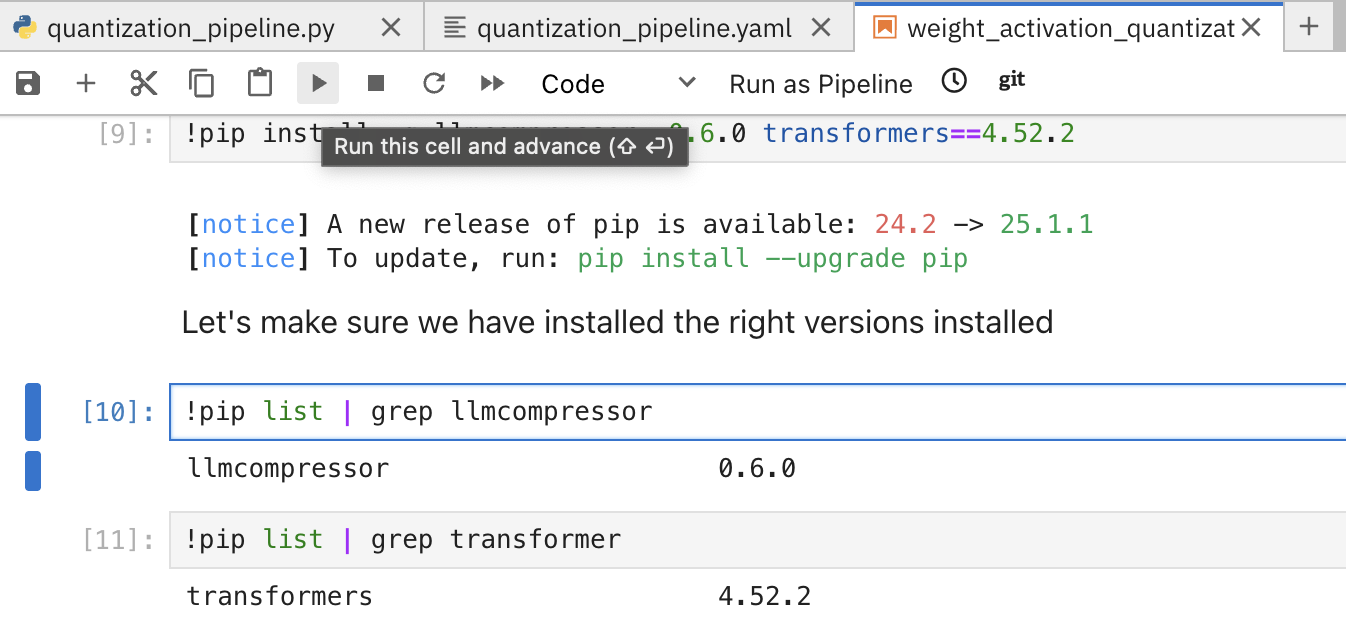
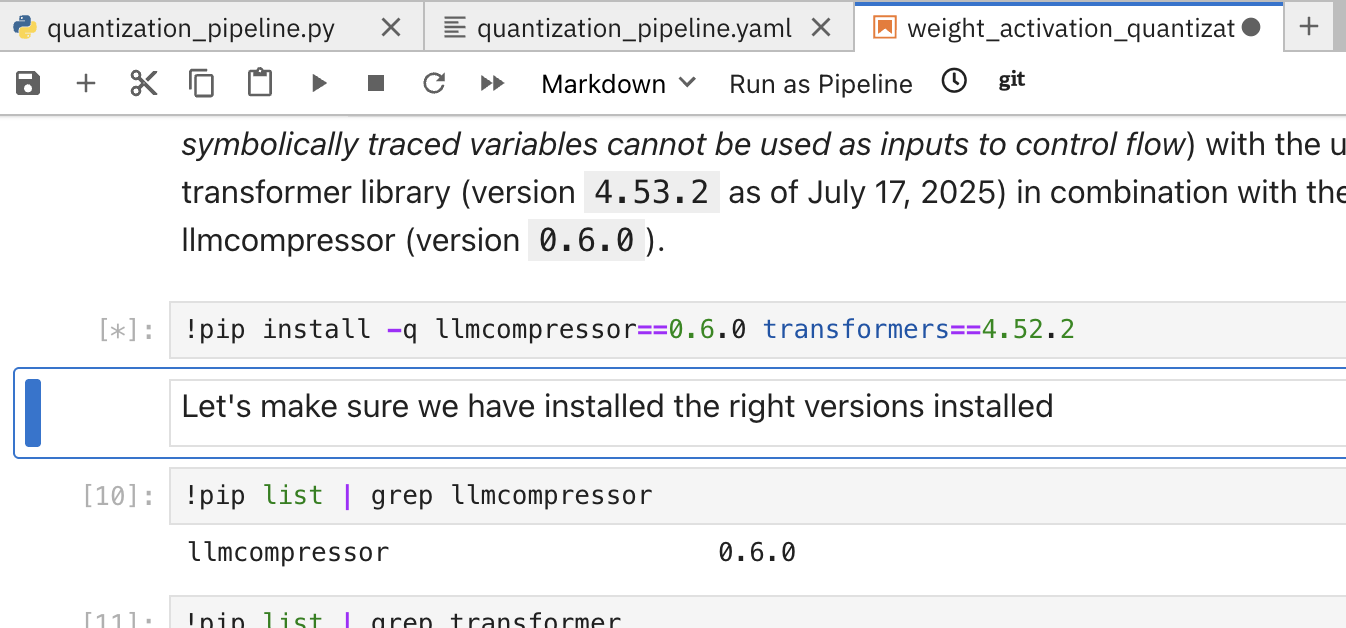
To execute the cells you can select them and either click on the play icon or press Shift + Enter
When the cell is being executed, you can see [*]. And once the execution has completed, you will see a number instead of the *, e.g., [1]
When done, you can close the notebook and head to the next page.
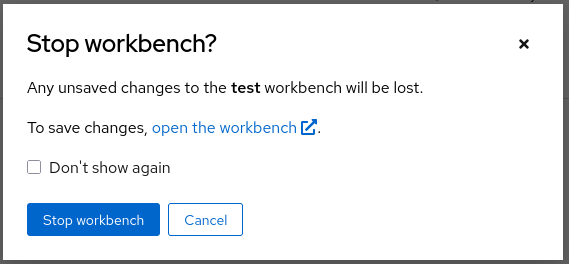
| Once you complete all the quantization exercises and you no longer need the workbench, ensure you stop it so that the associated GPU gets freed and can be utilized to serve the model. |

