Initial Exploration
|
Persona: Data Scientist (primary). Also relevant: AI Engineer. |
|
In this module
Get hands-on with the platform: create an OpenShift AI Workbench, connect to the repo, and open your first notebook so you’re ready for later labs. |
|
Estimated time: 20–30 minutes |
What you’ll do
-
Use Console Links to navigate
-
Create a GPU-enabled Workbench
-
Clone the lab repo into your Workbench
-
Open and run the getting started notebook as a data scientist
Getting Started
Explore the environment
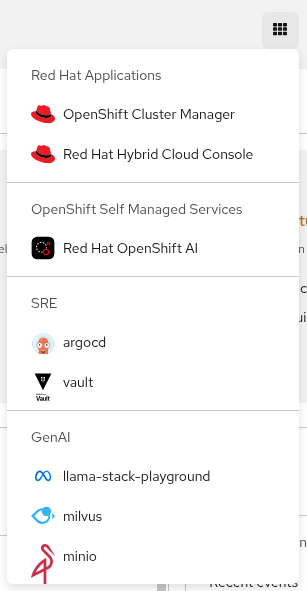
Use the OpenShift Console Links to quickly navigate around the environment.
-
RHOAI
-
LLamaStack Playground
-
OpenShift
-
ACM
-
Argo CD
Create a workbench
-
Login to OpenShift AI and select the
agent-demodata science project.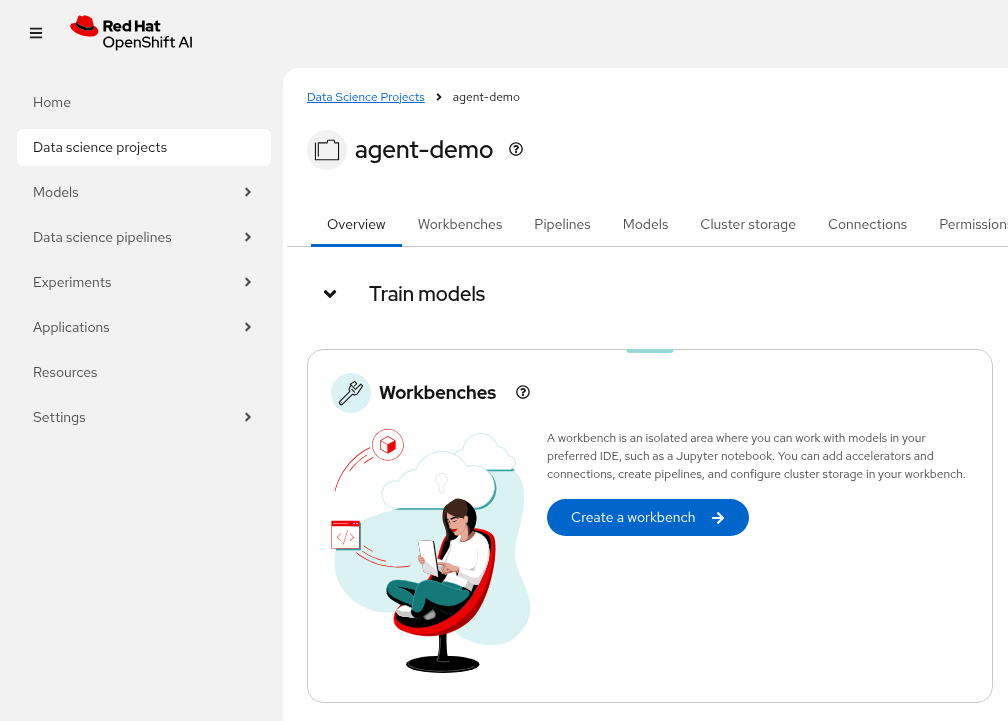
-
We are going to
Create a workbenchusing the following parameters:Name: agent-tools Image Selection: Standard Data Science Version: 2025.1 (select the latest version)
Leave all the other fields as defaults. You should see the
Hardware profileauto-selected to use the GPU AcceleratorNvidida L4 (Shared).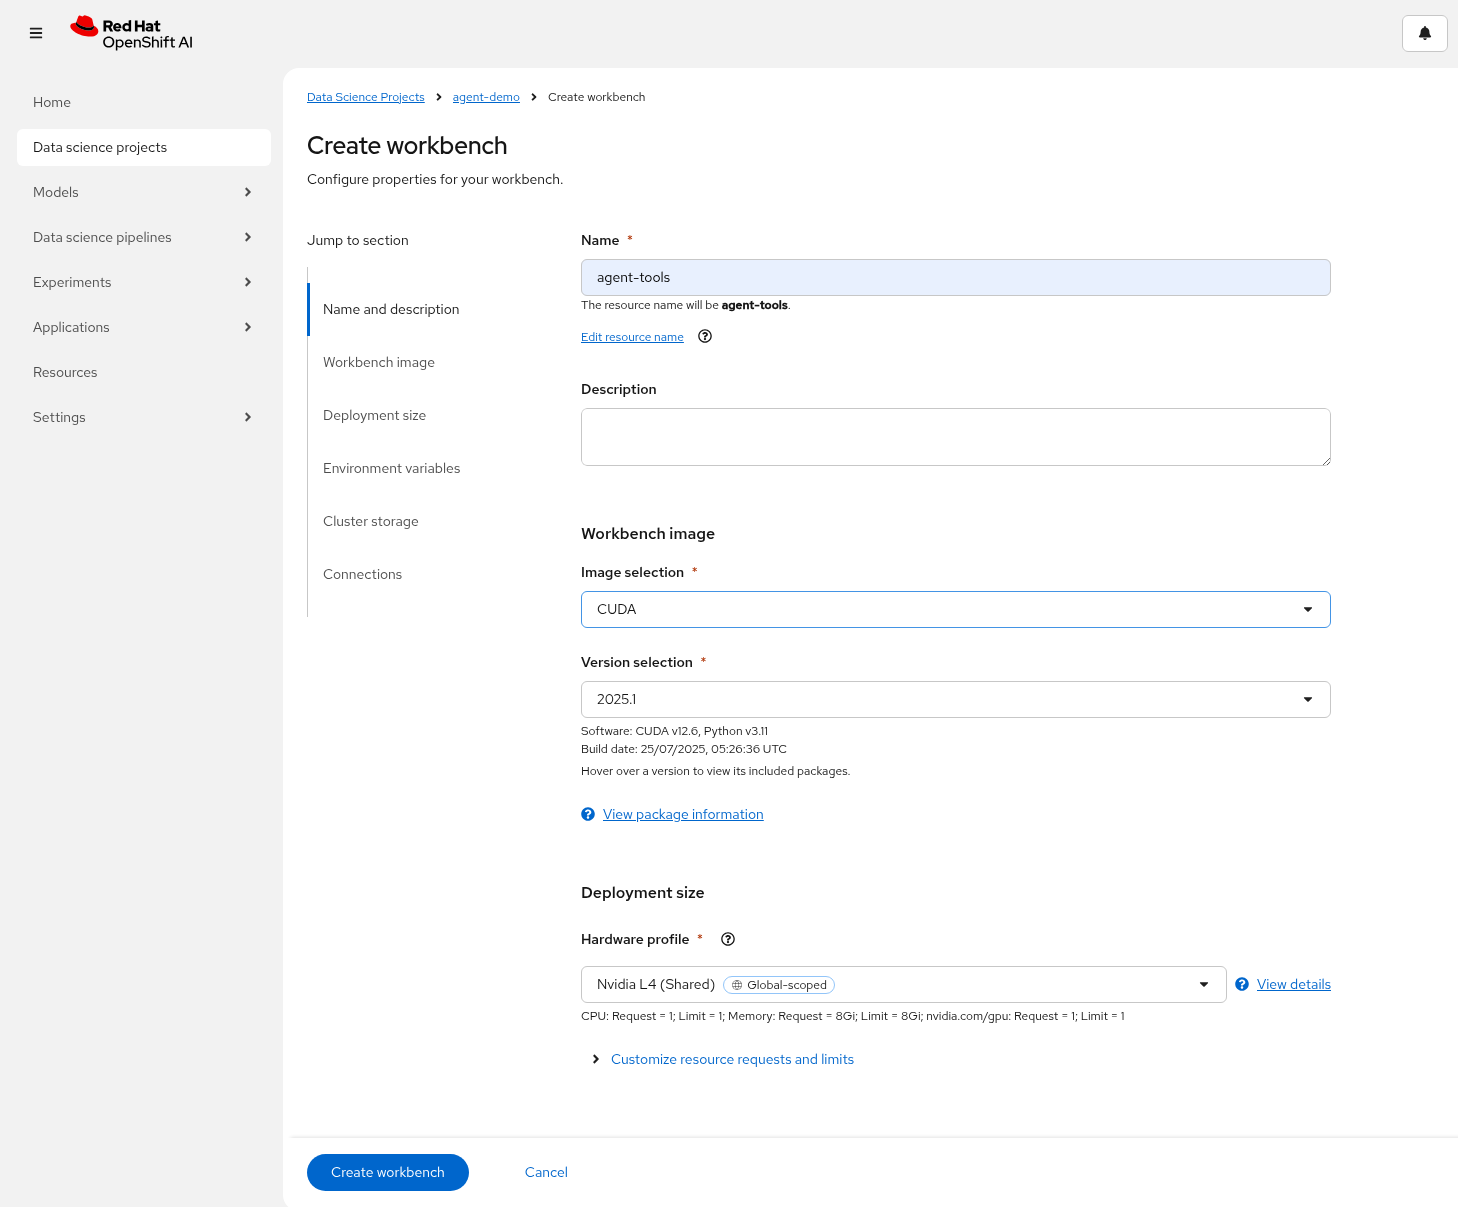
Select
Create workbench. -
Once the workbench is running open it in your browser.
Open the first notebook in your workbench
-
Clone the code into your workbench by using the
Terminaland entering:git clone https://github.com/redhat-ai-services/etx-agentic-ai.git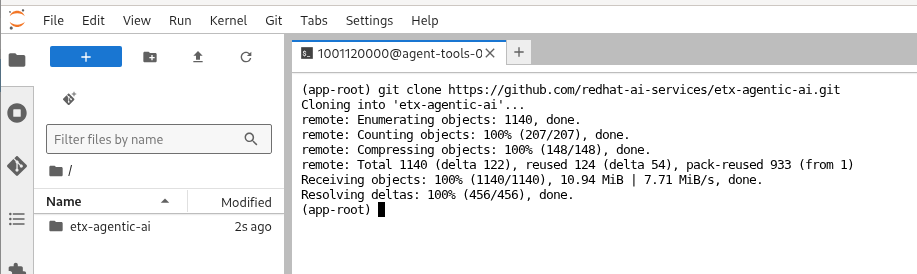
-
Open up the following notebook in your workspace.
The
getting-started.ipynbnotebook will be empty at this stage. We’re including it here to demonstrate how a data scientist would typically interact with the repository and set up their environment. In later modules, you’ll use this notebook as a starting point for building and testing your own agents.